What to Expect From the Mold Remediation Process: Timeline and Cost
Jerusha
October 7th, 2025
No Comments
Understanding the Mold Remediation Process
When mold takes root in your home, time is your biggest ally or your worst enemy. Within 24 to 48 hours, mold spores can multiply into full colonies, damaging drywall, carpets, and air ducts. Beyond the visible stains, the real danger lies in invisible airborne spores that impact indoor air quality and health.
That’s where professional mold remediation comes in. But what exactly does it mean? How long does mold remediation take? And what’s actually involved?
This guide breaks down everything you need to know about the mold remediation process, from inspection to final clearance testing—so you know what to expect, what’s safe, and how to prevent mold from coming back.
What Is Mold Remediation and Why It Matters
Many homeowners confuse mold remediation with simple mold removal. But these are two different things.
Mold removal: Cleaning visible mold from surfaces.
Mold remediation: Identifying, containing, and eliminating the source of mold growth while restoring safe air quality.
In short, remediation goes beyond wiping mold away—it ensures it doesn’t return.
The Goals of the Mold Remediation Process
The two main goals of remediation are:
Remove mold contamination safely and thoroughly.
Eliminate moisture sources to prevent recurrence.
The mold remediation procedures standard, set by the IICRC (S520 guidelines), ensures each step follows health and safety protocols.
Step-by-Step Breakdown of the Mold Remediation Process
Understanding what’s involved with mold remediation gives you control, confidence, and peace of mind.
Stage
What Happens
Purpose
1. Initial Inspection and Testing
Certified inspectors use infrared cameras, moisture meters, and air sampling to find hidden mold.
Identify contamination and scope of work.
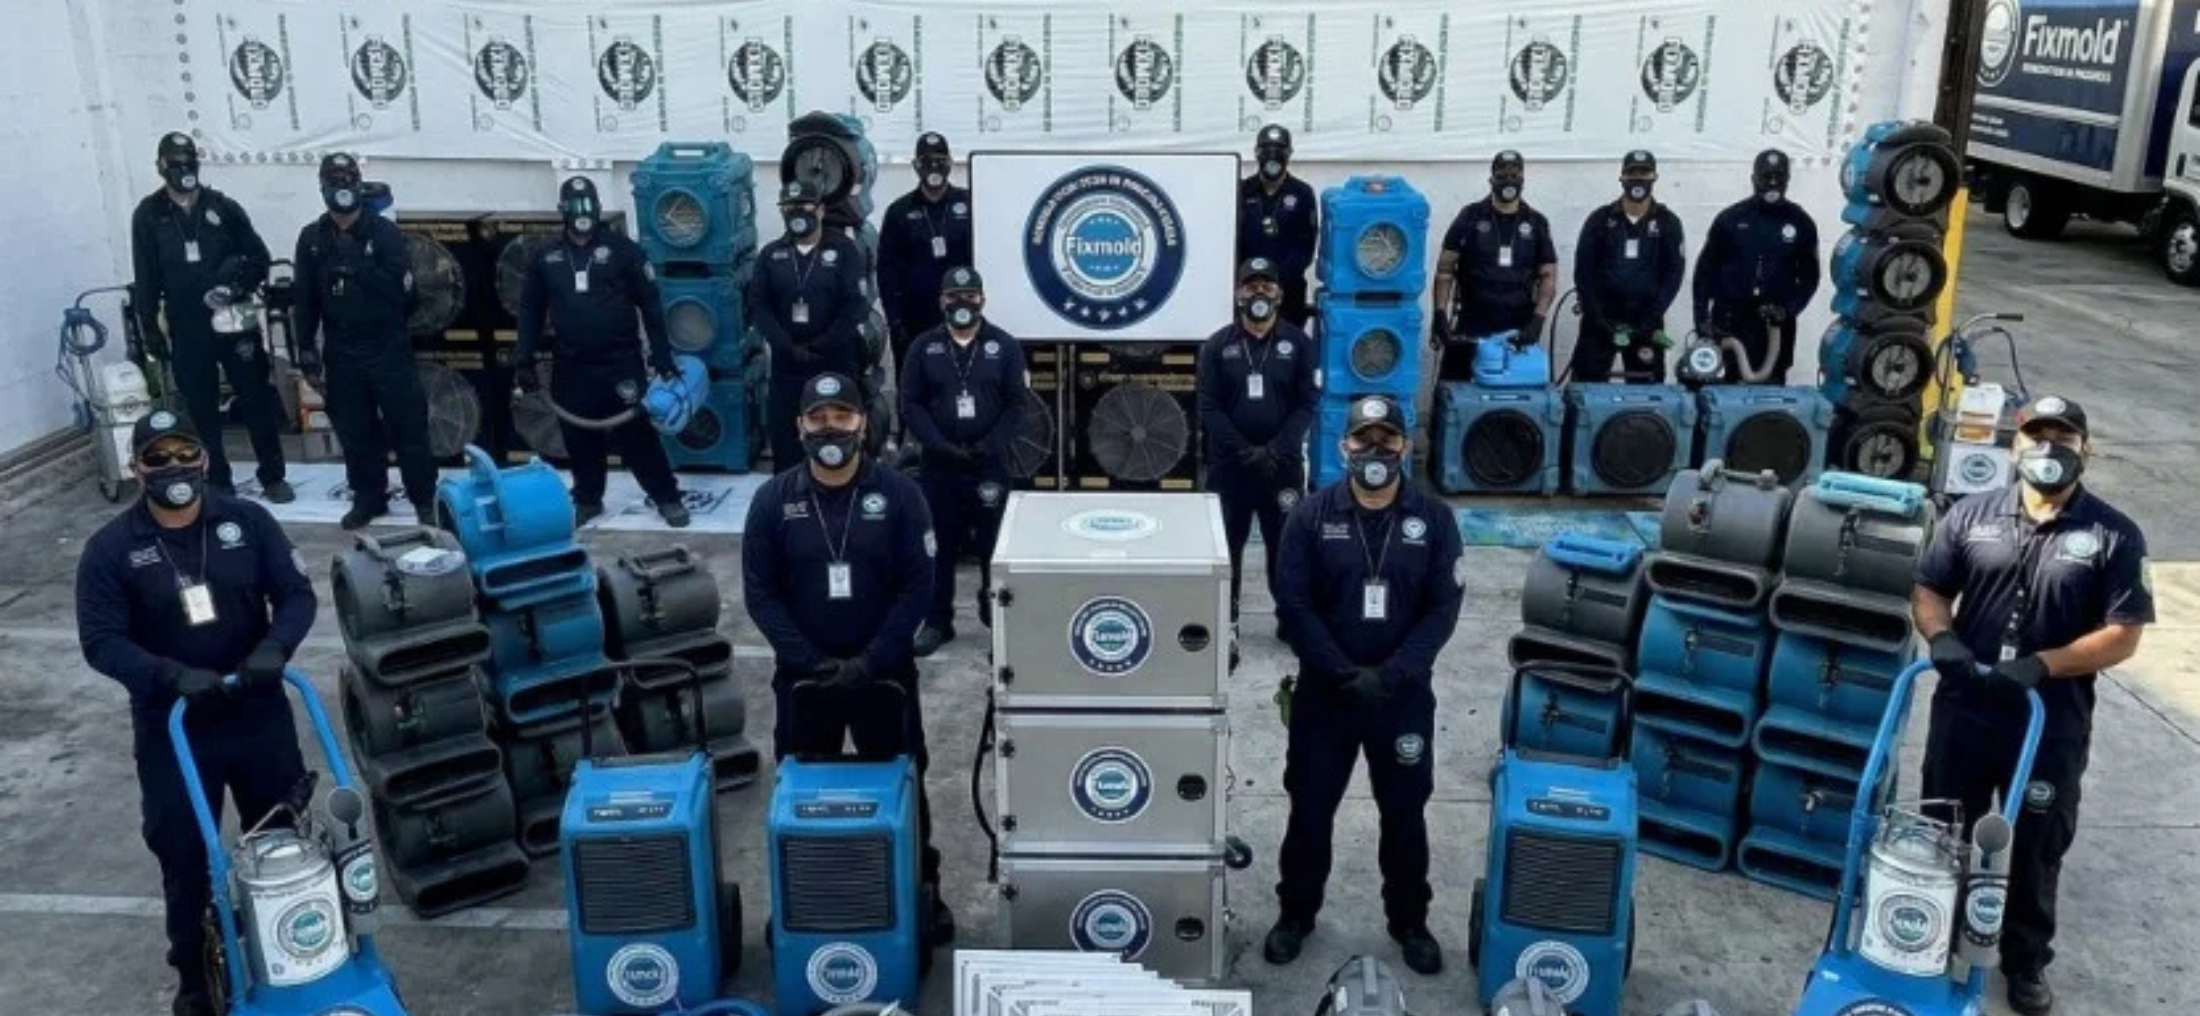
2. Containment Setup
Plastic barriers and negative air pressure systems prevent spores from spreading.
Control airborne contamination.
3. Air Filtration
HEPA filters and scrubbers continuously clean the air.
Protect workers and residents from exposure.
4. Mold Removal
Technicians remove porous materials like drywall or insulation; non-porous surfaces are cleaned and treated.
Eliminate active mold growth.
5. Cleaning and Sanitization
Use of EPA-approved biocides and antimicrobial agents.
Kill spores and prevent regrowth.
6. Drying and Dehumidification
High-powered dehumidifiers ensure the environment is moisture-free.
Stop future mold growth.
7. Post-Remediation Testing
Air quality and surface tests confirm that mold counts are normal.
Verification of a successful remediation.
How Long Does Mold Remediation Take?
One of the most common questions is “how long does mold remediation take?”
Here’s a general breakdown:
Small area (under 100 sq. ft.) – 1–2 days
Medium contamination (100–300 sq. ft.) – 3–5 days
Large infestations or black mold – 1–2 weeks
However, the full remediation process including drying, post-testing, and minor repairs, can take up to 10–14 days.
What to Do Before Mold Remediation
Preparing your home properly can make the process smoother and safer:
🧹 Pre-Remediation Checklist
Move pets and sensitive family members (like children or elderly) to another location.
Remove valuables and electronics from affected rooms.
Seal HVAC vents to prevent spore circulation.
Discuss the containment setup and timeline with your contractor.
If you’re wondering, “Should I move out during mold remediation?” — for minor jobs, you can stay; but for larger or toxic mold (like black mold), it’s best to relocate temporarily.
Is It Safe to Stay in the House During Mold Remediation?
Short answer: it depends.
If the affected area is isolated and properly contained, staying home may be safe. However, during major remediation, high spore concentrations and chemical use can cause irritation. Professionals often recommend leaving until post-remediation clearance is confirmed.
How to Clean Belongings After Mold Remediation
Once remediation is complete, cleaning your personal items is crucial to avoid recontamination.
Post-Remediation Cleaning Tips
Wash soft goods (curtains, bedding, clothes) with hot water and detergent.
Wipe down hard surfaces using vinegar or hydrogen peroxide solution.
Dispose of porous materials like paper, cardboard, or insulation that absorbed moisture.
Vacuum with a HEPA filter vacuum to capture residual spores.
What to Expect From Professionals
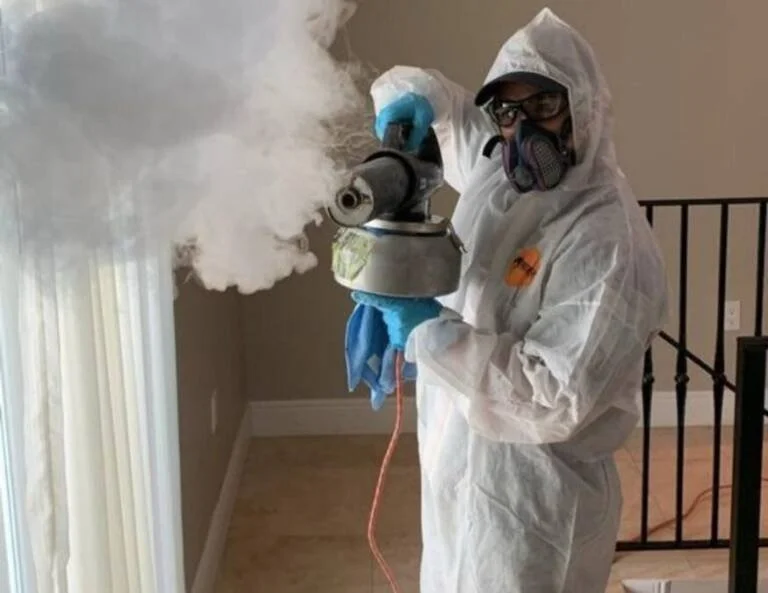
Professionals follow strict standards during the mold remediation process. You’ll see them using:
Tyvek suits, gloves, and respirators for protection.
HEPA air scrubbers running continuously.
Moisture detection tools ensuring all damp areas are dry.
Negative pressure systems to isolate affected spaces.
These steps are vital parts of the mold remediation procedures standard and ensure your home’s air is clean and safe again.
How Much Does Mold Remediation Cost?
Costs vary based on contamination level and property size. On average:
Type of Mold Issue
Estimated Cost (USD)
Small Bathroom Mold
$500 – $1,500
Crawl Space or Attic Mold
$2,000 – $6,000
Whole-Home Black Mold
$8,000 – $15,000+
Keep in mind that insurance may cover mold remediation if caused by a sudden, accidental event (like a burst pipe). Always review your policy carefully.
Common Mistakes Homeowners Make
Delaying action – Mold doubles every 24–48 hours.
DIY attempts without containment – This spreads spores.
Ignoring moisture sources – Without fixing leaks, mold always returns.
Not testing post-remediation – You’ll never know if it’s truly safe.
Mold Remediation Safety Tips
The mold remediation process involves chemicals, airborne spores, and sometimes toxic materials like black mold. Whether you’re hiring professionals or doing small cleanups yourself, safety should always come first. Proper protection and air control aren’t just recommendations — they’re part of the mold remediation procedures standard used by certified specialists.
Here’s how to keep yourself, your family, and your home safe throughout the remediation process:
1. Wear the Right Protective Gear
Before entering any contaminated area, suit up properly. Mold spores are microscopic and can easily be inhaled or cling to your skin and clothing.
Use an N95 or P100 respirator mask to prevent breathing in spores.
Wear rubber gloves to avoid direct skin contact.
Use goggles or safety glasses without ventilation holes to protect your eyes.
Cover exposed skin with long sleeves, pants, and disposable shoe covers.
If professionals are handling the job, you’ll notice they wear Tyvek suits and respirators — that’s the same level of protection you should aim for if you’re cleaning small spots yourself.
2. Control Humidity and Air Circulation
Mold thrives in humidity. After remediation, it’s crucial to maintain indoor humidity below 50%.
Run a dehumidifier in the affected areas for several days.
Use bathroom and kitchen exhaust fans to remove excess moisture.
Check that your HVAC system is properly cleaned and has new filters — otherwise, spores can spread again through the air.
Keeping your environment dry is one of the most effective ways to ensure that all your mold remediation efforts last long-term.
3. Run HEPA Air Purifiers Post-Remediation
Even after the remediation process is completed, mold spores may remain airborne for up to 48 hours. Running HEPA (High-Efficiency Particulate Air) purifiers continuously helps eliminate any lingering contamination.
Place purifiers near previously affected areas and bedrooms.
Let them run for at least 72 hours after cleanup.
Replace or clean the filters regularly as recommended by the manufacturer.
This small step can significantly improve indoor air quality and reduce allergic reactions following remediation.
4. Use Cleaning Solutions Safely
Many people use strong chemicals to kill mold, but some mixtures can be dangerous.
Never mix bleach with ammonia or other cleaners — the reaction produces toxic chlorine gas that can irritate or damage your lungs.
Stick with EPA-approved antimicrobial cleaners or natural solutions like white vinegar or hydrogen peroxide.
Always ensure proper ventilation while cleaning open windows and use fans to move air outside.
If the mold contamination is extensive or involves black mold, it’s always best to let certified professionals handle it. They use controlled environments and negative air machines to ensure no harmful exposure occurs.
5. Keep Children and Pets Away
Kids and pets are more sensitive to airborne spores and cleaning fumes. Restrict access to remediation zones until air testing confirms the area is safe. Professionals typically conduct post-remediation clearance testing to measure airborne mold levels — make sure this step is included in your service.
6. Monitor for Symptoms of Mold Exposure
Even after cleanup, some people may experience temporary sensitivity to mold spores. Look out for these mold exposure symptoms:
Nasal congestion or coughing
Itchy eyes or throat irritation
Fatigue or headaches
Shortness of breath
If these persist, contact a healthcare provider. In some cases, they may recommend an air quality retest to ensure no hidden contamination remains.
7. Follow Up With Preventive Maintenance
Safety doesn’t end after the cleanup. Continue to follow remediation process best practices:
Inspect plumbing, roofs, and basements regularly for leaks.
Seal cracks and improve insulation in high-humidity zones.
Schedule annual mold inspections if you live in humid climates like Florida.
This proactive approach helps ensure your home stays mold-free long after remediation, protecting your property value and your family’s well-being.
What to Throw Away After Mold Remediation
Discard any item that’s porous and heavily contaminated:
Upholstered furniture
Mattresses
Cardboard boxes
Carpeting
Drywall sections
Non-porous materials like glass, metal, or sealed wood can usually be cleaned and sanitized.
How to Prevent Mold From Coming Back
After investing in professional remediation, prevention is everything.
Post-Remediation Prevention Tips
Fix plumbing leaks immediately.
Use bathroom and kitchen exhaust fans.
Install a whole-home dehumidifier if humidity exceeds 60%.
Schedule annual inspections in basements or crawl spaces.
Final Thoughts: Trust the Process, Not Shortcuts
Mold remediation is not just a cleanup job; it’s a restoration of your indoor environment and peace of mind. Knowing how to remediate mold, how long the remediation process takes, and what’s involved empowers you to make informed, safe decisions.
Remember: the true measure of success is not just visible cleanliness, it’s the long-term prevention of mold return.
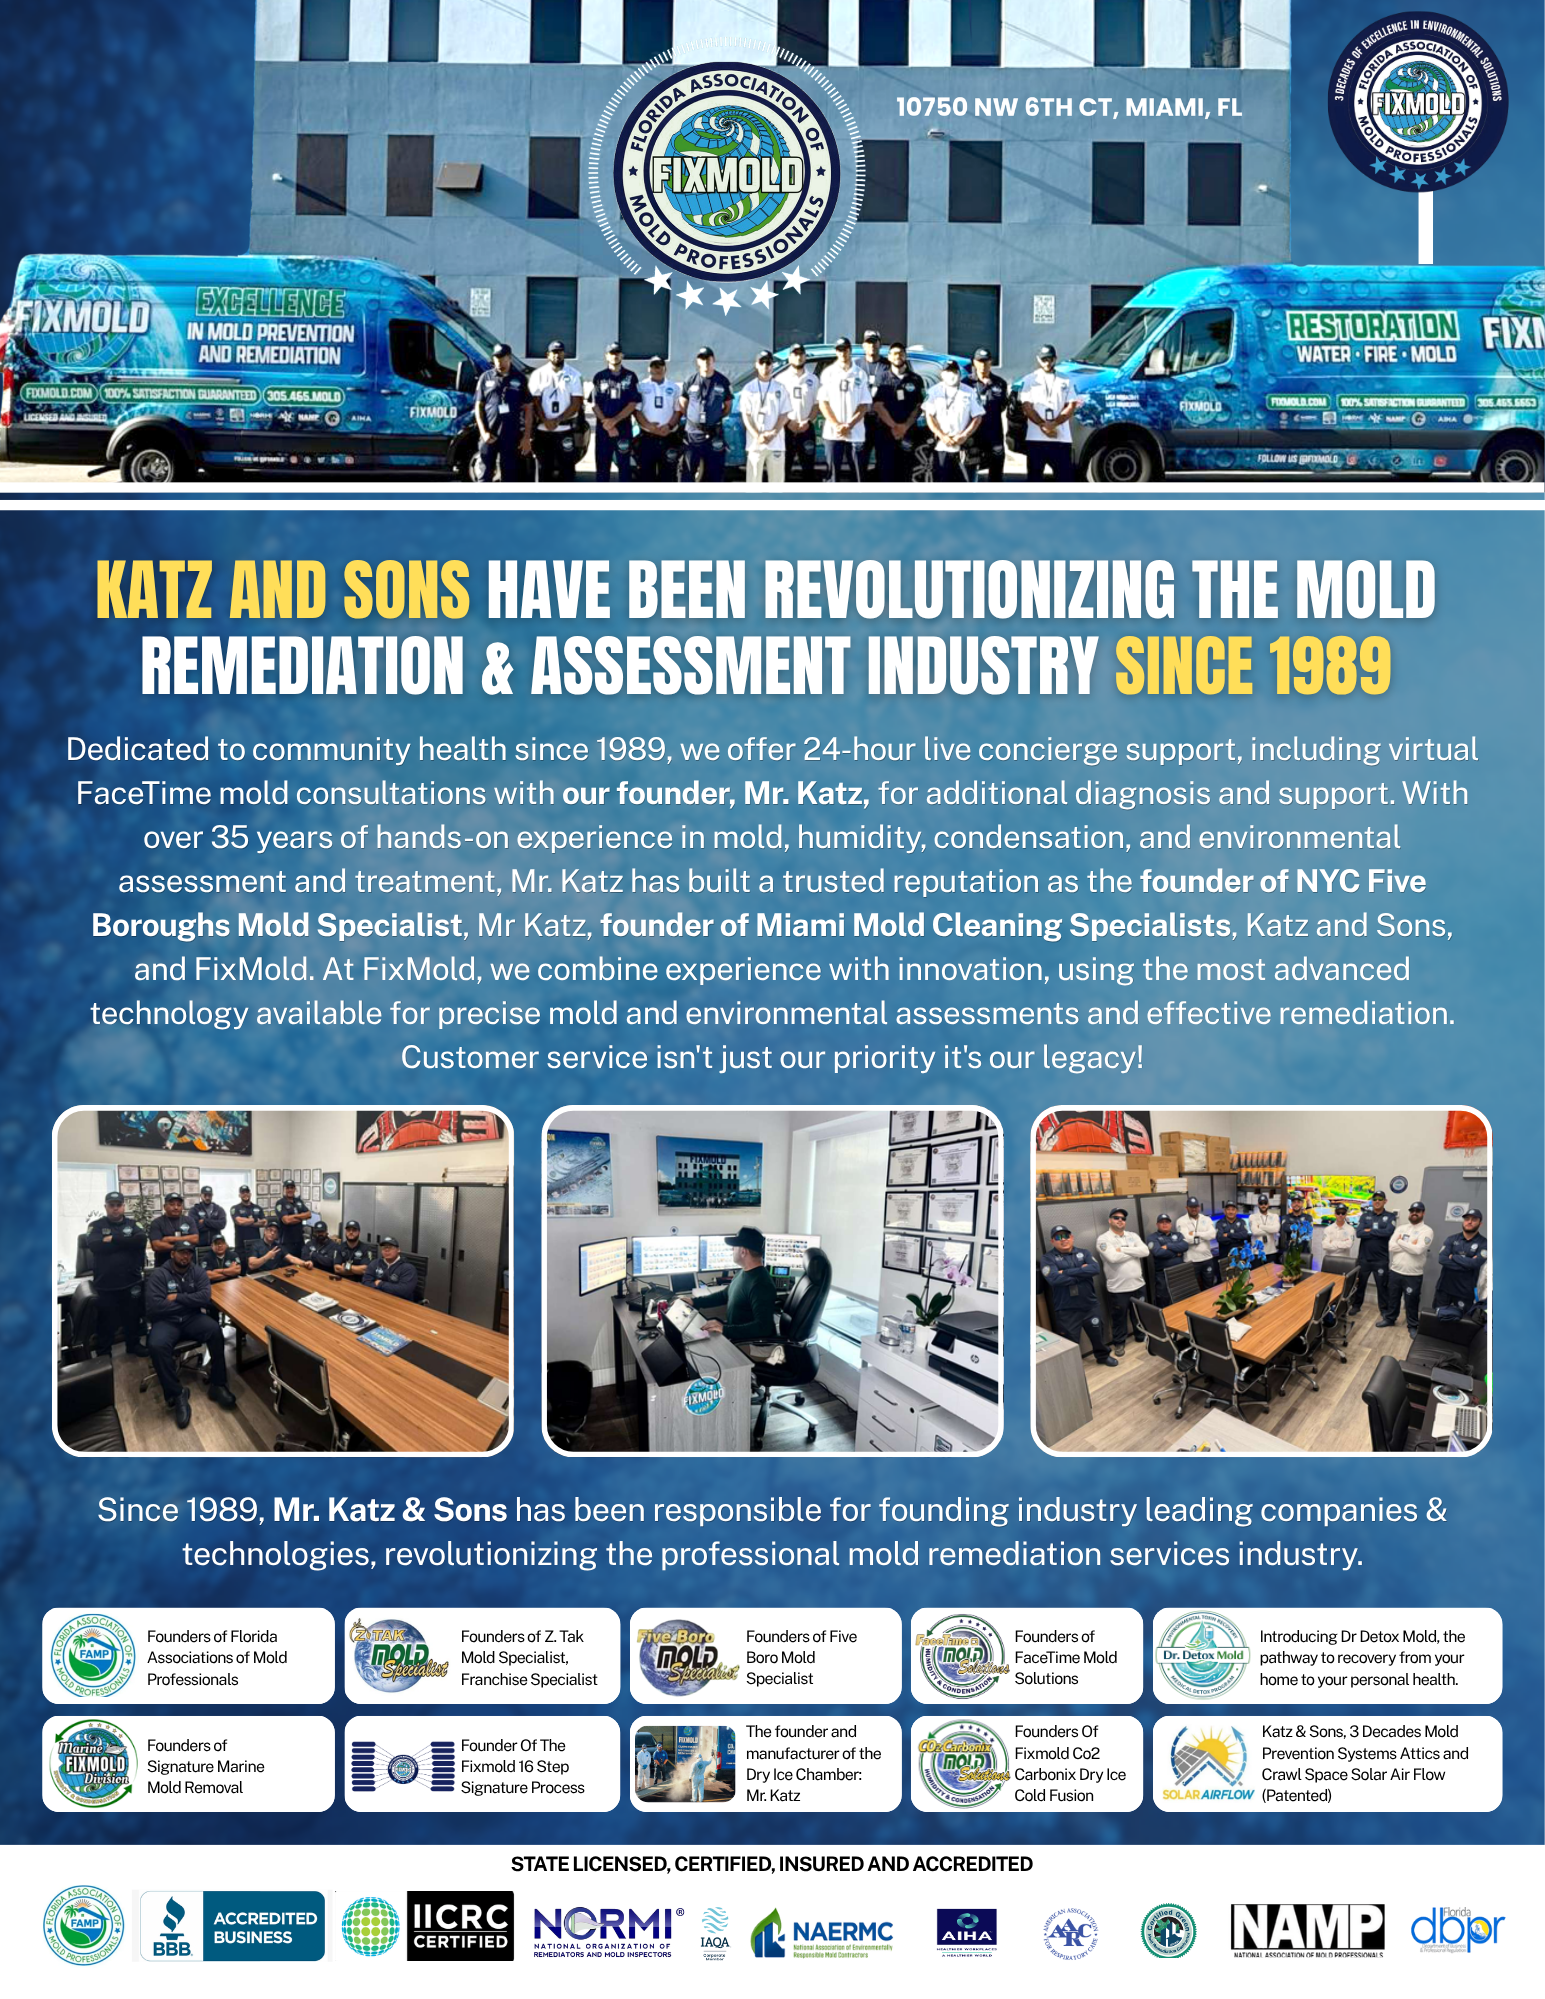
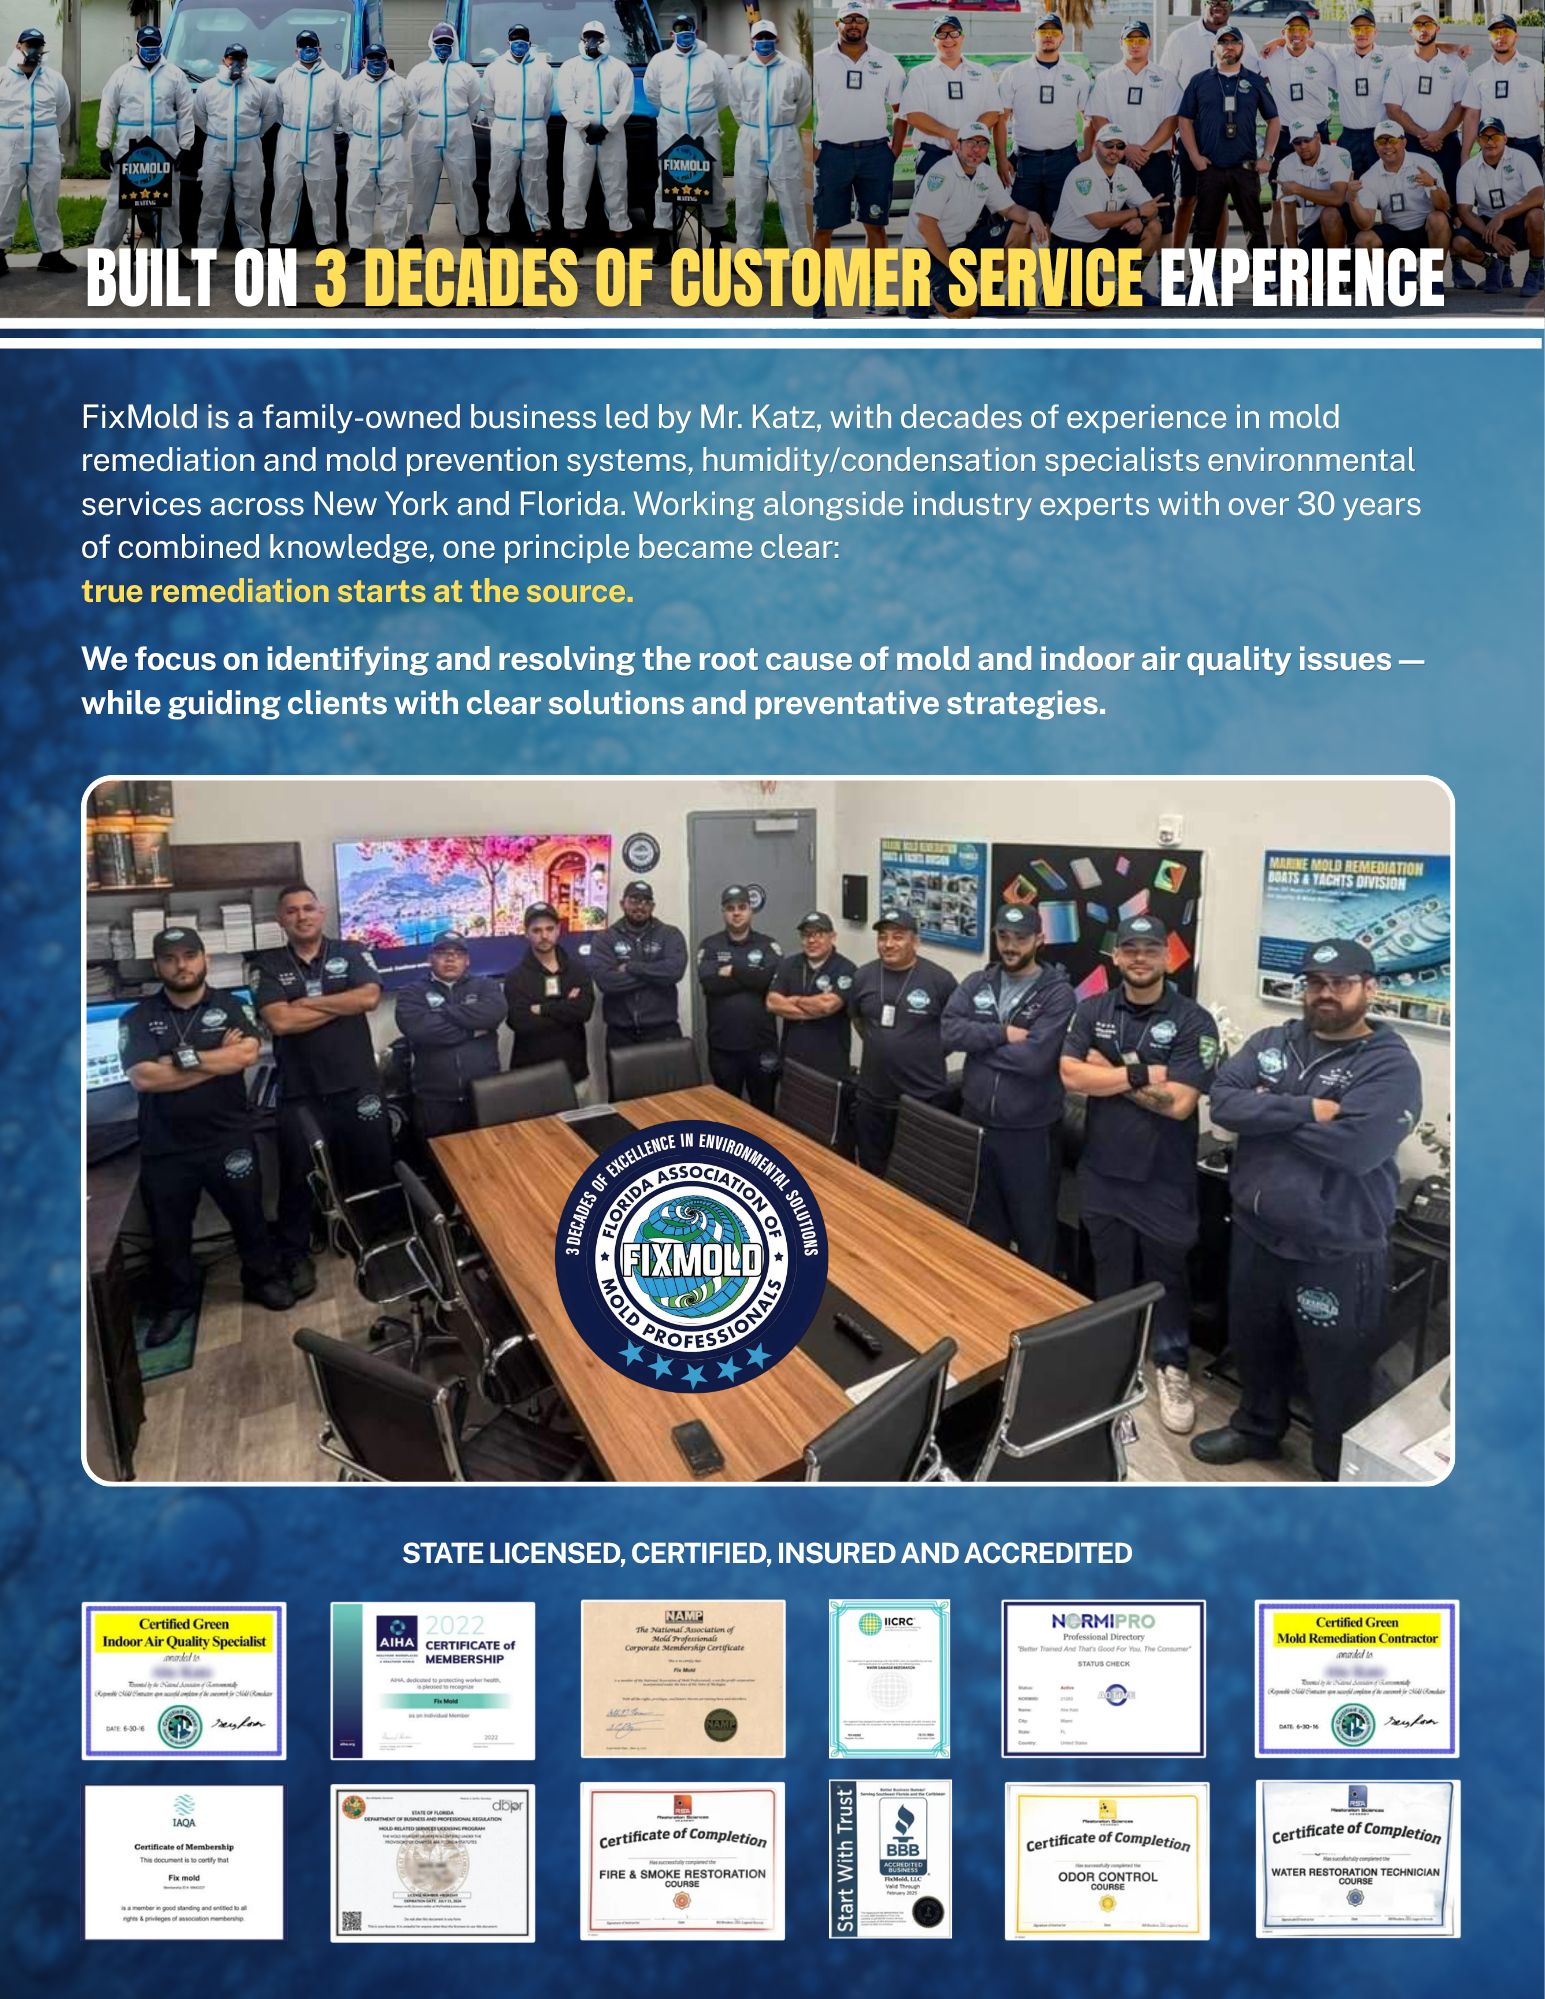
If you are dealing with mold issues in Palm Beach County, working with experienced professionals is essential for safe and effective results. FixMold provides reliable mold remediation services in Boynton Beach, following a proven, step-by-step remediation process that removes mold at the source and helps prevent future growth. Our team ensures your property is restored to a clean, healthy environment with minimal disruption.
FAQ
1. Does mold come back after remediation? Only if moisture sources aren’t fixed. Keep your home dry and ventilated.
2. How difficult is mold remediation? For professionals, it’s a standard but precise process. For homeowners, DIY attempts can be risky.
3. What’s the difference between mold removal and remediation? Mold removal = surface cleaning; mold remediation = full containment, removal, and prevention.
4. Can you sleep in a room after using mold remover? Wait 24 hours after cleaning before sleeping in that space.
5. What to wear for mold remediation? Wear gloves, an N95 mask, long sleeves, and eye protection.
6. How long are mold spores airborne after cleaning? Typically 24–48 hours, though HEPA filtration can reduce this to a few hours.
7. How often should you communicate with your residents during remediation? Daily updates are ideal if managing multi-family or commercial properties.
8. Is mold remediation an emergency? Yes, especially when black mold or large areas of contamination are present.
9. How long does it take to feel better after mold remediation? Most people notice relief within a few days, though recovery varies.
10. Can black mold be fully remediated? Yes—with professional containment, air filtration, and post-remediation testing.
JerushaJerusha - Author at Fix Mold Miami
Jerusha is a contributor at FixMold, specializing in mold remediation, indoor air quality, moisture control, and environmental wellness. She creates informative content focused on mold prevention, and advanced restoration solutions for residential and commercial properties.