Repair Guide: How to Fix Silicone Mold Flaws
Welcome to our comprehensive repair guide on fixing common flaws in silicone molds. Whether you’re dealing with a damaged or torn mold, or simply looking to restore and maintain the quality of your silicone mold, we’ve got you covered. Our expert tips and techniques will help you achieve the best results, ensuring your molds are in top shape for your projects.
Key Takeaways:
- Learn how to assess the damage to your silicone mold before starting the repair process.
- Discover DIY techniques for repairing silicone molds at home.
- Consider professional restoration services for complex mold repairs.
- Implement preventative maintenance strategies to extend the lifespan of your silicone mold.
- Follow our tips for avoiding common silicone mold issues and troubleshooting problems.
Assessing the Damage
Before proceeding with the repair process, it is important to assess the extent of damage to your silicone mold. By identifying and evaluating the flaws or damages your mold may have, you can effectively determine the best approach for repair.
To assess silicone mold damage, start by carefully examining the entire mold for any visible flaws. Look for tears, cracks, or deformations on the surface of the mold. Pay attention to the edges and corners, as these areas are more prone to damage.
Additionally, inspect the mold for any signs of wear and tear. Check if the mold has lost its flexibility or has become brittle over time. Flex the mold gently to see if there are any weak spots or areas that may require repair.
During the assessment process, it is crucial to evaluate the impact of the damage on the functionality of the mold. Consider how the flaws may affect the shape, texture, or overall quality of the final product. This evaluation will help you prioritize the repair needs and determine the level of repair required.
Pro Tip: If you are unsure about the severity of the damage or need assistance in assessing your silicone mold, seek advice from experienced mold repair professionals.
Now that you have assessed the damage to your silicone mold, you can move on to the next step of the repair process. In the following section, we will explore various DIY techniques to help you fix your silicone mold and restore it to its optimal condition.
| Common Mold Flaws | Evaluation |
|---|---|
| Tears or cracks | Determine the length, depth, and location of the tear or crack. Assess if it affects the functionality and integrity of the mold. |
| Deformations | Identify the extent of the deformation and evaluate if it will impact the final product’s shape and details. |
| Loss of flexibility | Check if the mold has become less flexible or rigid, as it may affect the ease of demolding and overall usability. |
| Brittleness | Determine if the mold has become brittle, as it may lead to cracking or breaking during use. |
| Surface imperfections | Inspect the mold for any imperfections, such as pitting or rough areas, which may need to be repaired for a smooth finish. |
DIY Silicone Mold Repair Techniques
If you enjoy taking on DIY projects, you’ll be pleased to know that repairing your silicone mold at home is entirely possible. Whether you’re dealing with minor flaws or more significant damages, this section will provide you with step-by-step instructions to fix your mold without professional help. By following these techniques, you can restore your mold to its original condition and save both time and money.
Simple Fixes
In some cases, your silicone mold may only require simple repairs. Here are a few common DIY fixes:
- Surface Scratches: If your mold has minor surface scratches, you can use fine-grit sandpaper to smooth them out. Gently sand the affected areas until the scratches are no longer visible.
- Torn Edges: To repair torn edges, apply a small amount of silicone adhesive to the damaged area and press the edges together firmly until the adhesive sets. Allow the mold to dry completely before use.
Complex Repairs
For more complex damages, such as large tears or missing sections, you may need to use additional materials and techniques:
- Patching: To patch large tears, apply a silicone molding compound over the damaged area. Smooth it out with a putty knife or your fingers and allow it to cure according to the product instructions.
- Rebuilding: If your mold has missing sections, you can use a two-part silicone mold-making compound to rebuild them. Mix the compounds according to the manufacturer’s instructions and carefully fill the gaps. Allow the mold to cure completely before use.
Remember to thoroughly clean and dry your mold before attempting any repairs. This will ensure better adhesion and a more successful repair.
Expert Tip: When working with silicone adhesive or mold-making compounds, make sure to wear protective gloves and work in a well-ventilated area.
By following these DIY silicone mold repair techniques, you can easily fix common flaws in your mold without the need for professional assistance. From simple fixes like surface scratches to more complex repairs like rebuilding missing sections, these step-by-step instructions will guide you through the entire process. Remember to assess the extent of the damage beforehand and choose the appropriate repair method accordingly.
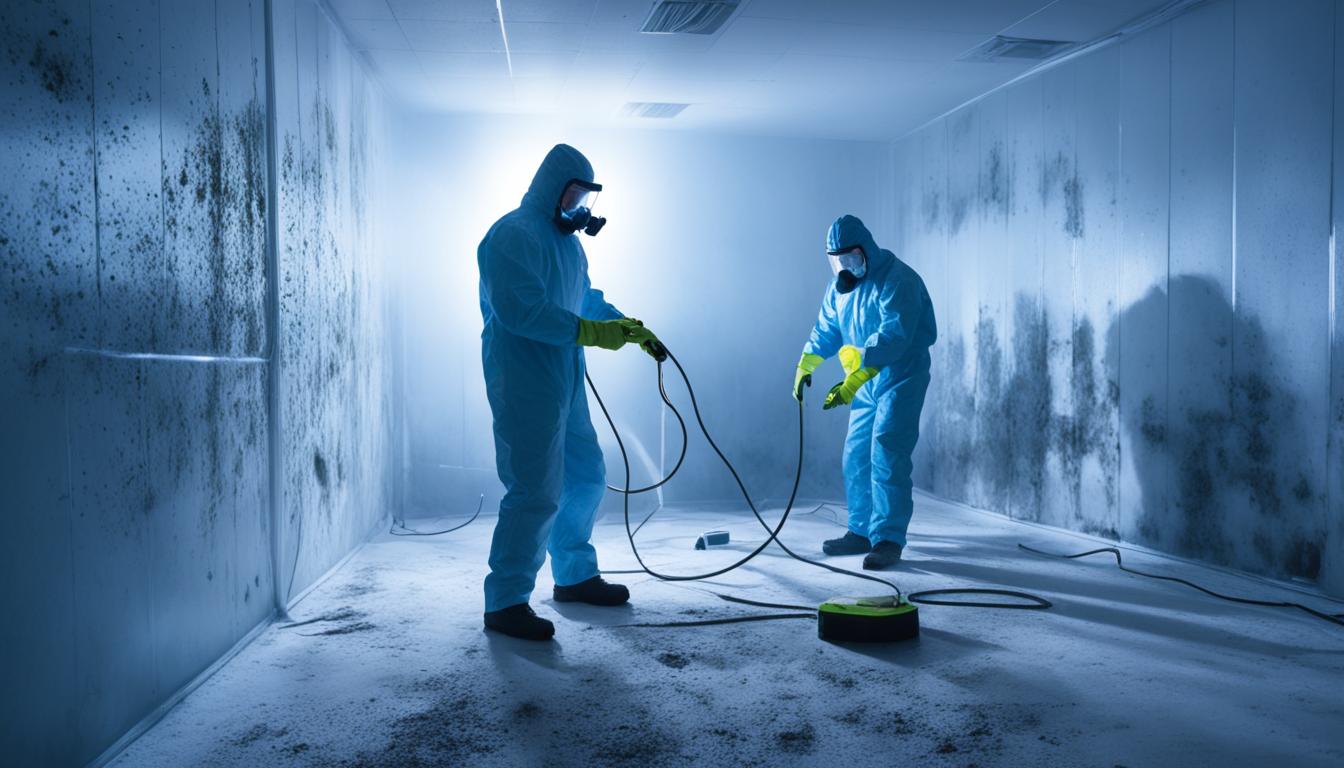
Professional Silicone Mold Restoration
If you prefer to seek professional assistance in restoring your silicone mold, there are expert mold repair specialists who can provide professional silicone mold repair and restoration services. Hiring mold repair experts offers several benefits, including their specialized knowledge, skills, and access to professional-grade materials and equipment.
When it comes to professional silicone mold restoration, it is important to choose the right experts for the job. Here are some key tips to help you find and hire the best mold repair professionals for your specific needs:
- Research and gather recommendations: Begin your search by conducting thorough research on mold repair experts in your area. Look for reviews, testimonials, and recommendations from trusted sources such as friends, colleagues, or online forums. Compile a list of potential professionals to consider.
- Check qualifications and experience: Verify the qualifications, certifications, and experience of the mold repair experts on your list. Look for professionals who specialize in silicone mold repair and restoration and have a track record of successful projects.
- Request samples of previous work: Ask the mold repair experts for samples or examples of their previous repair and restoration work. This will give you an idea of their craftsmanship and the quality of their repairs.
- Get multiple quotes: Contact several mold repair professionals and request quotes for their services. Compare the prices, turnaround times, and warranties offered by each professional to make an informed decision.
- Ask about the repair process: During the consultation or quote request, ask the professionals about their repair process. A reputable mold repair expert should be able to explain the steps involved in restoring your silicone mold and address any specific concerns or questions you may have.
- Check for insurance coverage: Ensure that the mold repair experts you are considering have adequate insurance coverage. This will protect you from any liability in case of accidents or damages during the restoration process.
- Read and understand the contract: Before hiring a mold repair professional, carefully review and understand the terms and conditions outlined in the contract. Pay attention to factors such as warranties, payment terms, and any additional fees or charges.
By following these tips, you can confidently select a reputable and reliable mold repair expert who can restore your silicone mold to its original condition. Investing in professional mold restoration services ensures that your mold receives the utmost care and expertise, resulting in a durable and high-quality mold for your future projects.

| Criteria | Expert A | Expert B | Expert C |
|---|---|---|---|
| Qualifications | Certified mold repair specialist | Extensive experience in silicone mold restoration | Specialization in complex mold repairs |
| Price | $500 | $700 | $600 |
| Turnaround Time | 5 days | 7 days | 5 days |
| Warranty | 1 year | 6 months | 1 year |
| Customer Reviews | 4.5 stars | 4 stars | 5 stars |
Preventative Maintenance for Silicone Molds
Proper maintenance of silicone molds is essential to avoid future mold issues and ensure the longevity and quality of your molds. By following these essential tips and techniques, you can prevent common mold flaws and keep your molds in optimal condition.
- Regular Cleaning: Clean your silicone molds thoroughly after each use to remove any residue or trapped particles. Rinse them with warm water and mild soap, and use a soft brush to gently scrub the surface. Avoid using abrasive cleaners or scrubbers that can damage the mold.
- Drying: After cleaning, make sure your molds are completely dry before storing them. Moisture can encourage mold growth or cause the molds to deteriorate over time. Use a clean towel or air dry the molds in a well-ventilated area.
- Proper Storage: Store your silicone molds in a cool, dry place away from direct sunlight and extreme temperatures. Avoid stacking or folding the molds, as this can lead to deformation or warping. Consider using a dedicated storage container or drawer to keep them organized and protected.
- Avoid Sharp Objects: Be cautious while handling and using sharp tools or utensils with your silicone molds. Scratches or cuts can weaken the mold’s surface and make it more susceptible to damage. Always use silicone or plastic-friendly tools when working with your molds.
- Use Proper Release Agents: When using your silicone molds for baking or casting, apply a thin layer of appropriate release agent to ensure easy demolding. This can prevent excessive stretching or tearing of the mold, minimizing the risk of damage.
- Inspect for Wear and Tear: Regularly inspect your silicone molds for any signs of wear or damage, such as cracks, tears, or loss of flexibility. This will allow you to address any issues promptly and prevent further damage during future uses.
By following these preventative maintenance techniques, you can enjoy long-lasting and reliable performance from your silicone molds for various crafting, baking, and casting projects.

Troubleshooting Tip:
If you notice any mold damage or flaws, it’s important to address them right away. Small tears or cracks can be repaired using silicone adhesive or mold repair kits available in the market. Follow the manufacturer’s instructions for the best results.
| Common Mold Flaws | Possible Causes | Solutions |
|---|---|---|
| Torn or Damaged Surface | Excessive force during demolding, sharp objects | Repair using silicone adhesive or mold repair kits |
| Deformed Shape | Improper storage, stacking molds, extreme temperatures | Store molds properly, avoid stacking or folding, maintain proper temperature conditions |
| Sticky Surface | Residue buildup, improper cleaning or drying | Thoroughly clean and dry the molds after each use, use appropriate release agents |
Tips for Avoiding Silicone Mold Damage
To ensure the longevity and quality of your silicone molds, it is important to follow best practices and avoid potential damage. By implementing these tips and guidelines, you can prevent mold flaws and maintain the integrity of your molds.
1. Proper Handling
Handle your silicone molds with care, avoiding any rough or forceful movements that could lead to tears or distortions. When removing cured items from the mold, gently flex the mold to release the item instead of forcefully pulling or stretching it.
2. Use Release Agents
To prevent items from sticking to the mold, consider using a release agent before pouring your silicone. This can be as simple as applying a thin coat of a suitable release agent, such as cooking spray, to the mold surface.
3. Avoid Extreme Temperatures
Extreme temperatures can damage silicone molds, causing them to warp, melt, or lose their shape. Avoid exposing your molds to high heat sources, such as ovens or direct sunlight, and store them in a cool, dry place when not in use.
4. Clean Properly
After each use, clean your silicone molds thoroughly to remove any residue or debris. Use mild dish soap and warm water, and avoid abrasive cleaners or scrubbing tools that could scratch or damage the mold surface.
5. Store Carefully
When storing your silicone molds, ensure they are clean and completely dry to prevent the growth of mold or mildew. Store them in a dust-free environment, preferably in a container or bag that provides protection from dust and moisture.
6. Choose the Right Materials
Use compatible materials and additives when working with silicone molds to prevent chemical reactions or degradation. Make sure that the materials you pour into the molds are suitable for use with silicone and won’t cause any damage or unwanted effects.
7. Avoid Overfilling
Avoid overfilling your silicone molds, as this can result in excess pressure and stretching, leading to tears or distortions. Follow the manufacturer’s guidelines for recommended fill levels and leave some room for expansion if necessary.
“By following these tips and best practices, you can avoid silicone mold damage, prevent mold flaws, and ensure the longevity and quality of your molds.”
| Benefits of Following These Tips | Risks of Ignoring These Tips |
|---|---|
|
|
Troubleshooting Common Silicone Mold Issues
Even with proper maintenance, silicone molds may encounter certain issues. This section will address common mold problems and provide troubleshooting solutions to help you overcome these challenges and achieve optimal mold performance.
1. Air Bubbles in the Mold
One common problem with silicone molds is the formation of air bubbles, which can affect the quality of your casts. To prevent air bubbles, make sure to properly mix and pour the liquid into the mold, tapping it gently on a surface to release any trapped air. If air bubbles still occur, you can use a heat gun or torch to carefully remove them. Apply heat in a sweeping motion over the surface of the mold to release the trapped air.
2. Mold Sticking to the Cast
Another issue that may arise is the mold sticking to the cast, making it difficult to remove without damaging both the mold and the cast. To prevent this, apply a release agent or a thin layer of baby powder to the mold before pouring the material. This will create a barrier and make it easier to separate the mold from the cast once it has cured. Additionally, you can try freezing the mold and the cast for a short period to shrink the materials and facilitate their separation.
3. Torn or Damaged Mold
If your silicone mold has tears or damages, it can affect the quality of your casts. To repair a torn mold, you can use silicone adhesive or silicone caulking to seal the tear. Apply a small amount of adhesive or caulking to a clean surface and press the torn edges together. Allow it to cure according to the manufacturer’s instructions before using the mold again. For more significant damages, you may need to create a new mold to ensure accurate and flawless casts.
4. Uneven Curing of the Material
Uneven curing of the casting material can result in inconsistent and imperfect casts. To prevent this issue, make sure to thoroughly mix the material according to the manufacturer’s instructions. It is also essential to allow the material to cure in a controlled environment with proper temperature and humidity levels. If you notice uneven curing, try increasing or decreasing the curing time and temperature within the recommended range to achieve optimal results.
5. Surface Imperfections
Sometimes, the surface of the casts may have imperfections such as roughness or unevenness. To improve the surface quality, you can sand the cast using fine-grit sandpaper or use a mold release agent to create a smoother finish. Additionally, inspecting the mold for any debris or imperfections before casting can help prevent surface issues.
6. Mold Warping
Mold warping can occur due to various factors, including temperature fluctuations and improper storage. To prevent mold warping, store your molds in a cool, dry place away from direct sunlight. Avoid exposing the molds to extreme temperatures, as this can cause deformation. If you notice any warping, try gently heating the mold with a heat gun or warm water and then applying pressure to flatten it. However, severe warping may require replacing the mold.
| Common Mold Problem | Troubleshooting Solution |
|---|---|
| Air Bubbles | Properly mix and pour the material, tap the mold to release trapped air, use heat to remove remaining bubbles. |
| Mold Sticking to the Cast | Apply a release agent or baby powder to the mold, freeze the mold and cast for easier separation. |
| Torn or Damaged Mold | Use silicone adhesive or caulking to seal tears, create a new mold for significant damages. |
| Uneven Curing | Thoroughly mix the material, ensure proper curing conditions, adjust curing time and temperature if needed. |
| Surface Imperfections | Sand the cast, use mold release agent, inspect and clean the mold before casting. |
| Mold Warping | Store molds in a cool, dry place, avoid extreme temperatures, heat and flatten warped molds if possible. |
Conclusion
In conclusion, this comprehensive repair guide equips you with the necessary knowledge and techniques to effectively fix and restore your silicone molds. Whether you decide to take on the repairs yourself or enlist professional assistance, maintaining and preserving the quality of your silicone molds is crucial for achieving optimal results in your projects.
Regularly assessing your mold’s condition is key in identifying and addressing any flaws or damages. By being proactive and following preventative maintenance tips, you can prolong the lifespan of your molds and ensure their longevity.
Remember that troubleshooting common mold issues promptly and effectively is essential for maintaining optimal mold performance. By implementing the techniques covered in this guide, you can overcome challenges and enjoy continuous success with your silicone molds.
FAQ
How do I assess the damage to my silicone mold?
To assess the damage to your silicone mold, carefully examine the mold for any visible flaws or tears. Check for any distorted or uneven areas that could affect the mold’s performance. Additionally, look for any signs of wear and tear or structural damage. By thoroughly inspecting the mold, you can determine the extent of the damage and what repairs may be necessary.
Can I repair a torn silicone mold myself?
Yes, it is possible to repair a torn silicone mold yourself. There are several DIY techniques you can use, such as using silicone adhesive or patching the tear with additional silicone. However, the success of the repair will depend on the severity of the tear and your skill level. It’s important to follow the instructions carefully and ensure that the repaired area is smooth and secure to prevent any leakage or further damage.
Should I hire a professional for silicone mold restoration?
Hiring a professional for silicone mold restoration can be beneficial, especially if the mold has significant damage or if you’re unsure about the repair process. Professionals have the expertise and specialized tools to handle complex mold repairs effectively. They can also provide you with guidance on preventive maintenance and preserve the longevity of your mold. Consider contacting a reliable mold repair service to assess the damage and determine if professional restoration is required.
How can I prevent damage to my silicone molds?
To prevent damage to your silicone molds, there are a few essential tips to follow. Firstly, always handle the molds with care and avoid using sharp or abrasive tools that could cause cuts or tears. Secondly, ensure that the molds are stored in a cool and dry place to prevent any moisture damage. Additionally, when using the molds, make sure to apply a release agent or non-stick spray to facilitate the easy removal of the castings. Regularly inspect and clean the molds, removing any residue or debris that may affect their performance.
What are some common issues with silicone molds and how do I troubleshoot them?
Some common issues with silicone molds include air bubbles in the castings, improper curing, and difficulty in releasing the castings from the mold. To troubleshoot these issues, you can try using a vacuum chamber to remove air bubbles, adjusting the curing time and temperature, and applying a suitable mold release agent. Additionally, ensure that you are using high-quality casting materials and following the manufacturer’s instructions accurately. If the problems persist, refer to the mold’s documentation or consult with mold repair professionals for further assistance.