Repair Guide: Fix Rotted Brick Mold Effectively
Are you dealing with unsightly and deteriorating brick mold? Whether it’s due to moisture damage, age, or other factors, rotted brick mold can compromise the integrity of your home’s exterior and reduce its curb appeal. But don’t worry – fixing rotted brick mold is a manageable task that can be done with the right tools and some elbow grease. In this article, we’ll guide you through the steps necessary for effective repair, ensuring your home stays protected and looking great for years to come.
Key Takeaways
- Understanding the causes of rotted brick mold can help prevent future issues.
- Assessing the damage and acquiring the necessary tools and materials is crucial for a successful repair.
- Removing the damaged mold and repairing the substrate below it are key steps in the repair process.
- Installing new brick mold, sealing, caulking, and adding finishing touches complete the repair.
- Regular maintenance and inspections can prevent future rotted brick mold issues.
Understanding Rotted Brick Mold
Brick mold is a trim used for covering gaps between the exterior walls and the window or door frames. When exposed to moisture, it can rot and cause further damage to the substrate. Understanding the causes of rotted brick mold is key to fixing the issue promptly.
Some common causes of brick mold deterioration include:
- Exposure to moisture from rain, snow, or irrigation systems;
- Poor installation that doesn’t allow for proper ventilation;
- Use of low-quality materials that are more susceptible to rotting;
- Insects or pests that feed on the wood fiber;
- Age-related wear and tear.
Identifying the root cause of the problem is essential to repairing rotted brick mold effectively. Neglecting this issue may result in extensive wood rot and even structural damage to your home.
Assessing the Extent of the Damage
Before you begin repairing your rotted brick mold, it’s important to assess the extent of the damage. In some cases, only a small section of the mold may need replacing. However, in more severe cases, the entire mold could be compromised.
Start by inspecting the area for signs of rot or water damage. Use a screwdriver or similar tool to probe the wood and check for soft spots or crumbling. If you can poke through the wood easily, it’s a sign that the rot has spread.
Next, determine the size of the damaged area. Measure the length, width, and depth of the rotted section. This will help you determine the amount of replacement material you’ll need.
Finally, take note of any other issues that may impact your repair efforts. For example, if the rotted mold is near a window or door, you may need to check for water damage around the frame as well.
By thoroughly assessing the extent of the damage, you’ll be better equipped to plan and execute the necessary repairs for your brick mold restoration.
Tools and Materials Needed
Before repairing your rotted brick mold, it’s important to have the right tools and materials on hand. Here’s everything you’ll need to get the job done:
| Tools | Materials |
|---|---|
|
|
Make sure to gather all necessary tools and materials beforehand for a seamless and successful repair process.
Removing the Rotted Brick Mold
When it comes to replacing rotted brick mold, the first step is to remove the damaged sections. Here are the steps involved:
- Begin by examining the rotted brick mold to assess the extent of the damage.
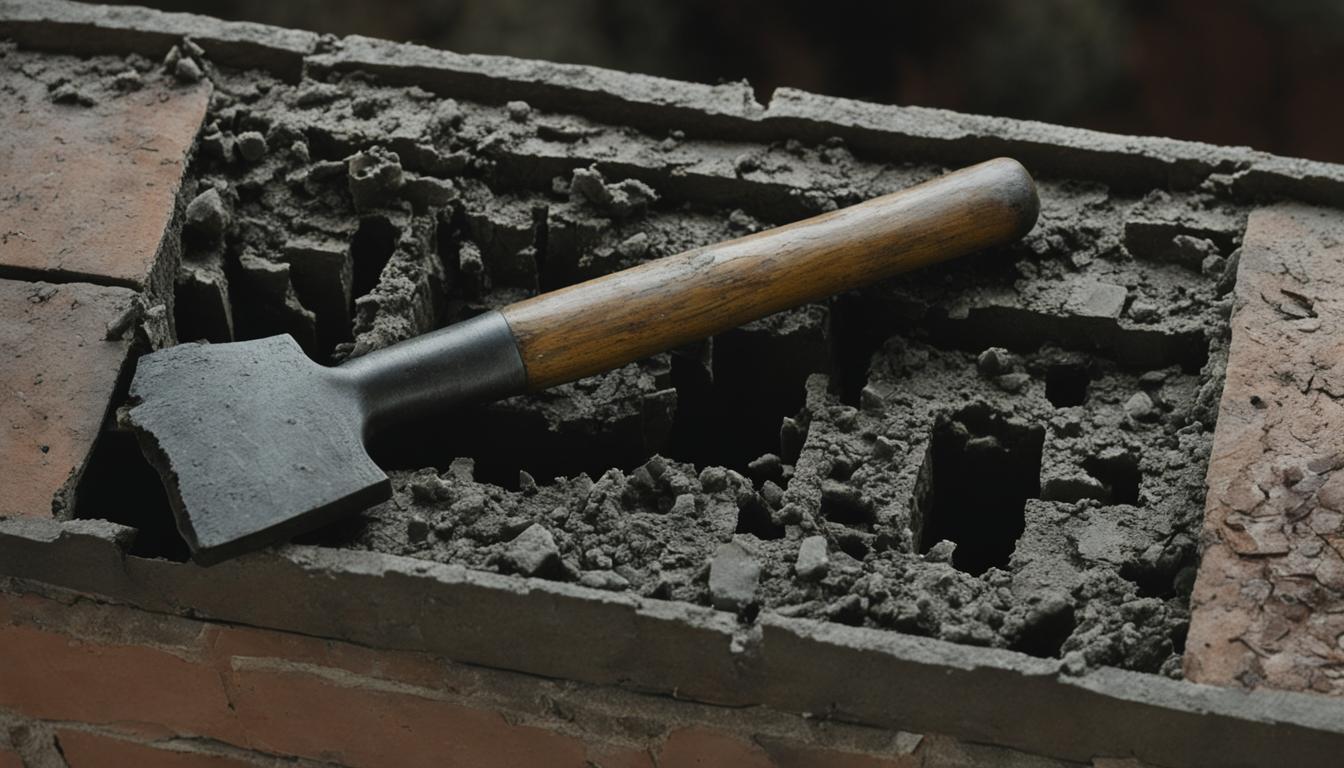
- Next, use a utility knife or reciprocating saw to cut away the damaged sections of the mold. Be sure to cut all the way through to the substrate beneath.
- Once the mold is removed, use a pry bar or chisel to carefully remove any remaining nails or fasteners from the substrate.
- Inspect the substrate for damage, and make any necessary repairs before proceeding with installing new brick mold.
By following these steps, you can safely and effectively remove the rotted brick mold and prepare for the next phase of the repair process.
Repairing the Substrate
When fixing rotted brick mold, it’s essential to repair the damaged substrate to provide a secure foundation for the new mold. This requires assessing the extent of the substrate damage, which may involve removing any damaged wood or other materials in the surrounding areas.
Here are some steps to follow when patching or replacing the damaged substrate:
- Remove any rotted or corroded materials in the affected areas.
- Cut a new piece of wood or other material to match the size and shape of the removed section.
- Apply wood preservative to the new patch to prevent future rotting.
- Secure the new patch to the surrounding materials using screws or nails.
If you’re unsure about how to assess or repair the damaged substrate, it’s best to consult with a professional who can provide expert guidance and ensure a proper repair job.
Brick Mold Repair Table:
| Materials Needed: | Tools Needed: |
|---|---|
|
|
Installing New Brick Mold
After removing the damaged brick mold and repairing the substrate, it’s time to install the new brick mold. Proper installation techniques are crucial to ensure a secure, long-lasting repair.
Start by measuring the length and width of the area to be replaced. Then, using those measurements, cut the new brick mold to fit. It’s important to use the same type of wood or material as the original mold and to prime and paint the new mold before installation.
Next, attach the new mold securely to the substrate using nails or screws. Make sure to drill pilot holes to prevent splitting. Keep the nail heads or screw heads flush with the surface of the mold to ensure a smooth finish.
Finally, fill any gaps between the brick mold and the siding with caulk, such as silicone or polyurethane caulk, to prevent water intrusion and improve the mold’s appearance. Allow the caulk to dry completely before painting.
Sealing and Caulking
After replacing the rotted brick mold, it’s important to seal and caulk the area thoroughly to prevent further damage. The right sealant and caulk will provide maximum durability and weather resistance. Here are some tips on how to seal and caulk the repaired areas:
- Select the right sealant: Choose a sealant that is specifically designed for outdoor use and appropriate for the type of material you’re working with. Some common types include silicone, polyurethane, and latex-based sealants.
- Clean the area: Before applying the sealant, make sure the area is clean and free of debris. Use a wire brush or sandpaper to remove any loose paint, dirt, or other particles.
- Apply the sealant: Apply the sealant evenly, using a caulk gun or other applicator. Make sure to fill any gaps or cracks in the repaired area.
- Smooth and shape the sealant: Use a wet finger or tool to smooth and shape the sealant, ensuring a clean and even finish.
- Allow time to dry: Follow the manufacturer’s instructions for drying time, and avoid touching or disturbing the sealant while it dries.
Once the sealant has dried, you can also apply a coat of paint or other finishing touch to complete the repair. By following these steps, you can ensure a long-lasting, durable repair for your rotted brick mold.
Painting and Finishing Touches
After all the necessary repairs have been made, it’s time to add the finishing touches to your rotted brick mold fix. The final steps include priming, painting, and adding any needed trim or other decorative elements to blend seamlessly with your home’s existing exterior.
For best results, start by applying a coat of primer to the newly repaired areas. This will help ensure a smooth, even finish and increase the durability of the paint. Once the primer has dried, apply one or two coats of exterior paint, taking care to match the color and finish of your home’s existing exterior trim.
When painting brick mold, it’s important to use a high-quality exterior paint that can withstand the elements and provide long-lasting protection. You may also want to consider adding a clear coat or sealant to further protect the surface from moisture and other environmental factors.
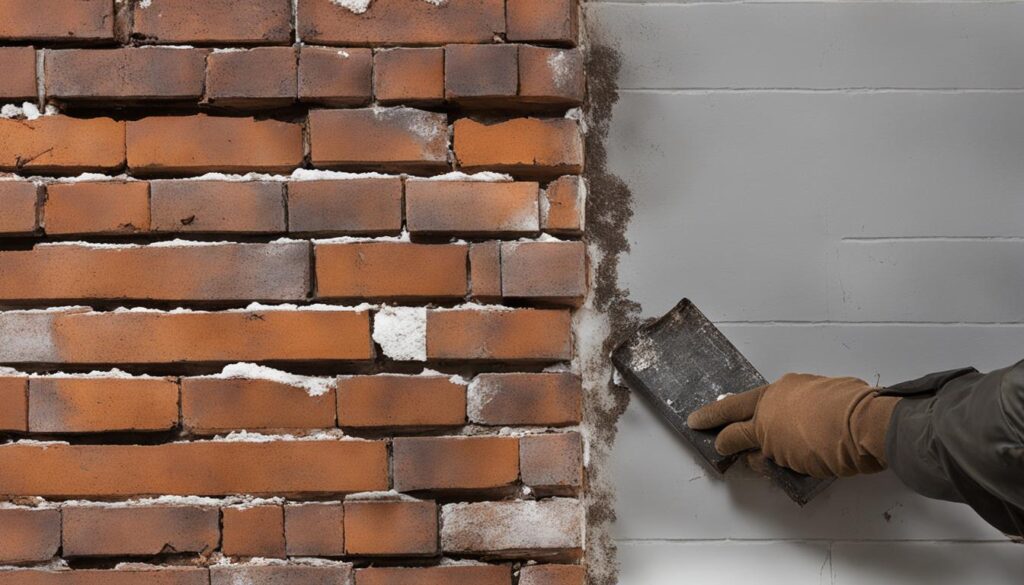
Finally, if you removed any decorative trim during the repair process, now is the time to reattach it or add new elements as needed. Take care to align the new mold and trim with the existing exterior, ensuring a seamless integration that enhances the overall look and value of your home.
Preventing Future Rotted Brick Mold
Proper upkeep and maintenance can effectively prevent future rotted brick mold issues. Here are some tips:
- Regularly inspect your exterior trim for signs of damage or deterioration.
- Maintain proper ventilation around your home to prevent moisture buildup.
- Trim back foliage or trees that may obstruct airflow or damage your exterior trim.
- Seal and paint your exterior trim regularly to protect against water damage and rot.
- Consider replacing your exterior trim with non-wood alternatives that are less prone to rot, such as vinyl or PVC.
By taking these preventive measures, you can avoid costly repairs and keep your home’s exterior looking great for years to come.
Professional Assistance vs. DIY Repairs
When it comes to repairing rotted brick mold, homeowners may wonder whether to hire a professional or attempt a DIY repair. Both options have their own set of pros and cons.
DIY Brick Mold Repair
A DIY repair can be cost-effective and rewarding for those with the necessary skills and tools. It allows for greater flexibility and customization, as well as a sense of pride and accomplishment in completing the repair oneself. However, for those who lack experience or knowledge, a DIY repair can be time-consuming, frustrating, and potentially more costly in the long run.
Professional Brick Mold Repair
A professional repair ensures a high-quality and efficient repair, backed by the expertise and experience of a trained contractor. It also relieves the homeowner of the burden of purchasing and using specialized tools and materials. However, professional repairs can be expensive, and there is less flexibility in terms of customization and timeline.
In the end, the decision to go with a DIY repair or hire a professional boils down to personal preferences, budget, and skill level. It is important to weigh the pros and cons carefully, and to ensure a realistic assessment of one’s ability and resources.
Cost Considerations
When considering the cost of fixing rotted brick mold, several factors come into play. One of the primary considerations is whether to replace the brick mold or attempt to repair it. In some cases, repairing the mold may be a cost-effective solution for minor damage. However, if the mold is extensively damaged, replacement may be the only option. The cost of replacement can vary depending on factors such as:
- The size and scope of the project
- The type of material used for the replacement
- The complexity of the installation process
- The cost of labor in your area
On average, the cost of brick mold replacement can range from $300 to $800, while the cost of repairing rotted brick mold can be as low as $50. However, it’s worth noting that attempting a DIY repair can often lead to more significant expenses down the road if the repair is not done correctly. Hiring a professional may be a wise investment to avoid future costly repairs.
Comparing Repair vs. Replacement Costs
To help you determine the most cost-effective solution for fixing your rotted brick mold, here is a quick comparison:
| Repair Cost | Replacement Cost | |
|---|---|---|
| Material Cost | $50-$200 | $300-$800 |
| Labor Cost | $50-$100 per hour | $75-$125 per hour |
| Total Cost | $150-$500 (DIY) $300-$600 (Professional) |
$600-$1500 (Professional) |
As you can see, the total cost for repairing rotted brick mold can vary significantly depending on whether you choose to DIY or hire a professional. While DIY repairs may seem like a cost-effective option, it’s important to consider the potential risks and additional expenses involved. In contrast, hiring a professional can ensure a long-lasting repair that adds value to your home.
Other Exterior Trim Restoration Tips
While replacing rotted brick mold is an essential step in maintaining the exterior of your home, it’s just one part of the larger picture. Here are some additional tips and insights on restoring other exterior trim elements:
Wood Trim:
Wood trim is susceptible to rot and decay, just like brick mold. To prevent this, it’s essential to keep the wood properly sealed and painted. If you do encounter rot, you’ll need to replace the affected sections and treat the surrounding areas with a wood preservative to prevent future issues.
Gutters and Downspouts:
Gutters and downspouts are critical components of your home’s drainage system. If they become clogged or damaged, they can lead to water damage and other issues. Regular cleaning and maintenance are essential to prevent clogs and blockages, and you should also inspect them periodically for damage or wear and tear.
| Issue | Solution |
|---|---|
| Cracks or holes in gutters or downspouts | Seal with waterproof caulk or replace the damaged section |
| Clogs or blockages | Clean regularly or install gutter guards |
| Loose or sagging gutters | Reattach with gutter brackets or hangers |
Windows and Doors:
Windows and doors are an essential part of your home’s insulation and security. Over time, the seals and weatherstripping can become worn, leading to air leaks and drafts. Regular maintenance is important, including lubricating locks and hinges, replacing worn weatherstripping, and re-caulking any gaps or cracks.
Exterior Paint:
Your home’s exterior paint not only provides aesthetic appeal but also protects against the elements. Over time, the paint can peel, fade, or blister due to exposure to sun, wind, and rain. A fresh coat of paint can restore your home’s appearance and protect against further damage.
By staying on top of these common exterior maintenance tasks, you can ensure your home remains attractive, comfortable, and secure for years to come.
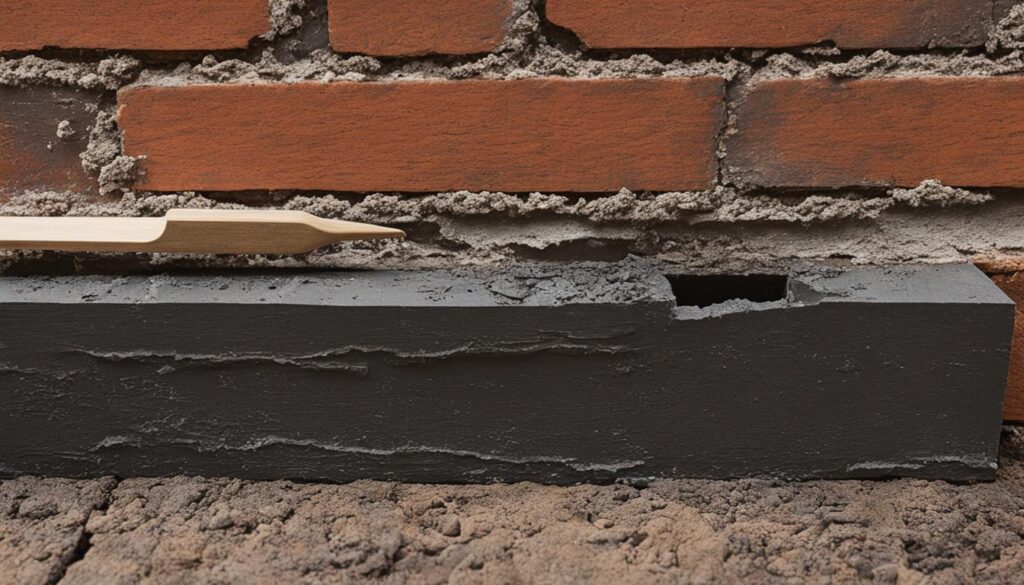
Conclusion
In conclusion, fixing rotted brick mold is crucial for maintaining the structural integrity and curb appeal of your home. With the right tools, materials, and techniques, you can tackle this DIY project and achieve long-lasting results.
Remember to assess the extent of the damage, remove the rotted brick mold, repair the substrate, and install new mold securely. Sealing, caulking, painting, and adding finishing touches will ensure a seamless integration with the rest of your exterior trim.
Preventing future rotted brick mold is just as important, so make sure to perform regular inspections, ensure proper ventilation, and maintain your home’s exterior regularly. If you’re not comfortable doing the repairs yourself, consider hiring a professional for assistance.
Overall, fixing rotted brick mold can be a cost-effective way to protect your home and maintain its value. Don’t wait until it’s too late to take action. Start your brick mold restoration project today and enjoy a beautiful, healthy home for years to come.
FAQ
Can I fix rotted brick mold myself?
Yes, you can fix rotted brick mold yourself with the right tools and materials. This guide provides step-by-step instructions to help you through the repair process.
How do I know if my brick mold is rotted?
You can identify rotted brick mold by checking for signs of decay, such as discoloration, soft spots, or crumbling. If you notice any of these signs, it’s essential to address the issue promptly.
What causes brick mold to rot?
Brick mold can rot due to prolonged exposure to moisture, humidity, insect damage, or improper installation. Lack of proper maintenance can also contribute to the deterioration of brick mold.
What tools and materials do I need for rotted brick mold repair?
The tools and materials you’ll need for rotted brick mold repair include a pry bar, circular saw, hammer, nails, caulk gun, exterior grade caulk, wood filler, replacement brick mold, primer, paint, and brushes.
How do I remove rotted brick mold?
To remove rotted brick mold, use a pry bar to carefully lift and remove the damaged sections. Make sure to take precautions to avoid causing further damage to the surrounding areas.
What should I do with the substrate beneath the rotted brick mold?
If the substrate beneath the rotted brick mold is damaged, you’ll need to repair or replace it. This may involve patching it with wood filler or replacing sections of damaged material.
How do I install new brick mold?
Installing new brick mold involves measuring and cutting the replacement pieces to fit, then attaching them securely to the exterior using nails and caulk to ensure a tight seal.
Do I need to seal and caulk after repairing rotted brick mold?
Yes, sealing and caulking after repairing rotted brick mold is crucial to prevent moisture infiltration and future damage. Select an exterior-grade sealant and caulk suitable for your specific needs.
Can I paint over repaired brick mold?
Yes, after repairing rotted brick mold, you can prime and paint it to achieve a finished appearance. Follow recommended paint guidelines and ensure the mold is completely dry before painting.
How can I prevent future rotted brick mold issues?
To prevent future rotted brick mold issues, it’s essential to maintain proper ventilation, regularly inspect and maintain exterior trim, and promptly address any signs of damage or decay.
Should I hire a professional or attempt DIY repairs for rotted brick mold?
The decision to hire a professional or attempt DIY repairs for rotted brick mold will depend on your expertise, resources, and comfort level. This guide provides instructions for both options.
What are the cost considerations for fixing rotted brick mold?
The cost of fixing rotted brick mold can vary based on factors such as the extent of the damage, materials used, and whether you hire a professional or perform the repairs yourself. It’s best to obtain multiple quotes and compare prices.
Are there any other exterior trim restoration tips?
Yes, this guide focuses on rotted brick mold repair, but it offers additional tips and insights for restoring other exterior trim elements. It covers common issues and repair techniques for maintaining a cohesive home exterior.
What is the importance of fixing rotted brick mold?
Fixing rotted brick mold is important to prevent further damage to your home’s exterior, maintain its aesthetic appeal, and protect against moisture infiltration and potential structural issues.

