
Book Our Mold Removal and Remediation Services
- Mold Assessment
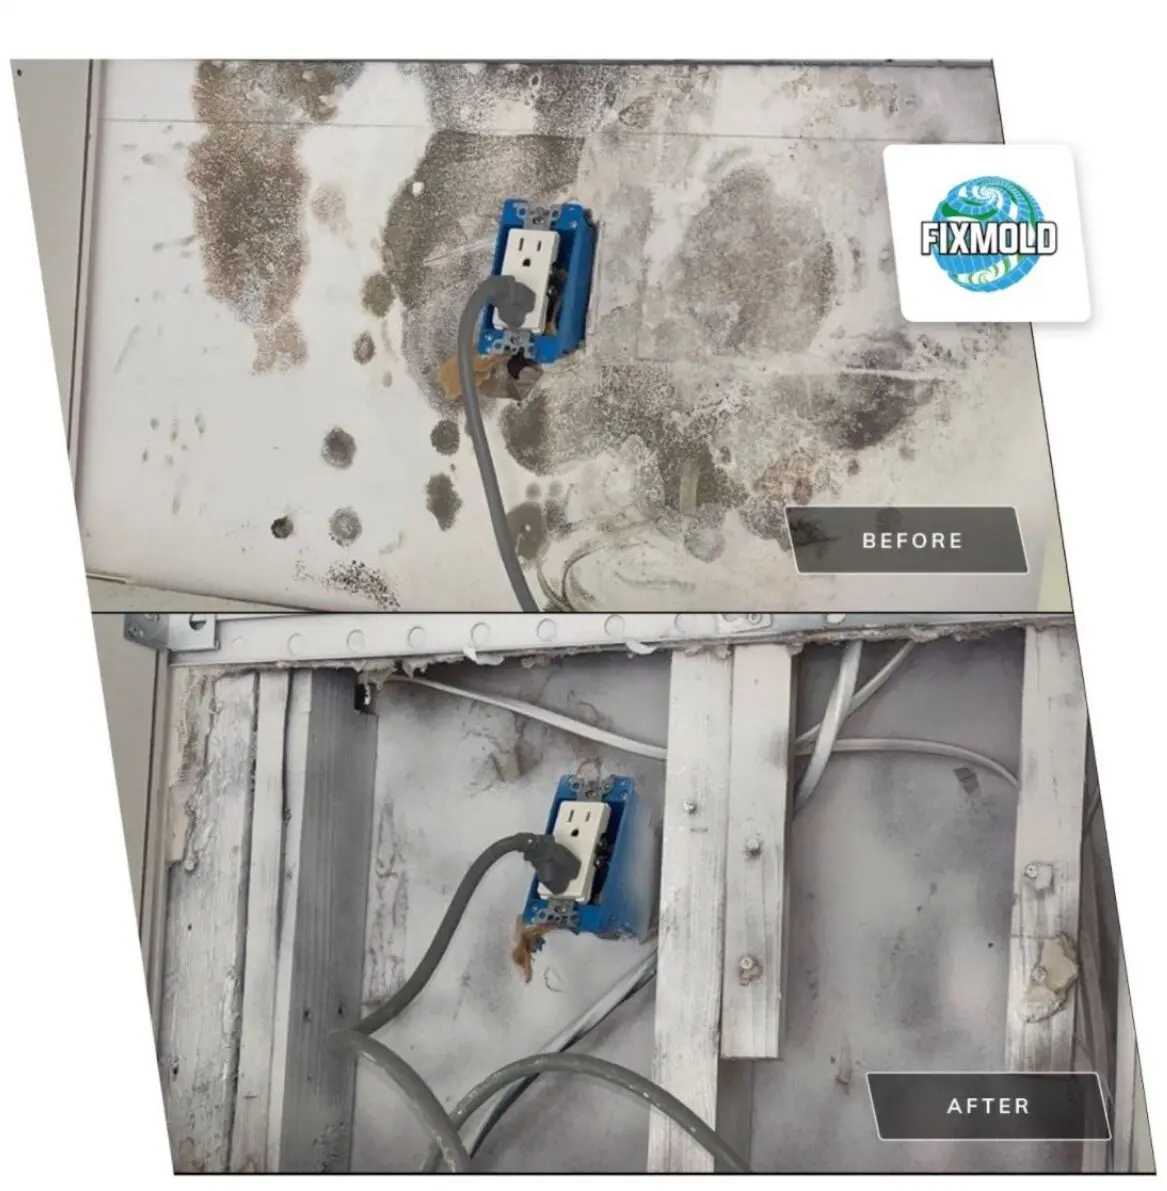
- Mold Removal
- Water Damage / Removal
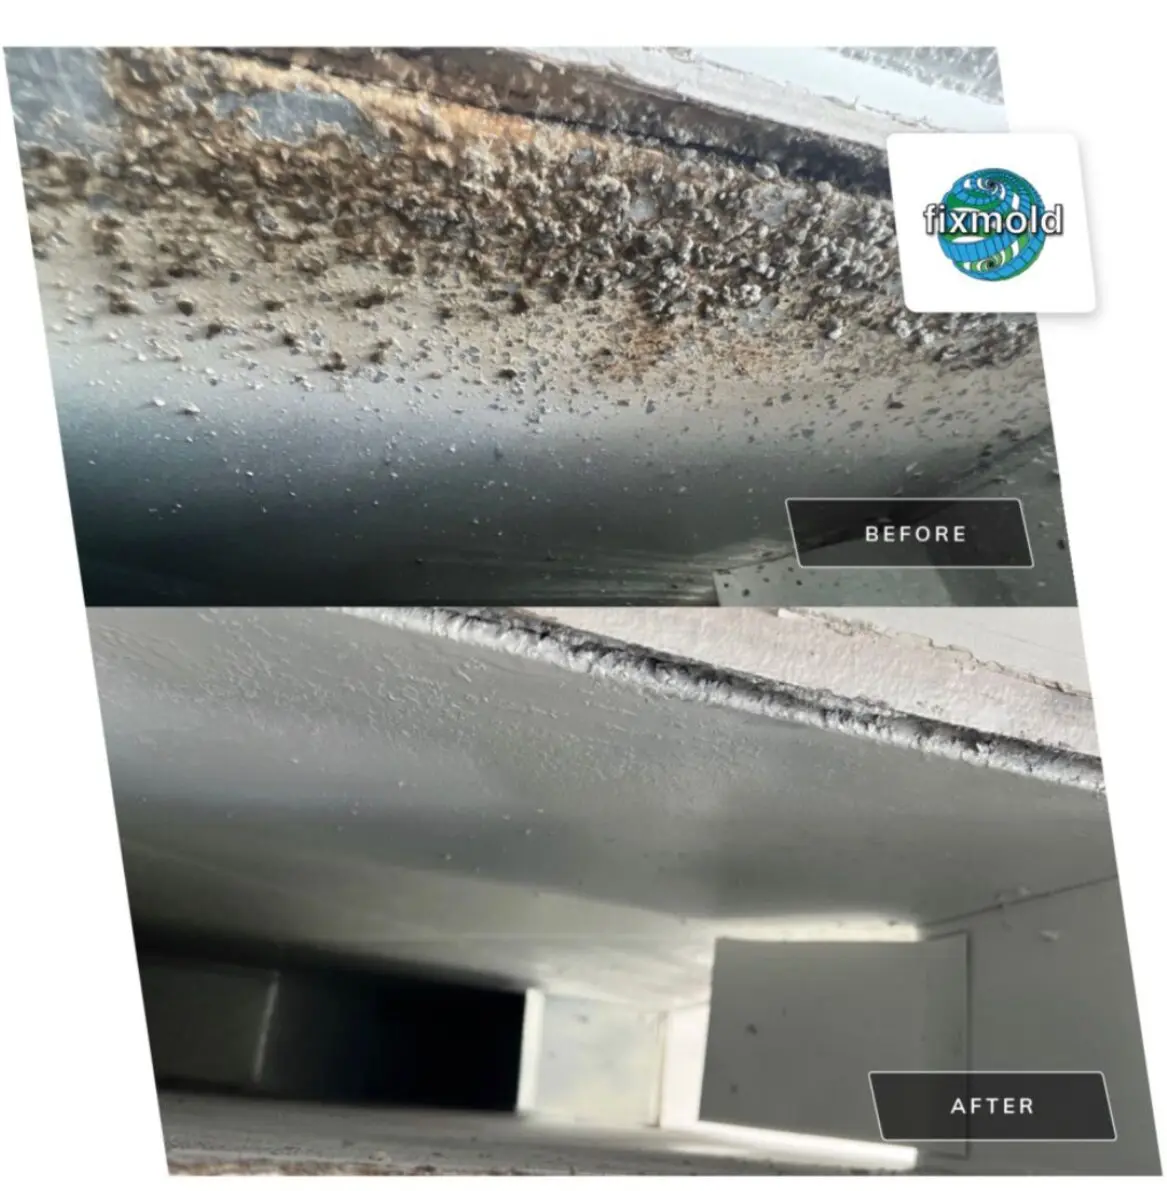
- AC Duct Cleaning
- Filteration / Odor Removal
- General Contractor / Other
Mold Removal
Water Damage / Removal

Same Day Service
With urgent matters such as mold, we make sure to be there for our clients. Whenever they needs us.

100% Satisfaction Guarantee
Our perfect 5 star rating comes from our unwavering focus on customer satisfaction.

Lowest Price Guarantee
Our guarantee is to provide the lowest fair value for our services, while maintaining our standard of quality.

1 Year Warranty
We offer a 1 year warranty on all of our services. Any fix-ups or follow-ups originating on our work within a 1 year period is covered. Free of charge.


THE HIGHEST RATED MOLD REMEDIATION
COMPANY IN SOUTH FLORIDA
THE HIGHEST RATED MOLD REMEDIATION
COMPANY IN SOUTH FLORIDA
❝ An Honest & Ethical Approach With An Unwavering Focus On Customer Satisfaction.❞
Perfect 5/5 Rating With Over 500+ Reviews Across All Platforms


Air Quality & Deep Cleaning
Cleaning • Odor Removal
• Air Filtration
• Sanitizing & Disinfecting
• Crawl Space & Attic Cleaning

AC
AC Duct Cleaning (With Filtration)
• Maintenance
• Coil Cleaning
• Blower Cleaning
• Motor Replacements
• Full Package Units, Split Units, Central AC Units, and Water Source Units
How the Process Works : 3 Steps
We make it easy for all our clients to improve their properties with our streamlined process.
2. Discovery & Price Quote
3- In-Person Assessment/Inspection: Technician will perform a detailed assessment with a report and potential swab sample if needed
3. Final Job
2. Mold Removal
3. Water
4. AC Duct Cleaning/Restoration
5. Air Filtration/Odor Removal
6. General Contractor/Other
2. Insurance
3. Price Match / Lowest Price Guaranteed
 |
White-Glove Restoration Company |
Average Restoration Company |
|
|---|---|---|---|
|
Highest Quality Equipment & Materials Advanced Technology, Certified Green, No-Biocides |
✓ |
✓ |
✗ |
|
One Stop Shop Licensed General Contractors, AC Technicians, Mold/Water, Dry-Wall Rebuild, Insurance |
✓ |
✗ |
✗ |
|
Highest Rated Company In South Florida 500+ 5 Star Reviews on Google, Angie's List, Yelp, Facebook, BBB |
✓ |
✗ |
✗ |
|
Affordability Lowest Price Guaranteed, Price Match, 0% APR Financing Available. |
✓ |
✗ |
O |
 |
White-Glove Competitors |
|
|---|---|---|
|
Highest Quality Equipment & Materials |
✓ |
✓ |
|
One-Stop Shop |
✓ |
✗ |
|
Highest Rated Company In South Florida |
✓ |
✗ |
|
Affordability |
✓ |
✗ |
OUR TEAM
THE BACK-BONE OF OUR 5 STAR SERVICEFixMold is a family-owned business operated by the Katz family. The family’s involvement in the Restoration industry dates back over 4 generations. When creating FixMold, the Katz family wanted to create a truly differentiated Restoration company – one that would put the client at the center of every decision.
In so doing, the Katz family proceeded to handpick the most talented technicians and team members that they have worked with across the US.
The result: The highest rated restoration company in South Florida according to Google, BBB, and Facebook.


Residential





Commercial


Marine


FixMold has special partnership offers in place to make that our talented partners succeed and feel our appreciation.



A core mission of our is to make all health-related services affordable to all communities, while still maintaining our highest level of quality
Finance
0% APR Financing with No Hard Credit Checks
Price Match
Submit a quote, and we’ll do our best to beat the price!
Insurance
We Work with All Insurance!
Price Match
Our home restoration company guarantees the most competitive rates in the industry, delivering high-quality professional restoration services at the lowest possible price. If you ever find a price below our quote, please share the quote to “info@fixmold.com” in order to receive access to our lowest price guarantee.
Symptoms of Indoor Air Pollution
Poor air quality can harm infants, children, older adults, pregnant women, pets, and even plants.
Use our risk calculator below to assess your health risk.
Mold Remediation Cost Calculator
Mold Remediation
Cost Calculator
Above Remediation Price Includes
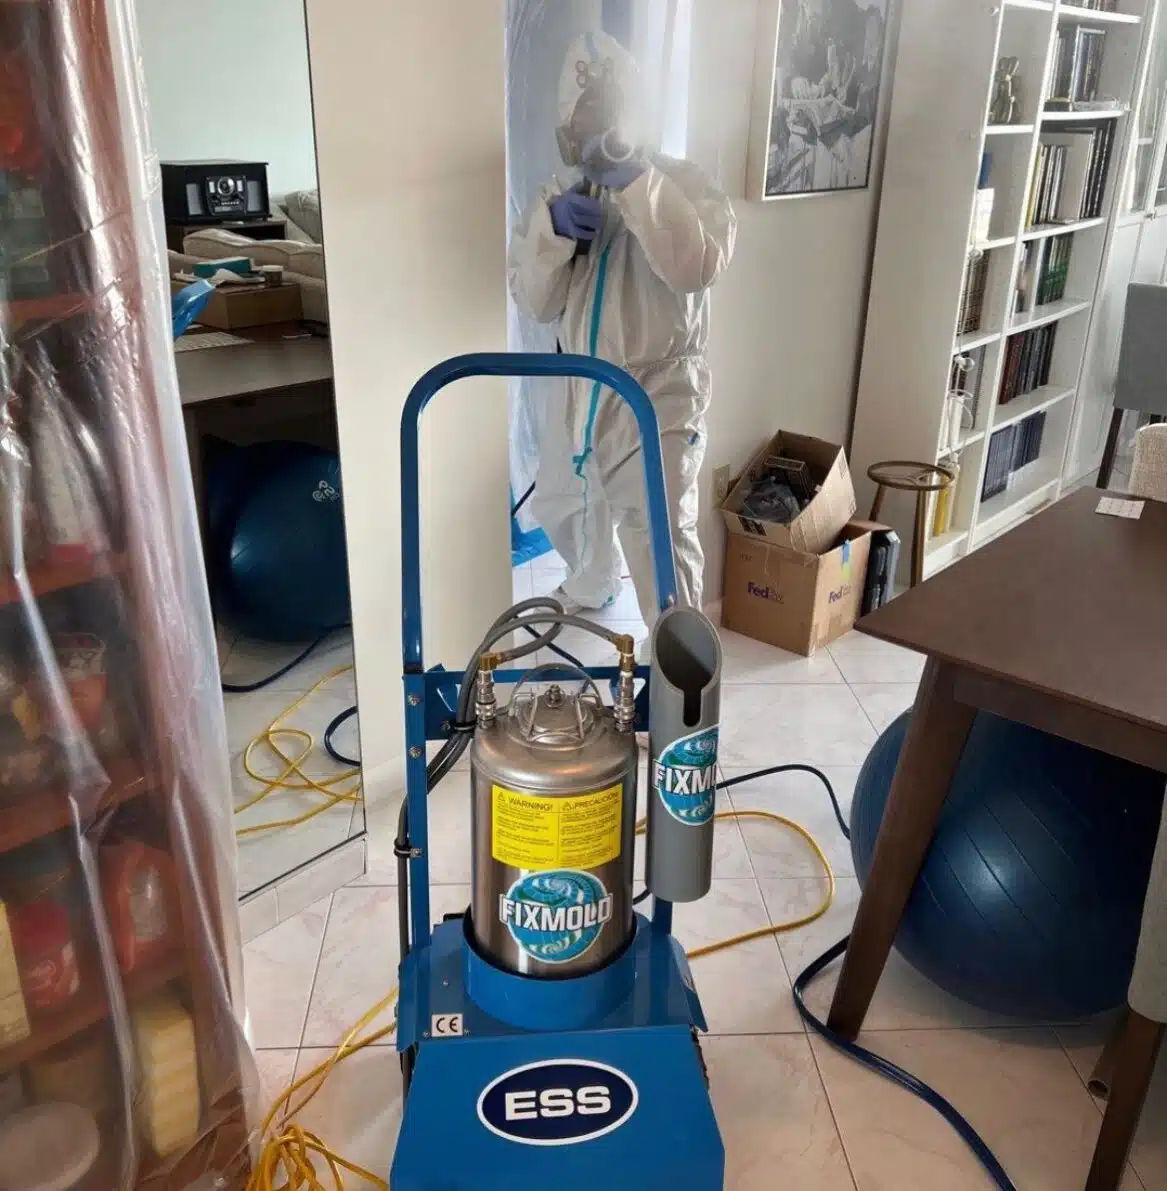
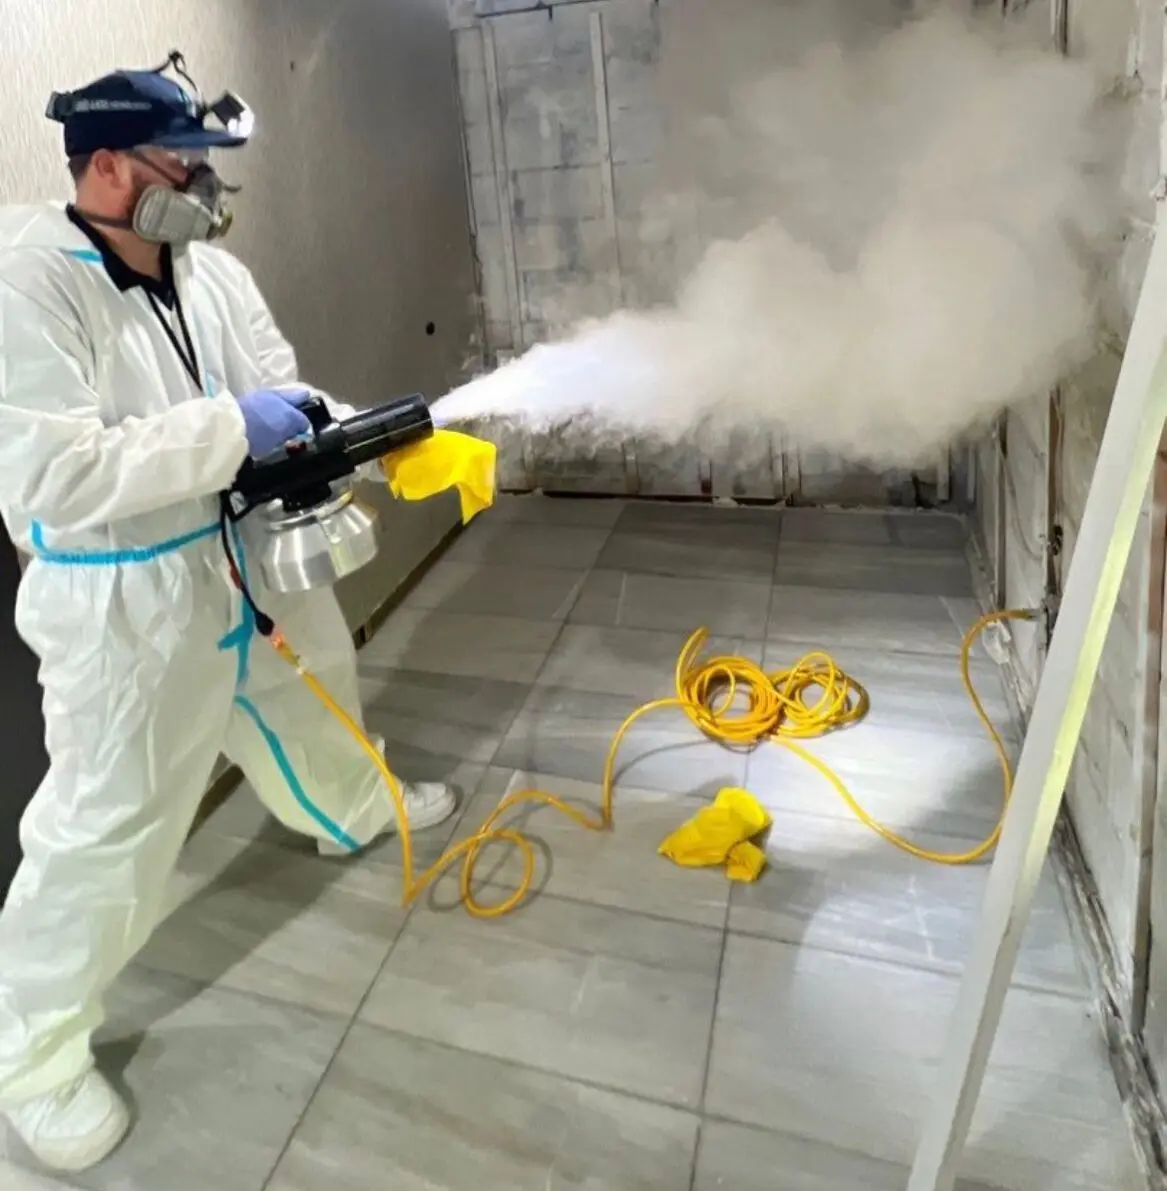
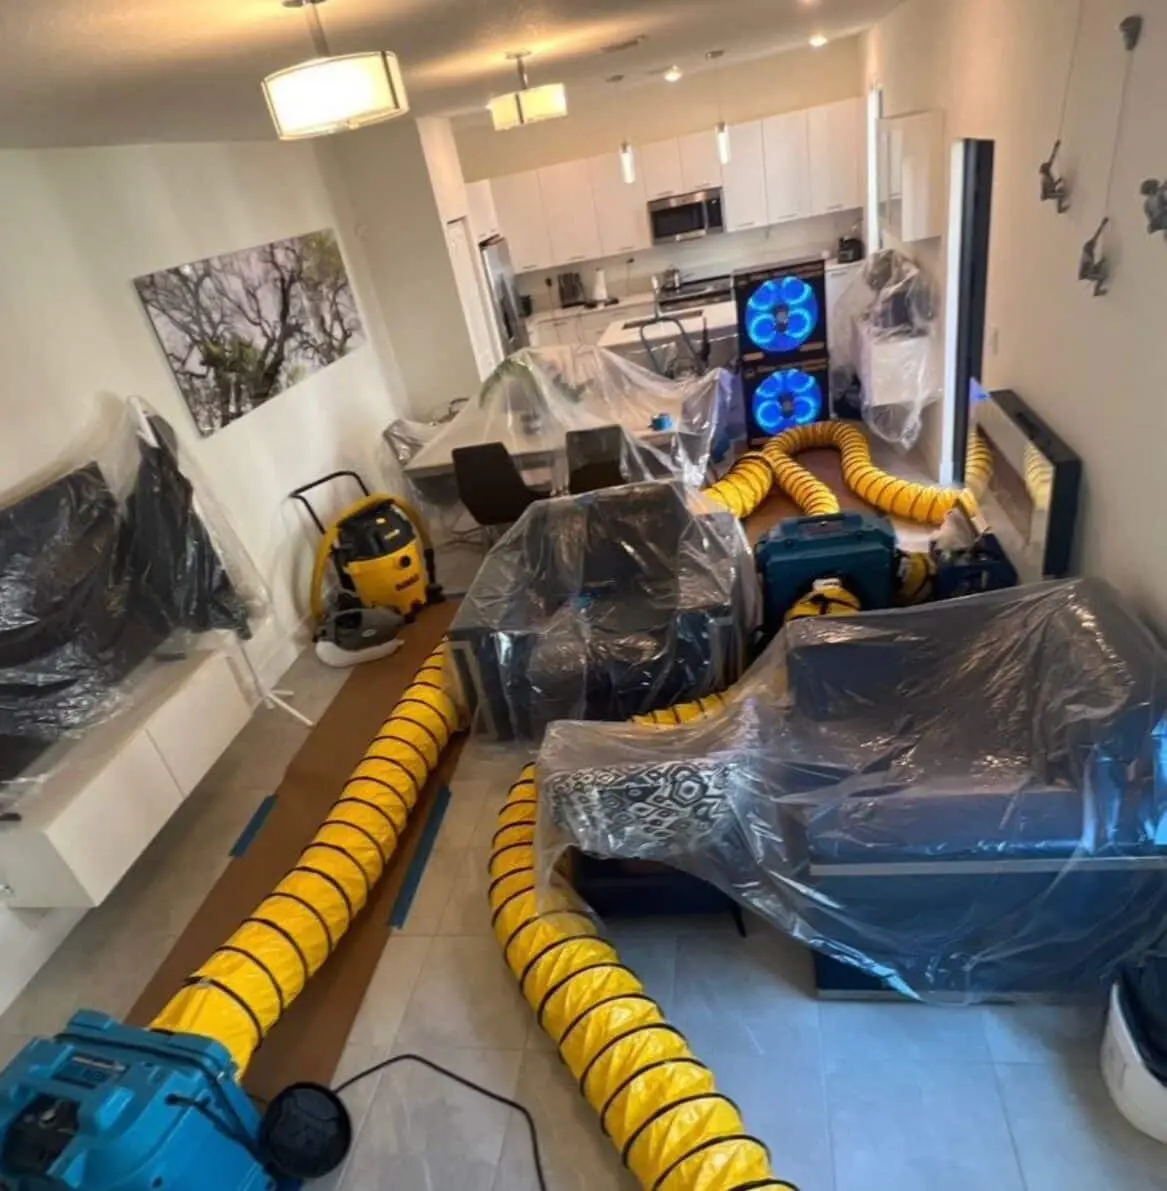
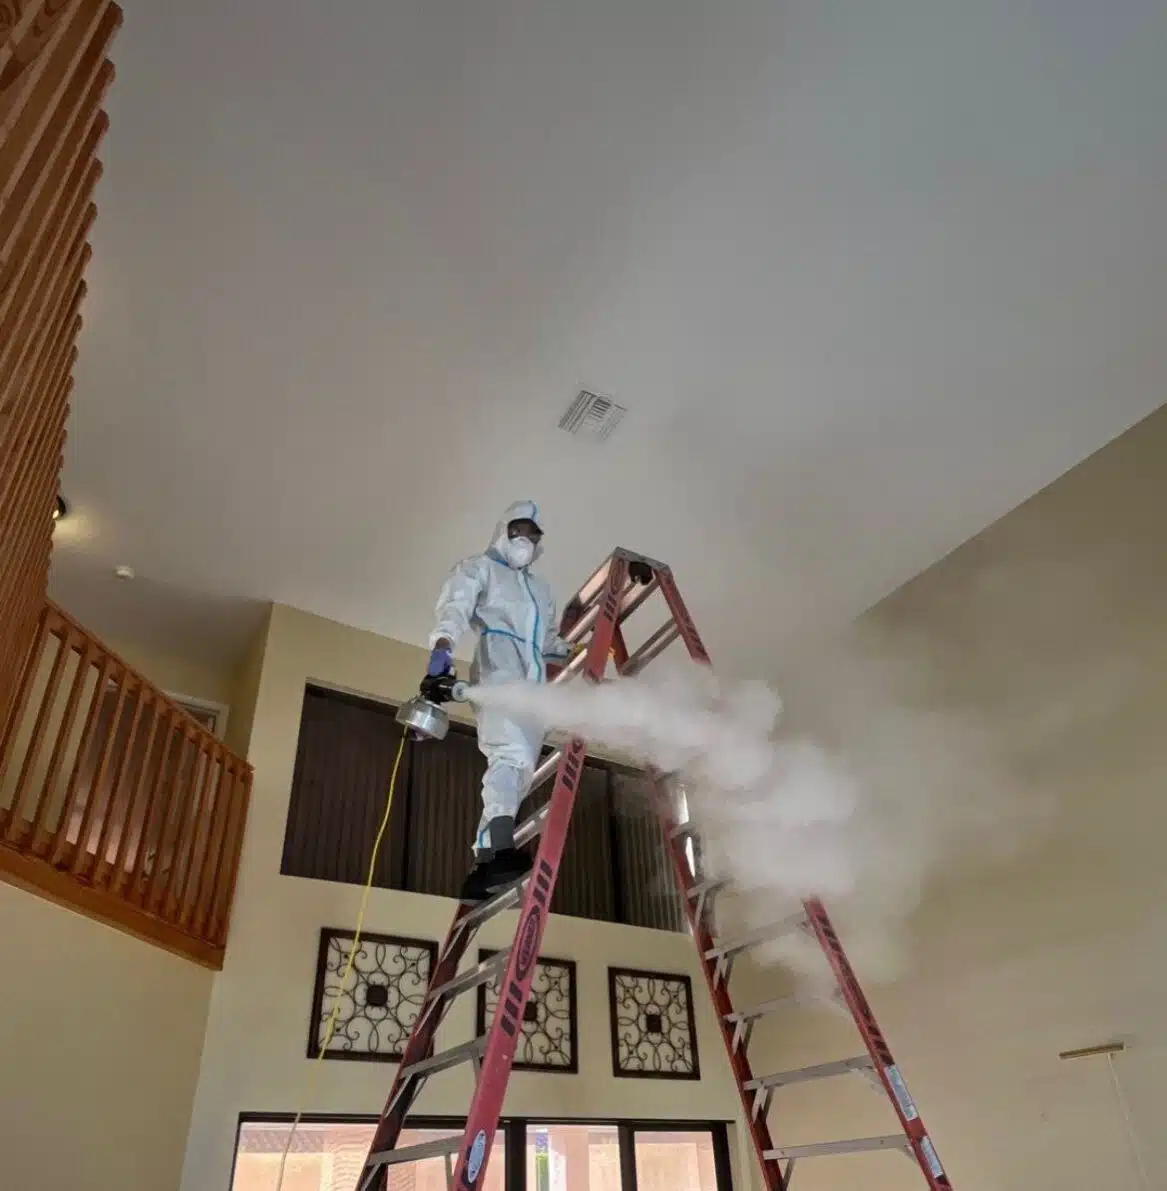
Personal protective equipment, Electrostatic Sprayers, Hydroxyl Generator & Maximizer , Air Scrubber (Hepa 700), C150 Vector Fog with the use of benefect Decon 30, Hepa Vacuum, Thermo Fogger, Zefon Bio Pump Air Sampler with Tripod, .35-Mil Polyethylene sheeting to cover furniture.
Disclaimer: Price is an estimate only. Please call or schedule a free online consultation to receive a more definitive quote.
Contact FixMold
Our Service Areas
Miami-Dade County, Ft. Lauderdale and Broward County, Palm Beach County, Collier County, Monroe County, Lee County, Greater Miami Area, Miami Beach, Bal Harbor, Hollywood, Dania Beach, Davie, Homestead, Kendall, Coral Gables, Pembroke Pines, Pompano Beach, Boca Raton, Lake Worth, Delray Beach, Boynton Beach, West Palm Beach, Florida Keys
Our Service Areas
Miami-Dade County & Broward County including the Greater Miami Area, Miami Beach, Aventura, Bal Harbour, Hollywood, Fort Lauderdale, Dania Beach, Davie, Homestead, Kendall, Coral Gables, Doral, Miramar, Hialeah, Pembroke Pines, Pompano Beach, Boca Raton, Delray Beach, Boynton Beach, West Palm Beach, and more.
FAQ's
What are the key reasons to choose FixMold?
FixMold is a professional restoration company specializing in mold remediation, odor removal, and duct cleaning. We offer:
- Highest Quality Equipment & Materials – Advanced Technology, Certified Green, No-Biocides
- One Stop Shop – Licensed General Contractors, AC Technicians, Mold/Water, Dry-Wall Rebuild, Insurance
- Highest Rated Company In South Florida – 400+ 5 Star Reviews on Google, Angie’s List, Yelp, Facebook, BBB
- Affordability – Lowest Price Guaranteed, Price Match, 0% APR Financing Available
- Experts with Over 50+ Years Combined Experience – Read more about our highly experienced team of technicians below
How do I know the treatment worked?
You can expect a significant improvement in indoor air quality, reduced odors, and the absence of visible mold growth. All of our services are also backed with a 100% Satisfaction Guarantee and a 1 Year Warranty.
How soon will you come out for an initial assessment after I contact a FixMold representative?
We strive to respond to your inquiry as quickly as possible and provide same-day appointments when needed. We also provide overtime and weekend jobs for customers who request that convenience. Our team will schedule an initial assessment at a time that is convenient for you. The exact timeframe may vary depending on your location and the availability of our technicians.
What makes FixMold the best mold remediation company in Miami, FL?
FixMold stands out as a top-rated provider of mold remediation in Miami, FL due to our licensed team, fast response time, and advanced remediation technology. We're trusted by homeowners and businesses throughout South Florida for reliable, long-lasting mold solution.
Whether you’re dealing with a minor water leak or a major disaster, our experienced team can help you restore your home to its original condition.
How long does a typical home restoration project take?
The duration of a home restoration project depends on the extent of the damage and the complexity of the work involved. Our team will provide you with an estimated timeline during the initial assessment. Typically, for smaller jobs, it would require a half-day time allotment. For larger projects, we would usually require a full-day. For big projects requiring multiple services, the time can vary from 1-7 days.
What types of mold are found in Florida homes?
Common types of mold found in Florida homes include:
- Aspergillus and Penicillium: Often found indoors and may cause allergic reactions and fungal infections.
- Cladosporium: Produces olive-green, brown, or black colonies and can trigger allergies and asthma.
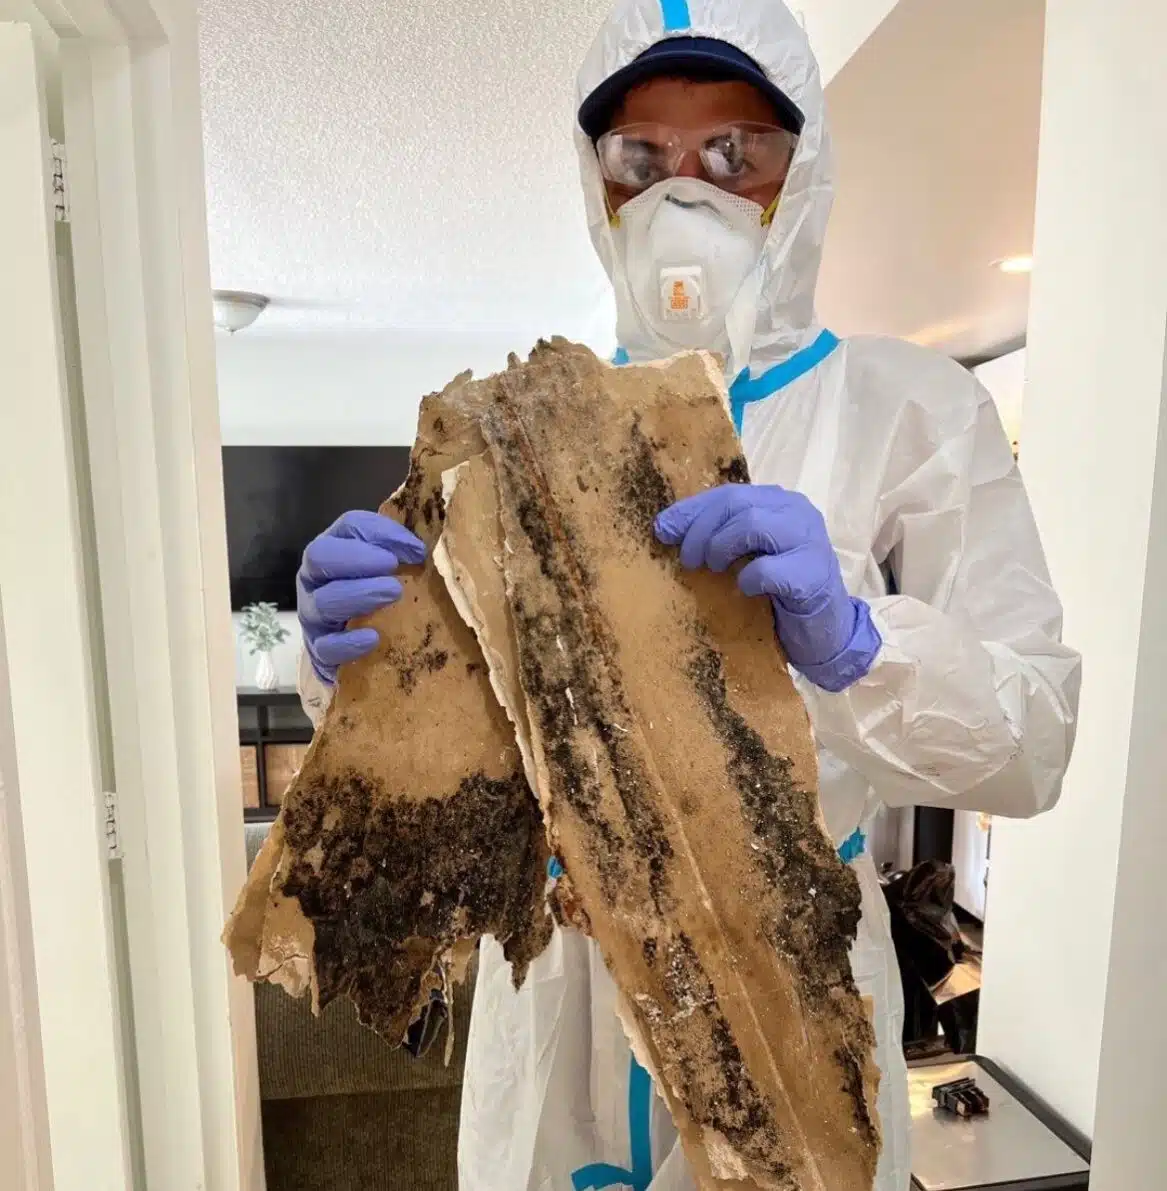
- Stachybotrys chartarum (Black Mold): Known for producing mycotoxins and is one of the most dangerous types of mold.
- Chaetomium: Can trigger allergic reactions and fungal infections, with prolonged exposure leading to more serious conditions.
What types of mold do you handle?
We handle all types of mold, including toxic black mold. Our mold assessment identifies hidden and visible mold, ensuring thorough remediation.
Is there a difference between mold inspection and mold testing in Miami?
Yes! Mold inspection in Miami involves visually assessing the property and using moisture meters, while mold testing in Miami includes lab analysis of air and surface samples to identify mold type and spore levels. We offer both services.
What’s involved in mold testing in Miami?
Our mold testing in Miami includes air and surface sampling, lab analysis, and a detailed report explaining the results. This helps you understand the extent of contamination and plan the right remediation strategy.
What are the signs I need mold inspection in my Miami home ?
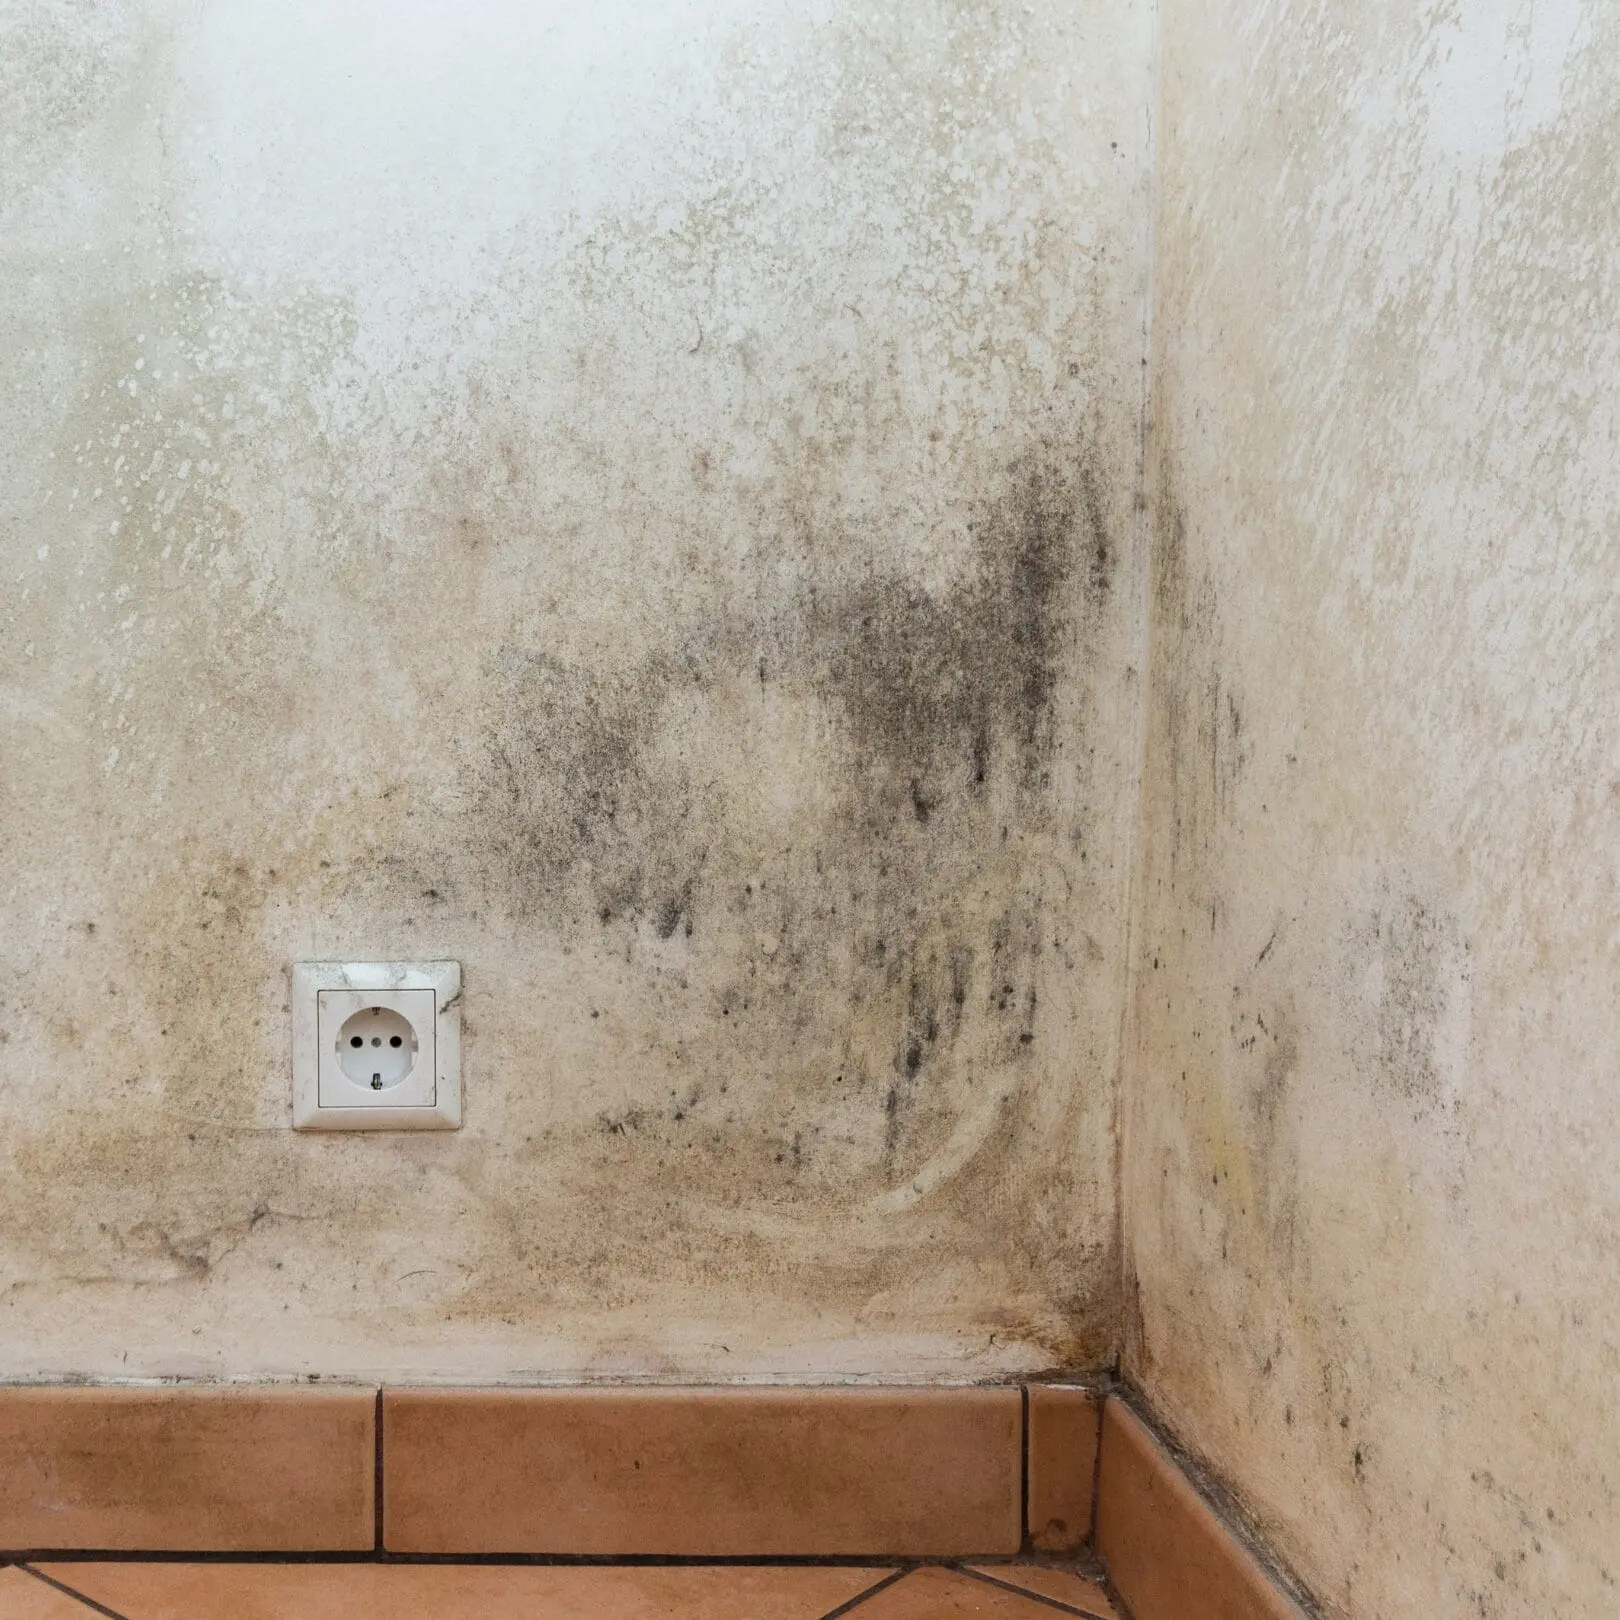
Common signs include musty odors, visible spots on walls or ceilings, allergy-like symptoms, or recent water damage. If you're unsure, schedule a mold inspection in Miami with our certified technicians today.
Is your mold removal process safe?
Yes, our mold remediation uses eco-friendly products that are safe for both humans and pets while effectively removing the mold.
Do you provide prevention tips after mold removal?
Yes, we offer guidance on moisture control and ventilation to help prevent future mold growth.
Where is FixMold located?
FixMold is a trusted restoration company in Florida, serving multiple locations across the state. We proudly offer professional restoration services in cities such as Miami, Orlando, Tampa, Jacksonville, and beyond. Wherever you are in Florida, FixMold is ready to assist with your restoration needs.
What makes FixMold different from other restoration companies in Florida?
We pride ourselves on rapid response times, certified professionals, advanced technology, and 24/7 availability. Our focus is on restoring your property efficiently while minimizing disruption.
How can I contact FixMold for restoration services?
You can reach us 24/7 through our website or by calling our emergency hotline. Visit FixMold to learn more.
Are your services pet-friendly?
Yes, FixMold uses safe methods that are pet- and child-friendly.
Is FixMold licensed and insured?
Yes, FixMold is a licensed and insured restoration company in Florida.
Does FixMold provide air quality testing?
Yes, FixMold offers professional air quality testing to identify potential mold or pollutants.
Can you help with storm damage cleanup?
Absolutely! FixMold specializes in storm damage restoration, including debris removal and structural repairs.
What equipment does FixMold use for restoration?
FixMold uses state-of-the-art equipment to ensure efficient and thorough restoration. Our tools include:
- Industrial Dehumidifiers: These machines remove excess moisture to prevent further damage and mold growth.
- Air Scrubbers: Equipped with HEPA filters, they clean the air of contaminants, including mold spores, smoke, and odors.
- Thermal Imaging Cameras: Used to detect hidden moisture behind walls, ceilings, and floors, ensuring no areas are overlooked.
- Water Extraction Units: Powerful pumps designed to remove standing water quickly.
- Ozone Generators: Used for odor elimination after fire or mold remediation.
- Drying Mats and Fans: Specialized tools for drying flooring, walls, and other surfaces thoroughly.
What payment options do you accept?
FixMold accepts multiple payment methods, including credit cards, checks, insurance claims, debit cards, PayPal.
Can you clean HVAC systems after water or fire damage?
Yes, FixMold offers HVAC cleaning to remove contaminants and restore air quality.
What is the Difference Between Repair and Replace in Restoration?
Repair focuses on fixing and restoring existing materials or components to their original condition, while replacement involves completely removing and substituting damaged materials with new ones. At FixMold, we specialize in professional restoration services, ensuring that our approach—whether repair or replacement—is tailored to provide the most effective and cost-efficient solution for your property.
Do I Need to Move Out of My Property During the Restoration Process?
In most cases, you can stay in your property during restoration, especially for smaller projects like minor mold remediation. However, for extensive repairs or health-sensitive tasks, temporary relocation may be necessary for safety and comfort. As a trusted restoration company in Florida, FixMold provides professional restoration services designed to minimize disruption while ensuring your property is fully restored. Our team will evaluate your specific needs and guide you through the process to make it as seamless as possible.
Do You Provide Any General Professional Deep Cleaning Services?
Yes, FixMold offers professional deep cleaning services for both residential and commercial properties. Our deep cleaning solutions target areas that standard cleaning might miss, ensuring a healthier and safer environment. From air ducts and carpets to post-construction cleanup, we specialize in thorough cleaning tailored to your needs.
Why Are Air Movers and Dehumidifiers Used?
Air movers and dehumidifiers are essential tools in professional restoration services. Air movers help circulate air to speed up the drying process, while dehumidifiers remove excess moisture from the air, preventing mold growth and further damage. Together, they ensure your property is thoroughly dried and restored to a safe, habitable condition.
What is your process for restoration services?
Our process begins with a detailed inspection to assess the damage. We then create a tailored restoration plan, including cleanup, repair, or replacement as needed. Using advanced tools and technology, we efficiently restore your property to its pre-damage condition.
Is FixMold a certified Professional restoration company in Miami?
Yes, FixMold is fully certified and licensed to provide professional restoration services. We adhere to industry standards and guidelines to ensure the highest quality work for our clients.
Do You Have a Skilled Workforce for Restoration Projects?
Absolutely! As a trusted restoration cleanup company, FixMold is proud to have a highly trained and experienced workforce. Our technicians specialize in handling a wide range of restoration challenges, from water damage and mold remediation to fire damage restoration. Their expertise ensures reliable, efficient, and professional results tailored to your property’s specific needs.
Can FixMold handle both residential and commercial restoration projects?
Yes, we provide professional restoration services for both residential and commercial properties, tailoring our approach to meet the unique needs of each client.
What Makes FixMold Stand Out Among Restoration Companies in Florida?
FixMold stands out as a leading restoration company in Florida due to its prompt response, highly skilled technicians, and unwavering commitment to customer satisfaction. We offer comprehensive restoration services tailored to meet the unique needs of each client, using cutting-edge technology and industry best practices to ensure outstanding results. Our dedication to quality and efficiency makes us a trusted choice across the state.
What measures do you take to prevent future issues?
FixMold doesn’t just restore damage; we also take proactive steps, such as applying antimicrobial treatments, improving ventilation, and sealing surfaces, to prevent future problems.
What sets your mold remediation services apart?
FixMold uses advanced technology and certified processes to safely and effectively remove mold, ensuring it doesn’t return. Our attention to detail and preventative measures make us leaders in mold remediation.
Can I Walk in the Area During the Drying Process?
It’s best to minimize foot traffic in areas undergoing the drying process. Walking on wet or drying surfaces can disrupt the equipment, slow the drying process, and potentially cause damage or safety hazards. At FixMold, we prioritize your safety and the effectiveness of our professional restoration services. Our team will guide you on how to navigate your property during the restoration process to ensure the best results.
Will There Be Any Lingering Odors After Your Restoration Services?
No, our goal is to leave your property completely restored and free from lingering odors. FixMold uses advanced deodorization techniques and eco-friendly products to eliminate unpleasant smells caused by mold, water, fire, or smoke damage. As part of our professional restoration services, we also use air scrubbers and HEPA filtration systems to ensure your indoor air quality is fresh and safe. If any odors persist, our team will address them promptly to ensure your satisfaction.
How Long Will It Take to Have My Air Ducts Cleaned?
The time required to clean your air ducts depends on the size of your property and the complexity of the system. For most residential properties, air duct cleaning typically takes 2 to 4 hours. Larger commercial systems or heavily soiled ducts may require more time.
Do you offer 24/7 emergency restoration services?
Yes, FixMold is available 24/7 to handle emergencies like water damage, fire damage, or storm damage to minimize further harm to your property.
Do you offer preventative maintenance services?
Yes, we provide services like air duct cleaning, moisture control, and regular inspections to help prevent future damage to your property.
How do you ensure mold doesn’t return after remediation?
We use advanced mold removal techniques, apply antimicrobial treatments, and address the root causes, such as moisture or ventilation issues, to prevent recurrence.
Can you handle large-scale mold remediation projects?
Absolutely! FixMold has the expertise and resources to manage mold remediation for both small homes and large commercial properties.
Do you offer odor removal services?
Yes, FixMold specializes in odor removal using advanced techniques to eliminate unpleasant smells caused by water, mold, or fire damage.
How does FixMold handle customer communication during projects?
We prioritize clear and consistent communication. Our team keeps you updated at every stage of the restoration process and is always available to answer your questions.
What if I am not satisfied with the restoration work?
FixMold is committed to customer satisfaction. If there are any concerns with the work, we will address them promptly and ensure the issue is resolved to your satisfaction.
What sets your restoration services apart from competitors?
FixMold combines advanced technology, skilled technicians, and a customer-focused approach to deliver unmatched professional restoration services. Our prompt response and attention to detail make us a top choice in Florida.
How much does mold remediation cost in Miami ?
The cost varies depending on the size and scope of the problem. On average, mold remediation in Miami ranges from $500–$5,000. We offer free estimates and walk you through every step of the pricing.
Does FixMold offer a Mold Remediation Cost Calculator?
Yes! FixMold provides a convenient Mold Remediation Cost Calculator on our website. This tool allows you to get a preliminary estimate based on the details of your mold issue.
How accurate is the cost calculator?
While the calculator gives a reliable estimate, the final cost may vary after an in-person inspection. Our team will provide a detailed quote once we assess the property thoroughly.
What factors does the cost calculator consider?
The calculator typically considers factors such as:
- The size of the mold-affected area
- The type and severity of mold
- Required remediation techniques
- Labor and equipment costs
- Post-remediation cleaning and air quality testing
How does your mold remediation process work in Miami, FL?
Our mold remediation in Miami, FL involves a 5-step process: inspection, containment, removal, cleaning, and prevention. We also use HEPA filters and eco-safe cleaning agents for complete safety and air quality improvement.
Why is mold so common in South Florida, especially Miami?
Due to Florida’s warm, humid climate, homes and buildings are more susceptible to moisture buildup—ideal conditions for mold. That’s why regular mold inspection in Miami Beach or Miami is crucial to prevent costly damage and health issues.


 FREE FACETIME HOME ASSESSMENT


