Innovative Techniques for chocolate Mold recipe
Welcome to our guide on innovative techniques for creating delicious chocolate confections using molds. Whether you’re a seasoned chocolatier or a beginner looking to explore the art of chocolate molding, this article will provide you with valuable insights and expert tips to elevate your chocolate creations. From choosing the right chocolate to mastering essential techniques, you’ll discover everything you need to know to create stunning and delectable chocolate confections.
Key Takeaways:
- Choosing the right chocolate is crucial for successful chocolate molding.
- Consider the different types of chocolate, such as milk chocolate, dark chocolate, and white chocolate.
- Understanding tempering chocolate and achieving a smooth finish is essential.
- Experiment with different molds to create unique and visually appealing chocolate confections.
- Practice, practice, practice! Mastering the art of chocolate molding takes time and patience.
Choosing the Right Chocolate for Molding
Before diving into the chocolate mold recipe, it’s important to understand the different types of chocolate and how to choose the right one for your molding endeavors. In this section, we will discuss the best chocolate options for molding purposes, including milk chocolate, dark chocolate, and white chocolate. We will also explore the ideal cocoa percentage and other factors to consider when selecting chocolate for your molds.
When it comes to choosing chocolate for molding, there are a few key factors to consider:
The Chocolate Types
There are various types of chocolate available in the market, each with its own unique flavor profile and characteristics. The three main types commonly used for molding are:
- Milk Chocolate: Known for its creamy and sweet taste, milk chocolate is a popular choice for molding due to its smooth texture. It contains a higher percentage of dairy, sugar, and cocoa butter, making it more pliable and easier to work with.
- Dark Chocolate: With its rich and intense flavor, dark chocolate is favored by those who prefer a bolder taste. It has a higher cocoa content and less added sugar than milk chocolate, providing a more pronounced chocolate flavor and slightly firmer texture.
- White Chocolate: Despite not technically being a chocolate due to the absence of cocoa solids, white chocolate is still widely used for molding purposes. It is made from cocoa butter, sugar, and milk solids, resulting in a creamy and sweet taste.
Cocoa Percentage
Another important factor to consider is the cocoa percentage in the chocolate. This refers to the amount of cocoa solids present in the chocolate. Higher cocoa percentages generally indicate a more intense chocolate flavor and a firmer texture. When it comes to molding, chocolate with a cocoa percentage between 55% and 70% is often recommended for best results.
Other Considerations
In addition to the type of chocolate and cocoa percentage, there are a few other factors to keep in mind:
- Quality: Choose high-quality chocolate from reputable brands, as the quality of the chocolate will greatly impact the final result of your molded creations.
- Couverture Chocolate: Couverture chocolate is a type of high-quality chocolate that contains a higher percentage of cocoa butter. It melts smoothly and sets with a shiny finish, making it ideal for molding.
- Flavor Combinations: Consider the flavors that will be incorporated into your chocolate molds. Depending on the desired flavor profile, you may choose different types of chocolate or experiment with flavored chocolates.
Taking these factors into account will help you choose the right chocolate for your molding projects, ensuring successful and delicious results.

| Type | Cocoa Percentage | Flavor Profile |
|---|---|---|
| Milk Chocolate | 30-40% | Creamy, Sweet |
| Dark Chocolate | 60-85% | Rich, Intense |
| White Chocolate | N/A (No cocoa solids) | Creamy, Sweet |
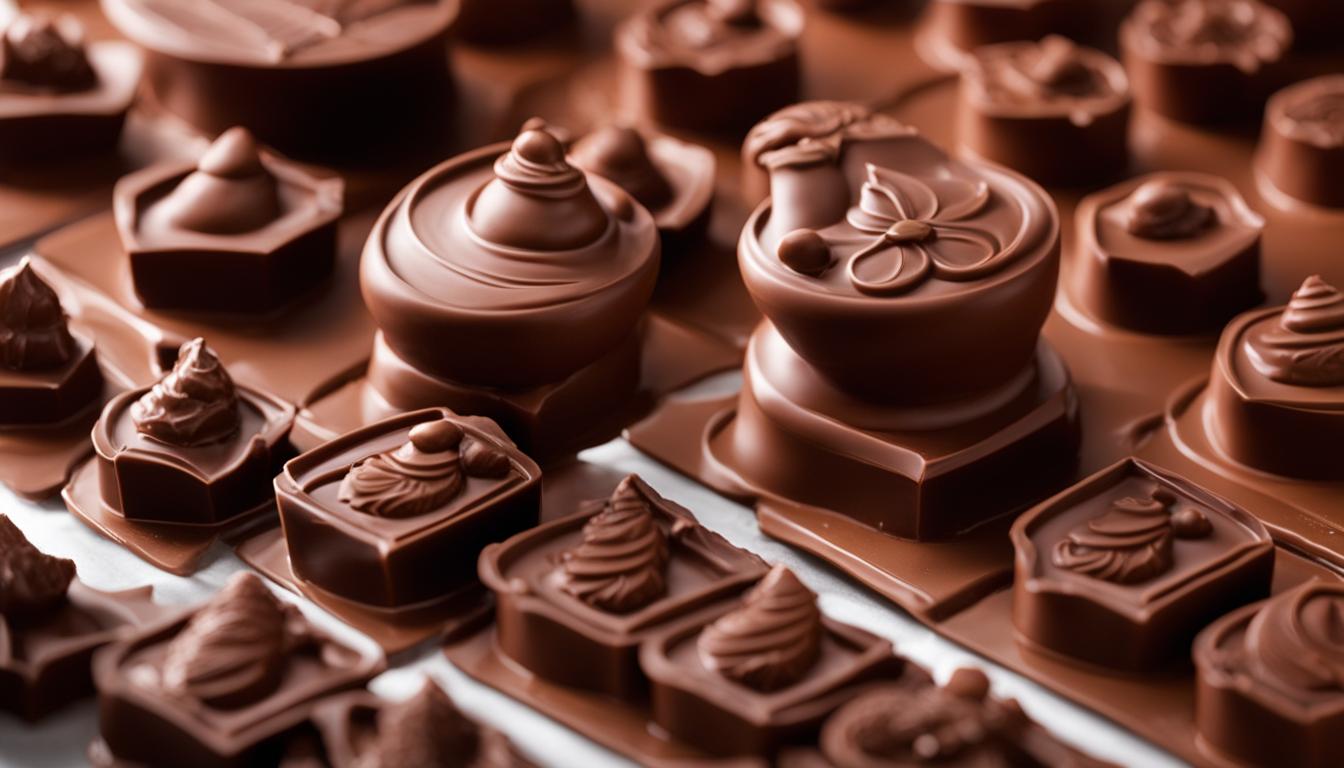
Tips and Tricks for Successful Chocolate Molding
Now that you have chosen the perfect chocolate for your molds, it’s time to master the art of chocolate molding. In this section, we will provide you with expert tips and tricks to ensure successful chocolate molding every time. From tempering chocolate to achieving smooth and glossy finishes, you’ll learn the techniques that will take your chocolate confections to the next level.
1. Tempering Chocolate
Tempering chocolate is a crucial step in achieving professional results when molding chocolate. This process involves carefully melting the chocolate, cooling it, and then gently reheating it to a specific temperature. Tempering ensures that the chocolate has a smooth texture, glossy appearance, and a pleasant snap when broken. Follow these steps for successful tempering:
- Chop the chocolate into small, evenly-sized pieces.
- Melt two-thirds of the chocolate over a double boiler until it reaches around 45-50°C (113-122°F) for dark chocolate or 40-45°C (104-113°F) for milk or white chocolate.
- Remove the chocolate from the heat and add the remaining one-third of unmelted chocolate. Stir continuously until the chocolate reaches the desired temperature: 32-33°C (90-91°F) for dark chocolate or 29-30°C (84-86°F) for milk or white chocolate.
- Once the chocolate has reached the desired temperature, it is ready to be used for molding.
2. Preparing the Molds
Properly preparing the molds is essential for successful chocolate molding. Follow these tips for the best results:
- Ensure that the molds are clean and dry before use.
- If using silicone molds, lightly coat them with vegetable oil or cocoa butter to ease the release of the molded chocolates.
- If using rigid molds, such as polycarbonate molds, there is no need to grease them.
3. Filling the Molds
When filling the molds, pay attention to the following:
- Use a spoon or a piping bag to carefully fill each cavity of the mold with tempered chocolate.
- Tap the mold gently on the countertop to remove any air bubbles and ensure that the chocolate fills all the details of the mold.
- Scrape off any excess chocolate from the surface of the mold using a scraper or a straight edge.
4. Setting and Releasing the Chocolates
After filling the molds, it’s time to let the chocolates set and release them from the molds:
- Place the filled molds in the refrigerator or a cool room to allow the chocolate to set. The specific setting time will depend on the size and thickness of the chocolates.
- Once the chocolates are fully set, gently flex the mold to release the chocolates. If using silicone molds, you may need to push on the bottom of each cavity to help release the chocolates.
- Handle the chocolates with care to avoid leaving fingerprints or smudges on the surface.
By following these tips and techniques, you’ll be on your way to consistently creating beautifully molded chocolates with a professional finish. Practice, experiment, and have fun with different designs, flavors, and fillings to truly elevate your chocolate confections.

| Tip | Technique |
|---|---|
| Tempering Chocolate | Ensure smooth texture, glossy appearance, and pleasant snap |
| Preparing the Molds | Clean and dry molds; lightly grease silicone molds, no need for rigid molds |
| Filling the Molds | Use spoon or piping bag; tap to remove air bubbles; scrape off excess chocolate |
| Setting and Releasing the Chocolates | Allow chocolates to set; gently release from molds, handle with care |
Conclusion
In conclusion, mastering the art of chocolate mold recipe requires a combination of choosing the right chocolate, understanding the techniques, and practicing with different molds. By following the innovative techniques and tips discussed in this article, you will be well on your way to creating beautiful and delicious chocolate confections.
Elevate your confections and impress your friends and family with your newfound chocolate molding skills. Whether you’re a seasoned chocolatier or a novice in the kitchen, experimenting with molds opens up a world of creative possibilities. From intricate designs to personalized shapes, you can showcase your creativity and make your chocolates truly special.
Remember, practice makes perfect. Don’t be discouraged if your first attempts aren’t flawless. With time and experience, you’ll refine your skills and develop your unique style. So grab your favorite chocolate, select your molds, and let your imagination run wild. The world of chocolate molding awaits!