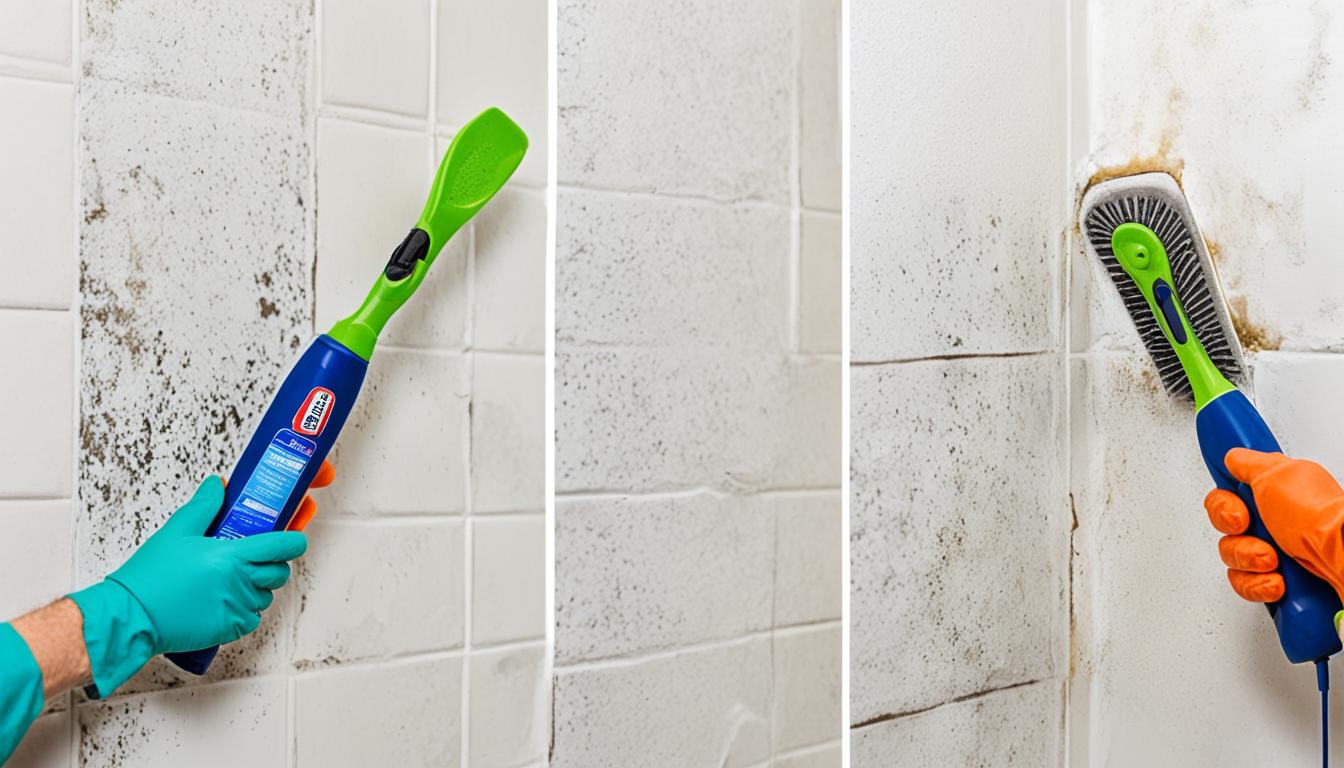
Eradicate Moldy Caulk in Shower Effectively
Moldy caulk in your shower can not only be unsightly but also pose a health risk. Mold thrives in damp environments, making your shower an ideal breeding ground. However, with the right techniques and products, you can effectively remove mold from caulk and restore a clean and healthy bathroom.
In this article, we will provide you with step-by-step guidance on how to fix moldy caulk in your shower. Whether you are dealing with a small patch of mold or extensive growth, we have you covered. Say goodbye to moldy caulk and hello to a sparkling bathroom.
Key Takeaways:
- Regularly inspect your shower caulking for signs of mold.
- Use appropriate cleaning solutions and tools to remove mold from caulk.
- Consider recaulking if the mold growth is extensive or the caulk is damaged.
- Maintain proper ventilation in your bathroom to prevent mold growth.
- Keep the shower area dry and clean to minimize moisture accumulation.
Shower Caulk Repair Methods
When it comes to maintaining the cleanliness and integrity of your shower, repairing the caulk is vital. In this section, we will explore various shower caulk repair methods that will not only restore the appearance of your shower but also ensure a mold-free environment. We will provide you with invaluable tips on removing mold from shower caulk and offer effective caulk cleaning strategies.
Removing mold from shower caulk requires a systematic approach. Here are some essential steps to follow:
- Inspect the caulk: Begin by carefully examining the caulk around your shower. Look out for any signs of mold growth, such as black spots or discoloration. Take note of the areas that require repair.
- Prepare the necessary tools: Before starting the repair process, gather the tools you will need, including a caulk removal tool, a utility knife, a scrub brush, a mildew-resistant cleaner, and a caulk gun.
- Remove the old caulk: With the caulk removal tool or utility knife, carefully scrape away the old caulk. Make sure to remove all traces of mold-infested caulk.
- Clean the area: Once the caulk is removed, thoroughly clean the area around the shower using a mildew-resistant cleaner and a scrub brush. This will help eliminate any remaining mold spores.
- Apply new caulk: After the area is clean and dry, apply a new layer of caulk using a caulk gun. Be sure to spread the caulk evenly and smoothly along the joint.
- Smooth and shape the caulk: Use a caulk smoothing tool or your finger to smooth and shape the fresh caulk to achieve a professional finish.
- Allow for drying: Finally, give the caulk ample time to dry and cure according to the manufacturer’s instructions.
By following these shower caulk repair methods, you can effectively remove mold from your shower caulk and maintain a clean and hygienic bathroom environment. Remember to always prioritize safety by wearing gloves and ensuring proper ventilation during the repair process.
“Maintaining the integrity of your shower caulk is crucial for a mold-free bathroom environment. Ensure an effective repair by thoroughly removing old caulk and applying a fresh, even layer.”
Recommended Mold Removal Solutions
To further enhance the effectiveness of your shower caulk repair, it is essential to use suitable mold removal solutions. Here are some recommended products:
| Product | Description |
|---|---|
| Product A | A powerful mold and mildew cleaner that effectively eliminates mold spores and prevents regrowth. |
| Product B | A bleach-based cleaner that effectively kills mold and mildew, leaving your shower caulk pristine and mold-free. |
| Product C | An environmentally-friendly mold remover that not only eradicates mold but also inhibits future growth. |
When using these products, always carefully follow the instructions provided by the manufacturer to ensure safe and effective mold removal.
Next, we will move on to Section 3, where we will discuss preventative measures and maintenance tips for shower caulk to prevent mold growth and maintain a clean and healthy bathroom.
Preventing and Maintaining Shower Caulk
Preventing mold growth in bathroom caulk is essential for maintaining a clean and healthy shower environment. By following some simple tips and regularly maintaining your caulk, you can help prevent mold from forming and ensure the longevity of your shower caulking.
1. Proper Ventilation
One of the most effective ways to prevent mold in bathroom caulk is to ensure proper ventilation in your shower area. After using the shower, make sure to open windows or turn on exhaust fans to reduce humidity and promote air circulation. A well-ventilated shower area will dry faster, preventing moisture buildup and mold growth in the caulk.
2. Regular Cleaning
Regular cleaning of your shower caulk is crucial for preventing mold. Use a mildew-resistant cleaner or a solution of equal parts water and white vinegar to clean the caulk regularly. Scrub the caulk gently using a soft brush or sponge to remove any dirt or soap scum. This will help prevent mold from taking hold and maintain the appearance of your caulk.
3. Keep Surfaces Dry
After each shower, it’s important to wipe down the shower walls and caulk using a squeegee or a dry towel. Removing excess moisture from the surfaces will prevent mold spores from settling and reducing the chances of mold growth. Pay extra attention to the caulked areas to ensure they are thoroughly dried.
4. Repair Cracks and Gaps
Inspect your shower caulk regularly and repair any cracks or gaps promptly. Moisture can seep into these areas, leading to mold growth. Use a caulk removal tool to remove the damaged caulk, clean the area, and reapply a quality mold-resistant caulk to seal the gaps and prevent future mold issues.
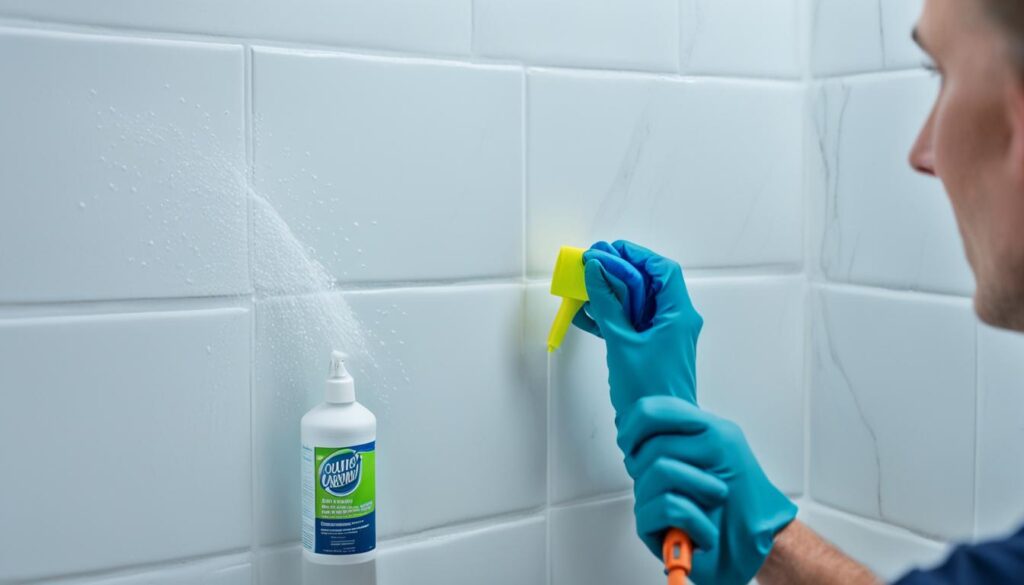
By following these preventative measures and maintaining your shower caulking, you can effectively prevent mold growth in your bathroom caulk. Remember to stay proactive in your mold prevention efforts to ensure a clean and healthy shower space.
Conclusion
Regular DIY caulking repair is crucial for preventing mold growth in your bathroom and maintaining a clean and healthy environment. By following the techniques and tips outlined in this article, you can effectively eradicate moldy caulk in your shower and prevent its recurrence.
Remember, when tackling moldy caulk, it’s important to use the right tools and products. Invest in a quality mold removal solution and a caulk cleaning agent that is specifically designed to tackle mold and mildew. These products, combined with proper cleaning techniques, will help you achieve the best results.
In addition to DIY caulking repair, there are other measures you can take to prevent bathroom mold. Ensure proper ventilation in your bathroom by using exhaust fans or opening windows to reduce humidity. Regularly clean and dry surfaces, especially areas prone to moisture, like shower walls and tubs. Consider using mold-resistant caulk to provide an extra layer of protection against mold growth.
By being proactive and consistent in your maintenance efforts, you can keep your bathroom caulk mold-free and maintain a healthier living space. Say goodbye to unsightly mold and enjoy a fresh and clean bathroom environment for years to come.

