Eliminate Mold on Silicone Caulk: Expert Tips
Mold growth on silicone caulk in your bathroom can be a frustrating problem, but with the right techniques, you can effectively remove it and maintain a clean and healthy environment. In this section, we will provide expert tips and step-by-step instructions on how to remove mold on silicone caulk. We will also discuss the importance of regular caulk cleaning and bathroom maintenance to prevent future mold growth. By following these expert tips, you can keep your bathroom free from mold and ensure the longevity of your silicone caulk.
Key Takeaways:
- Removing mold on silicone caulk requires specific techniques for thorough cleaning.
- Regular caulk cleaning and bathroom maintenance are essential to prevent mold growth.
- By following expert tips, you can effectively remove mold from your silicone caulk.
- Maintaining a clean and mold-free bathroom environment is crucial for your health and well-being.
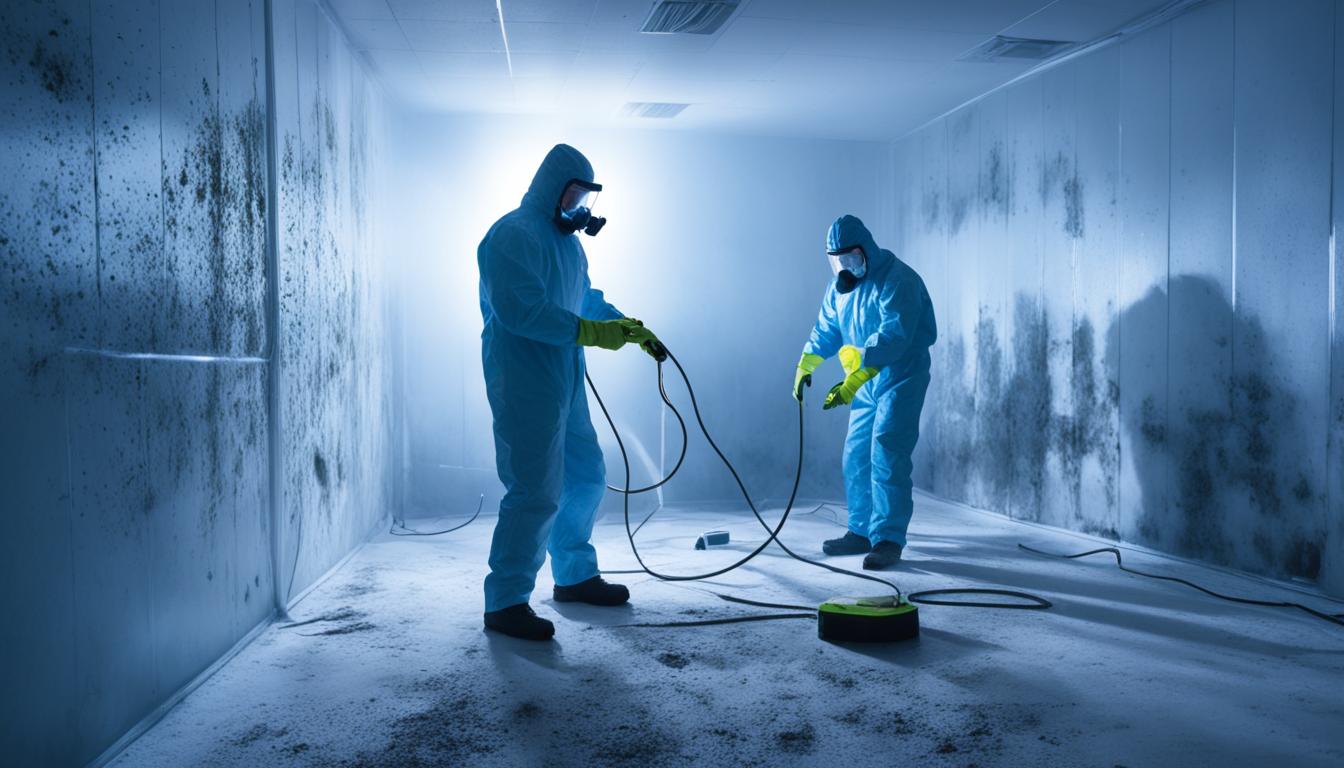
- If you need professional assistance, contact Fix Mold Miami for a mold assessment.
Understanding Mold on Silicone Caulk
Before diving into the mold removal process, it’s important to understand why mold growth occurs on silicone caulk. Silicone caulk is commonly used in bathrooms due to its water-resistant properties. However, it can still be susceptible to mold and mildew if not properly maintained. In this section, we will explore the factors that contribute to mold growth on silicone caulk and provide effective methods for mold prevention and household cleaning.
Factors Contributing to Mold Growth on Silicone Caulk
Mold thrives in environments with excess moisture and organic matter. Silicone caulk provides an ideal breeding ground for mold if it is not cleaned regularly or exposed to high levels of humidity. Here are some key factors that contribute to mold growth on silicone caulk:
- Poor ventilation: Insufficient airflow can create a damp environment, encouraging mold growth on the caulk.
- Residual moisture: Moisture left on the caulk after showering can promote mold development.
- Organic residues: Soap scum, body oils, and other organic residues can accumulate on the caulk, providing nutrients for mold to thrive.
Mold Prevention and Household Cleaning
To prevent mold growth on silicone caulk and maintain a clean bathroom environment, it’s crucial to implement regular cleaning practices. Here are some effective methods for mold prevention and household cleaning:
- Daily wipe downs: After showering, use a squeegee or a clean cloth to remove excess moisture from the caulk and surrounding areas.
- Weekly cleanings: Regularly clean the silicone caulk with a mild household cleaner and a soft brush or sponge, focusing on removing any residues.
- Ventilation: Ensure proper ventilation in your bathroom by opening windows or using exhaust fans to promote airflow and reduce moisture buildup.
- Seal any gaps: Check for any gaps or cracks in the caulk and reseal them to prevent water from seeping in.
By adopting these mold prevention and cleaning practices, you can minimize the risk of mold growth on your silicone caulk and maintain a healthier bathroom environment.

| Common Mistakes to Avoid | Effective Mold Prevention Tips |
|---|---|
| Ignoring signs of mold growth | Regularly inspect the caulk for any signs of mold and address it promptly. |
| Using harsh chemicals | Opt for mild household cleaners to avoid damaging the caulk. |
| Allowing standing water | Address any leaks or standing water issues to prevent excess moisture. |
| Not maintaining proper ventilation | Ensure adequate airflow in your bathroom to reduce humidity levels. |
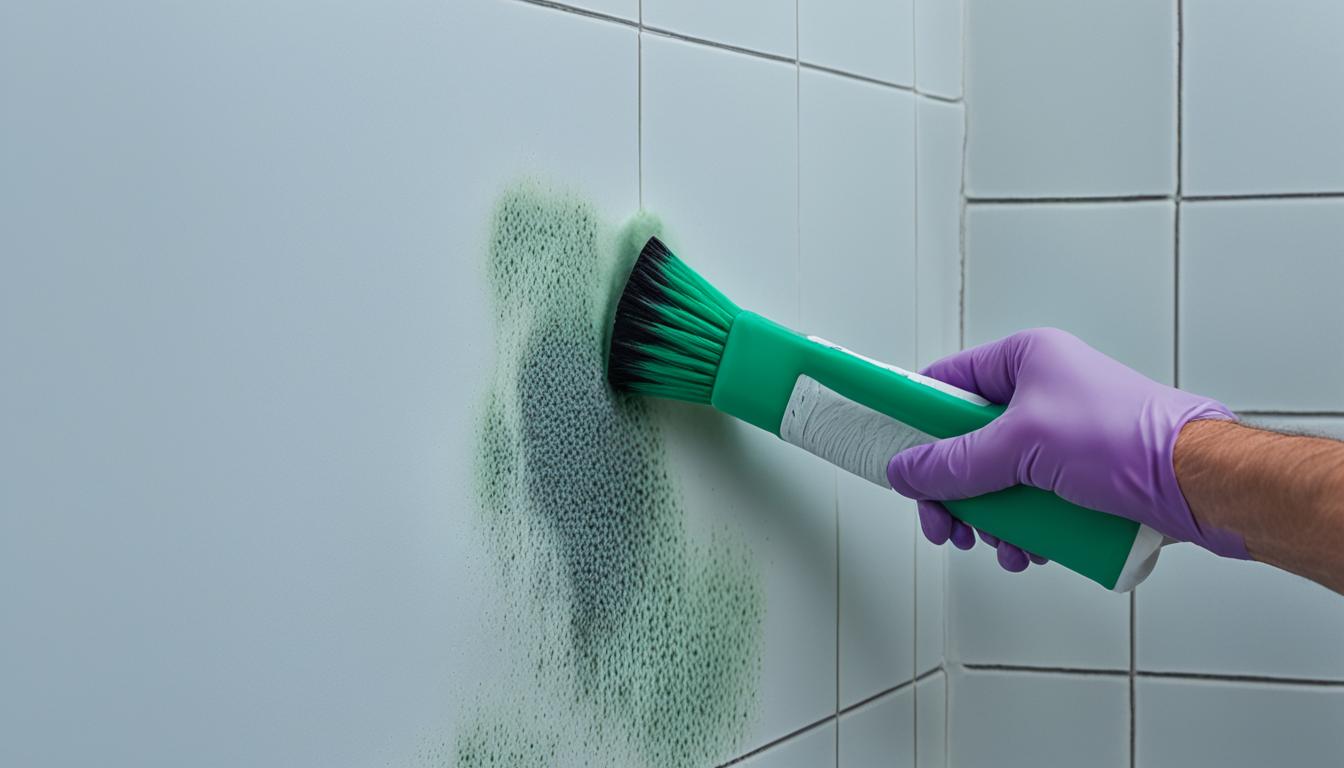
Effective Techniques for Removing Mold on Silicone Caulk
Removing mold from silicone caulk requires specific techniques to ensure thorough cleaning without damaging the caulk itself. Mold can be stubborn and persistent, but with the right approach, you can successfully eliminate it from your bathroom. In this section, we will provide step-by-step instructions for DIY mold removal on silicone caulk. These techniques are safe, effective, and cost-effective, allowing you to save money on professional services.
Step 1: Gather Your Supplies
Before you begin the mold removal process, gather the necessary supplies:
- Protective gloves
- Face mask
- Bleach or hydrogen peroxide
- Scrub brush or toothbrush
- Hot water
- Microfiber cloth
- Vinegar (optional)
- Baking soda (optional)
Step 2: Prepare the Area
Ensure proper ventilation in the bathroom by opening windows or using a fan. This will help dissipate any fumes from the cleaning agents you will be using.
Step 3: Apply the Cleaning Solution
- Put on your protective gloves and face mask.
- Mix a solution of bleach or hydrogen peroxide with hot water. The ratio should be 1 part bleach or hydrogen peroxide to 2 parts hot water.
- Dip your scrub brush or toothbrush into the cleaning solution and apply it directly to the moldy silicone caulk.
- Gently scrub the caulk in a circular motion, focusing on the areas with visible mold.
- Continue scrubbing until the mold is visibly removed from the caulk.
Step 4: Remove Residual Mold
If there are still traces of mold on the silicone caulk after scrubbing, try the following additional techniques:
- Apply vinegar directly to the leftover mold and let it sit for 15 minutes before scrubbing again.
- Create a paste using baking soda and water, then apply it to the caulk. Let it sit for 15 minutes before scrubbing.
Step 5: Rinse and Dry
After successfully removing the mold, rinse the silicone caulk thoroughly with water to remove any leftover cleaning solution. Use a microfiber cloth to dry the caulk completely.

Step 6: Prevent Future Mold Growth
To prevent mold from returning, consider implementing these preventive measures:
- Keep the bathroom properly ventilated to reduce humidity levels.
- Wipe down the caulk regularly with a mixture of vinegar and water to discourage mold growth.
- Repair any leaks or water damage in the bathroom promptly.
By following these effective techniques for mold removal on silicone caulk, you can maintain a clean and healthy bathroom environment. Remember, regular maintenance is key to preventing mold from reappearing. By taking proactive measures, you can ensure the longevity and cleanliness of your silicone caulk.
Conclusion
Mold growth on silicone caulk can be a frustrating issue for many homeowners. However, with the right knowledge and techniques, you can effectively remove mold from your caulk and prevent future growth. Regular bathroom maintenance and mold prevention practices are crucial in keeping your silicone caulk clean and mold-free.
To eliminate mold on silicone caulk, it is important to understand the causes of mold growth. Moisture, lack of ventilation, and organic matter provide ideal conditions for mold to thrive. By addressing these factors and implementing proper cleaning techniques, you can successfully remove mold and inhibit its return.
Remember to regularly inspect your bathroom for signs of mold and take immediate action if you spot any. Simple practices like wiping down surfaces, drying the bathroom thoroughly, and applying a mold-resistant sealant to your silicone caulk can go a long way in preventing mold growth.
By following the expert tips provided in this article, you can create a safe and hygienic bathroom environment for you and your family. However, if you find the mold problem persisting or require professional assistance, don’t hesitate to reach out to Fix Mold Miami at 305-465-6653 for a thorough mold assessment. With the right approach to bathroom maintenance and mold prevention, you can enjoy a clean and mold-free bathroom for years to come.