Effective Drywall Mold Remediation Steps
Mold growth on drywall can be a significant issue in any home or building. It not only causes unsightly stains but can also pose health risks to the inhabitants. If you have mold on your drywall, it’s crucial to address it immediately to prevent further damage and potential health concerns.
In this section, we will guide you through the step-by-step process of effectively removing mold from drywall. You’ll learn how to fix mold on drywall using safe and proven methods. From assessing the damage to cleaning and disinfecting the affected area, we’ll cover everything you need to know about mold remediation on drywall.
Key Takeaways
- Mold growth on drywall can be a significant issue, causing unsightly stains and potential health risks.
- Evaluating the extent of mold damage is crucial before starting the remediation process on drywall.
- Safety precautions should be taken during mold removal on drywall to minimize health risks.
- Proper tools and materials are necessary for effective mold remediation on drywall.
- Containment measures can prevent the spread of mold spores during the remediation process on drywall.
Assessing the Mold Damage on Drywall
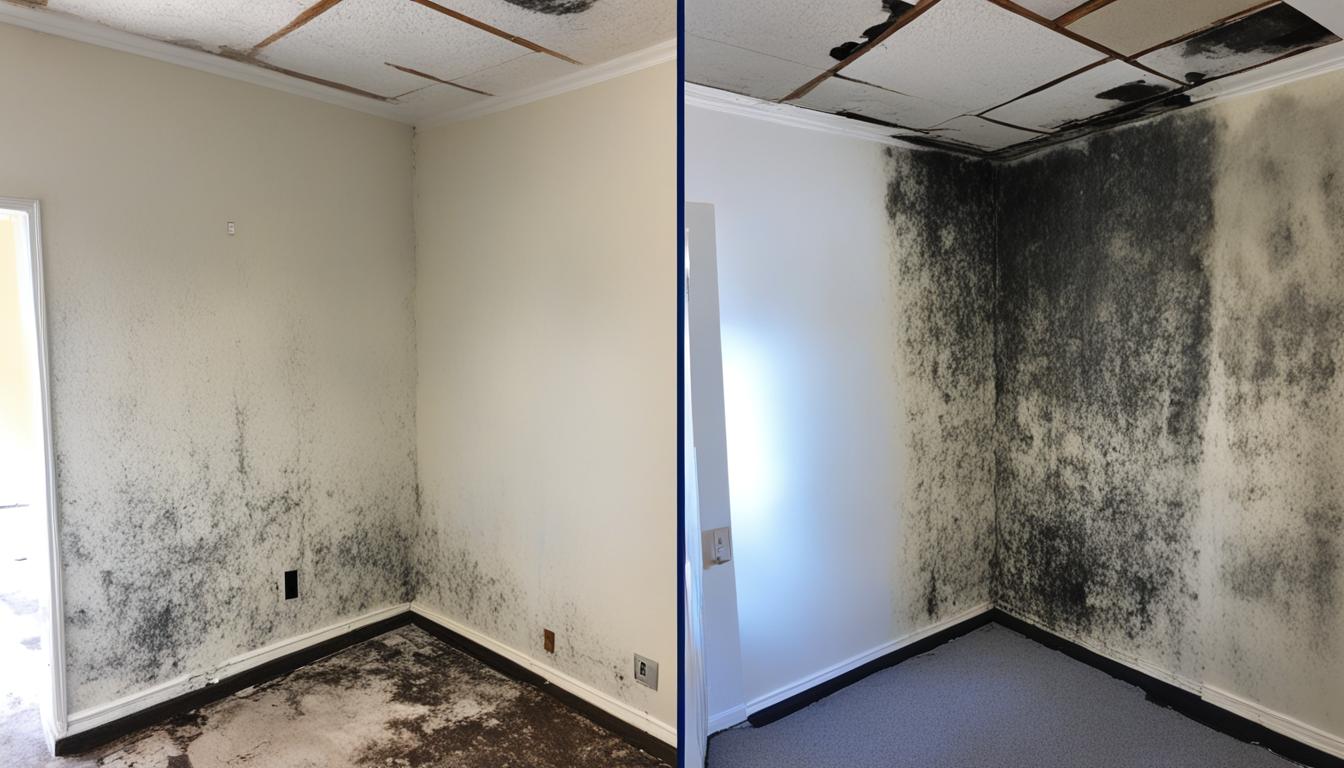
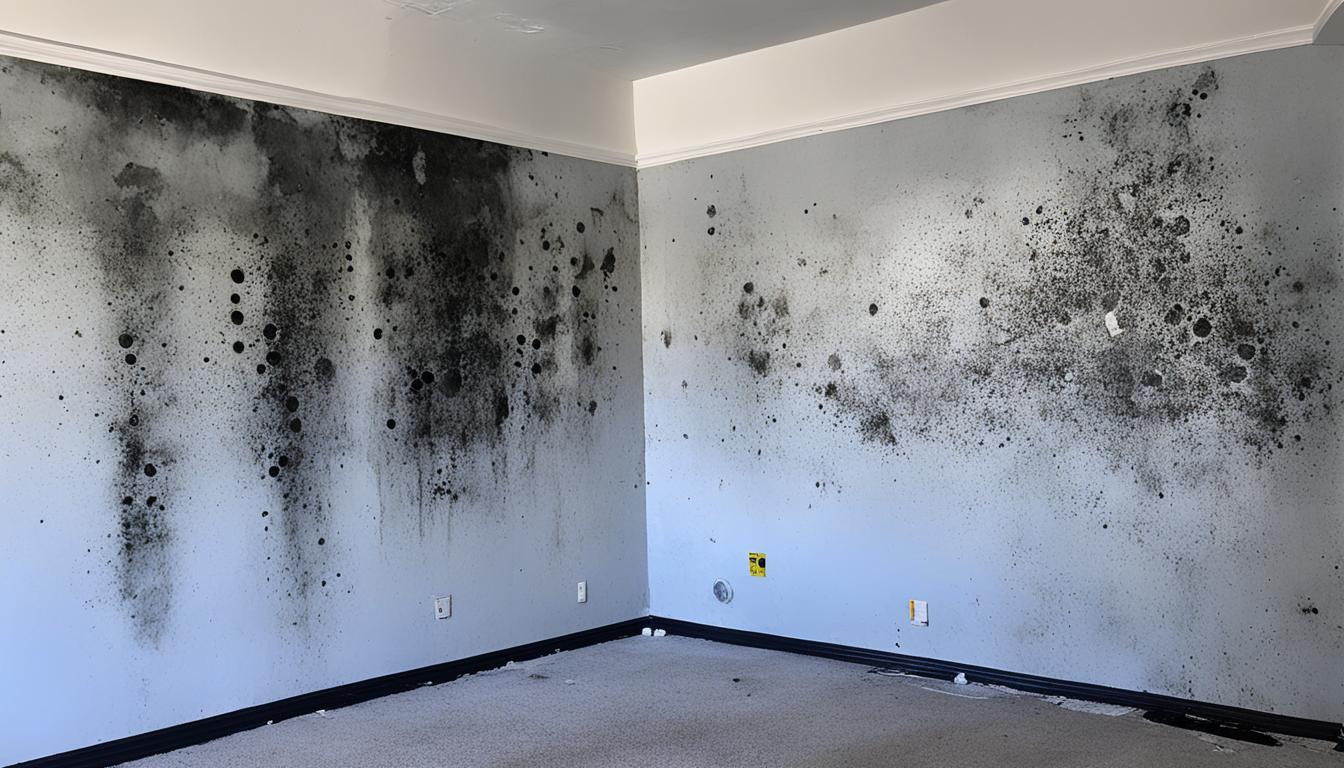
Before starting the mold remediation process, it’s crucial to evaluate the extent of the mold damage on drywall. Assessment is necessary to determine the appropriate course of action for safe and effective mold removal. You can visually identify mold growth on drywall by looking for patches of black, green, or white spots that often have a fuzzy texture.
If you suspect mold growth, use an appropriate testing kit to confirm the presence of mold in the affected area. Once you’ve confirmed the mold presence, evaluate the extent of the damage it has caused to the drywall. You can assess the extent by checking the texture and color of the affected area and testing the moisture levels using a moisture meter. If water damage is present, you must also assess the extent of that damage.
It’s important to note that if the mold growth has affected more than 10 square feet of drywall, it’s recommended to seek professional assistance.
Once you’ve assessed the mold damage on drywall, you can proceed with the appropriate mold removal process. The removal process will depend on the extent of the damage, type of mold, and other factors that need to be considered in the mold remediation process.
Safety Precautions for Mold Removal
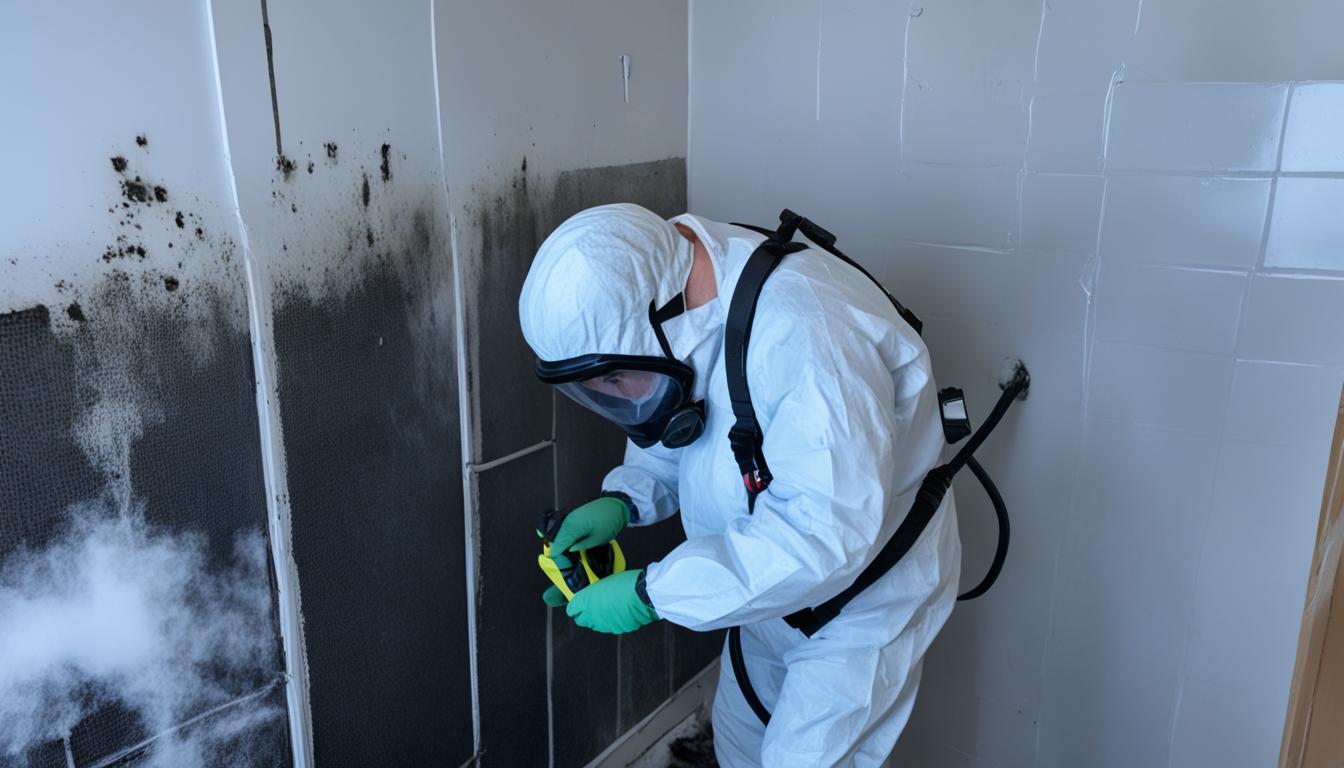
Mold remediation on drywall can be hazardous if not carried out carefully and safely. It’s crucial to take the necessary safety precautions to protect yourself from mold exposure and health risks. The following tips will help you safely remove mold from your drywall:
| Precautions | How to do it |
|---|---|
| Wear Protective Gear: | Put on protective clothing, such as gloves, masks, and goggles before starting the mold remediation process. This protects your skin, eyes, and respiratory system from harmful spores. Afterward, properly discard the clothing you wore after cleaning. |
| Seal the Affected Area: | Use plastic sheets or tarps to seal off the affected area of your drywall from the rest of the house. This will prevent the spread of mold spores to other parts of your home during the cleaning process. Close any doors or windows leading to the outside to avoid cross-contamination. |
| Ventilate the Work Area: | Ensure proper ventilation by opening windows and using fans to provide airflow while you work. This will help to minimize exposure to mold spores and prevent excess moisture buildup in the work area. |
| Avoid Agitating the Mold: | Dry brushing or scraping moldy material can release spores into the air, increasing your risk of exposure. Instead, wet the mold to keep it from becoming airborne and spreading. A solution of warm water and dish soap can help loosen mold from surfaces before wiping or scrubbing. |
| Disinfect the Affected Area: | After cleaning up the mold, disinfect surfaces using a solution of bleach and water. Be sure to use gloves and proper ventilation when using bleach. This will help kill any remaining spores and prevent future growth. |
Following these safety precautions will minimize your risk of exposure to mold and protect your health during the remediation process. In addition, preventing mold growth on drywall requires proper moisture control and ventilation. Keep your home dry and well-ventilated to prevent future issues.
Gathering the Necessary Tools and Materials
Before starting the mold remediation process on drywall, you’ll need the right tools and materials to ensure safe and effective removal of mold. Here is a comprehensive list of items you’ll need:
| Tools | Materials |
|---|---|
|
|
Tip: Before purchasing materials, ensure they are safe for use on drywall and are effective against mold growth.
Having these tools and materials on hand will enable you to carry out the mold remediation process on your drywall surfaces effectively. Remember to follow safety precautions and take all necessary steps to prevent the spread of mold spores during the removal process.
Containment Measures for Mold Removal
During the mold removal process, it’s crucial to prevent the spread of mold spores to other areas of your home. Implementing containment measures can help mitigate this risk.
First, close all doors and windows in the infected area. Cover any openings, such as vents or air ducts, with plastic sheets to prevent the spread of mold spores through the HVAC system.
Turn off the HVAC system to prevent further contamination and cover any supply or return air vents with plastic sheets and tape to prevent the circulation of mold spores throughout your home.
Place a negative air machine or air scrubber in the infected area. This machine uses filters to capture airborne mold spores, preventing them from spreading.
Wear protective clothing, including gloves, a mask, and goggles, to avoid exposure to mold spores. Seal your clothing in a plastic bag before leaving the infected area to prevent the spread of mold spores.
Tip: Always dispose of contaminated materials according to local regulations and guidelines.
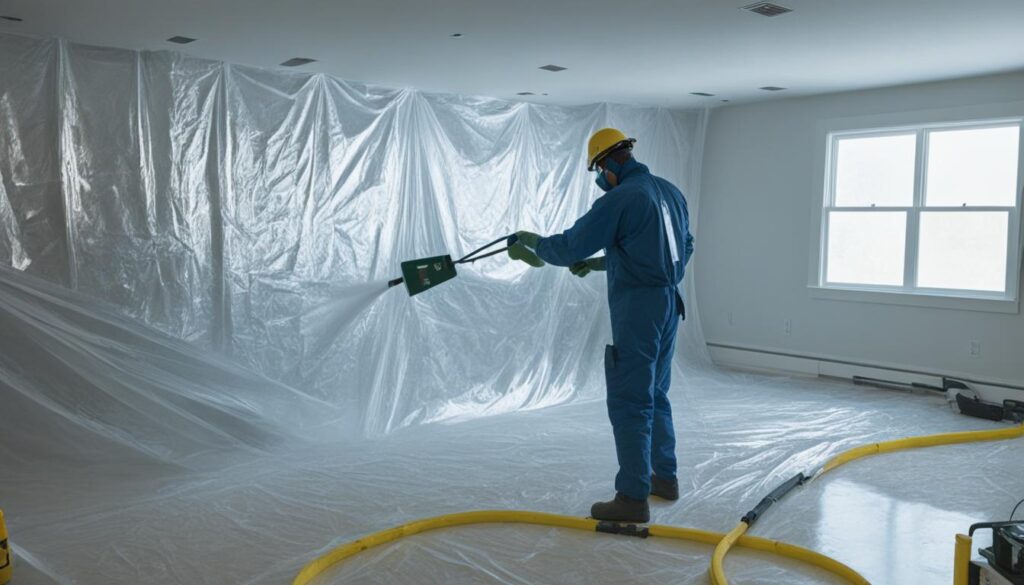
By implementing these containment measures, you can effectively prevent the spread of mold spores during the removal process, minimizing the risk of further contamination.
Removing Mold from Drywall
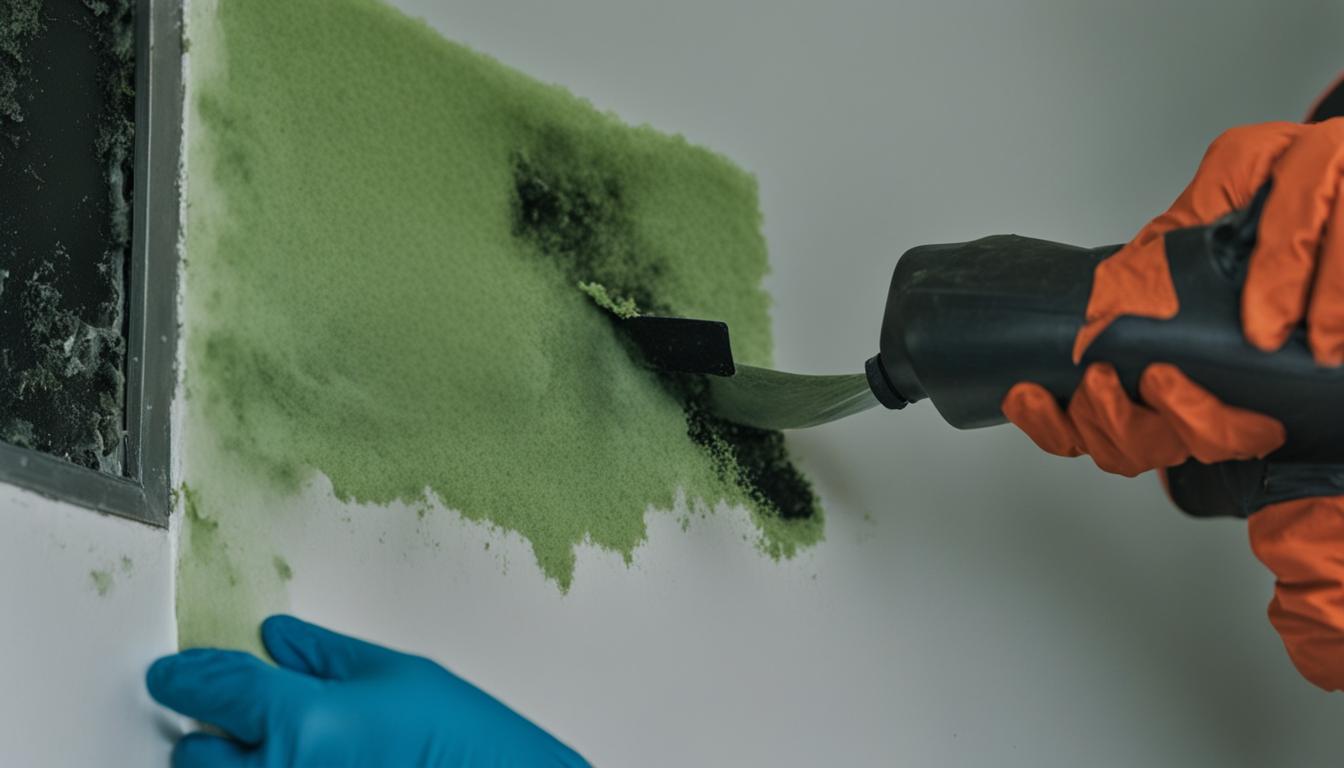
Once you have assessed the mold damage and gathered the necessary tools and materials, it’s time to start removing the mold from your drywall. Here are some effective techniques and methods for safely and effectively fixing mold growth on drywall:
Dry Brushing
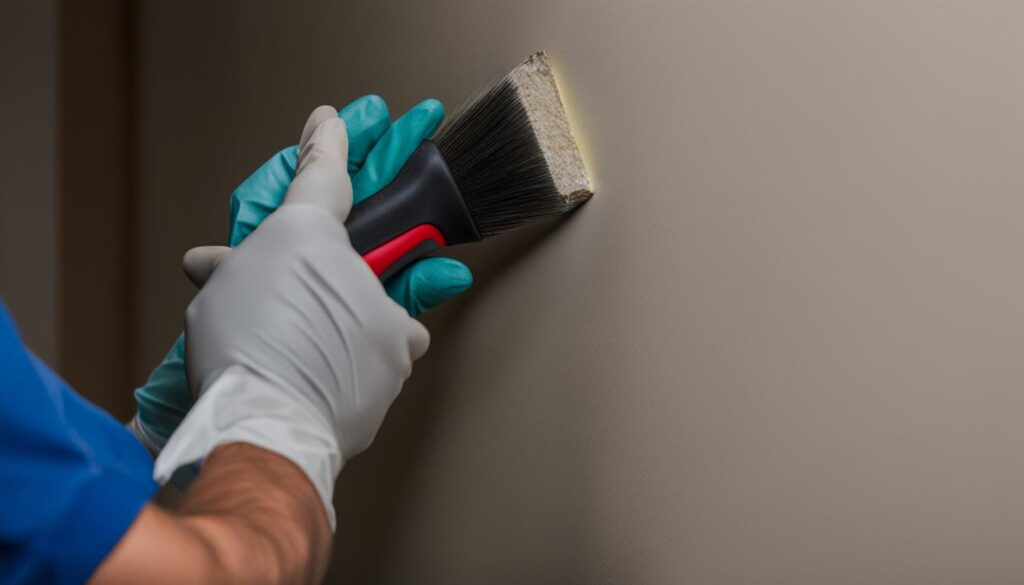
Dry brushing is a simple technique that involves using a dry, soft bristle brush to remove mold from the surface of the drywall. This method is particularly useful for removing mold growth on unpainted or textured drywall surfaces. However, it’s important to wear a mask and gloves to protect yourself from inhaling mold spores and irritating your skin.
Vacuuming
Another effective method for removing mold from drywall is using a HEPA vacuum. A HEPA vacuum is designed to trap small particles such as mold spores, preventing them from being released into the air. Before using the vacuum, make sure to cover the mold-infested area with plastic sheeting to prevent the mold spores from spreading.
Wet Vacuuming
Wet vacuuming involves using a wet/dry vacuum with a HEPA filter to remove mold from drywall surfaces. This method is useful for removing mold growth on painted or smooth drywall surfaces because the water helps to loosen the mold from the surface. However, it’s important to wear protective gear and to ensure that the drywall is completely dry after vacuuming to prevent further mold growth.
Removing and Replacing the Drywall
If the mold growth is extensive or if the drywall is severely damaged, you may need to remove and replace the affected drywall. This can be a more complex and time-consuming process, but it ensures complete removal of the mold and prevents future mold growth. Make sure to follow proper safety precautions and to dispose of the mold-infested drywall properly.
If you’re dealing with extensive mold damage, it’s recommended to call in professionals who specialize in mold remediation. They have the necessary equipment and expertise to carry out the mold removal process safely and effectively.
Cleaning and Disinfecting the Affected Area
Now that you have successfully removed the mold from your drywall, it’s crucial to clean and disinfect the affected area to prevent future mold growth. Follow these step-by-step instructions:
- Prepare the cleaning solution: Mix one cup of bleach with one gallon of water in a bucket. Wear gloves and a face mask to protect yourself from the bleach fumes.
- Clean the affected area: Use a rag or sponge dipped into the cleaning solution to wipe down the affected area. Be sure to apply enough pressure to remove any remaining mold spores.
- Rinse the area: Wipe the area down with a clean, damp rag to remove any leftover debris and cleaning solution.
- Dry the surface: Allow the surface to air dry or use a clean towel to dry it thoroughly.
- Apply a disinfectant: Once the surface is dry, spray a disinfectant spray appropriate for drywall onto the area and let it sit for the recommended amount of time indicated on the label.
- Repeat the process: Repeat the entire process of cleaning, rinsing, drying, and applying a disinfectant spray if necessary, until all mold and mold spores are removed.
Remember to discard any rags or sponges used for cleaning that may have come into contact with mold spores. Take care to properly ventilate the area during and after cleaning to help dissipate the fumes created by the cleaning solution.
Drying the Drywall
After the mold has been removed from your drywall, it’s important to dry the affected area thoroughly and efficiently to prevent moisture from promoting future mold growth. Here are some effective methods to dry your drywall:
- Open windows and doors to increase ventilation and air circulation in the room.
- Use a dehumidifier to reduce the moisture content in the air.
- Use fans to speed up the drying process and direct air towards the affected area.
- Use a wet/dry vacuum to extract excess water from the drywall surface.
Keep in mind that sufficient drying time will depend on the extent of the moisture damage and the climate in your area. You can use a moisture meter to determine if the drywall is completely dry. If the moisture level is still high, continue to dry the area until it reaches an acceptable level.
Remember, proper drying is essential in mold remediation on drywall to prevent future mold growth. Ensure that the drywall is completely dry before proceeding with any repairs or applying any sealant or paint.
Inspecting for Hidden Mold
Even after thorough cleaning, mold can sometimes hide in hard-to-reach spots. To ensure complete removal of mold from your drywall, it’s important to inspect the surrounding areas and hidden spaces.
The first step is to carefully examine the walls and adjacent surfaces to identify any signs of mold growth. Check for any dampness or discoloration, as these are common indicators of hidden mold. Use a strong flashlight to shine light into tight spaces and dark corners to look for any visible signs of mold.
If there are any areas that are difficult to access, consider using a borescope to investigate. A borescope is a tool with a flexible camera and a light that can be inserted into small spaces for inspection. This tool can be an effective way to detect hidden mold in walls or behind cabinets.
If you suspect that mold is hiding behind your drywall, consider cutting out a small section to investigate further. Remember to wear protective gear, including gloves and a mask, when cutting into drywall.
By carefully inspecting your drywall and investigating any hidden spaces, you can ensure that all mold has been successfully removed.
Repairing Damaged Drywall
During the mold remediation process, damaging your drywall is possible. When fixing mold damage on drywall, you may face issues such as holes and cracks. If left unaddressed, these problems can lead to further moisture accumulation, which can then facilitate the regrowth of mold. Fortunately, repairing damaged drywall is a relatively straightforward process that can be done in a few steps.
If the drywall damage is minor, such as small holes or cracks, you can repair them using spackle or joint compound. First, remove any loose debris around the area. Then, with a putty knife or other scraping tool, apply a small amount of spackle or joint compound to the affected area, spreading it evenly and filling in the gap or hole. Allow the mixture to dry completely. Once dry, lightly sand the area using fine-grit sandpaper until it is smooth and even with the surrounding drywall.
If the damage is too extensive for spackle or joint compound to be effective, you may need to replace the drywall entirely. This involves cutting away the damaged portion of the drywall with a saw or utility knife and installing a new piece of drywall in its place. Secure the new drywall to the existing studs or supports and secure it with drywall screws. Once the drywall is in place, cover the seams with joint tape and apply joint compound to smooth out the surface.
Addressing Underlying Moisture Issues
To effectively prevent future mold growth on drywall, it’s crucial to identify and address any underlying moisture issues that may have contributed to the initial mold problem. Moisture can accumulate on your drywall due to various reasons such as:
- Leaking pipes or appliances
- Poor ventilation and air circulation
- High humidity levels
Identifying the source of excess moisture is essential to prevent future mold growth on your drywall. Address these issues to prevent the need for frequent fixing of mold damage on drywall and dramatically reduce your chances of dealing with another mold situation.
If you have experienced mold growth on your drywall already, then it is highly suggested that you take extra measures to identify and fix any moisture problems before the mold grows out of control.
Quick tip: Use a dehumidifier in high humidity areas such as bathrooms, kitchens, and basements to regulate the humidity and moisture levels.
Applying Mold-Resistant Paint or Sealant
If you’re looking for ways to prevent mold growth on your drywall, consider applying a mold-resistant paint or sealant. These products can add an extra layer of protection to your drywall and help you avoid costly drywall mold repair services in the future.
Mold-resistant paint or sealant works by creating a barrier between the drywall and moisture, which can help prevent mold growth. By applying these products, you’re proactively taking steps to ensure that your drywall is safeguarded against any future moisture and mold-related issues.
When choosing a mold-resistant paint or sealant, make sure to look for products that are specifically designed for use on drywall. You can find these products at most home improvement stores or online retailers. Additionally, make sure to follow the manufacturer’s instructions carefully when applying the product to ensure optimal results.
Before applying mold-resistant paint or sealant, it’s important to properly clean and prepare the drywall surface. This will help ensure that the product adheres properly and provides optimal protection. Once the surface is clean and dry, you can begin applying the paint or sealant according to the manufacturer’s instructions.
Investing in mold-resistant paint or sealant can provide long-term benefits by helping prevent mold growth on your drywall. This, in turn, can help you avoid costly repairs and ensure a healthier living environment.
Maintaining a Healthy Home Environment
Aside from fixing mold damage on drywall and removing mold from drywall, maintaining a healthy home environment is crucial to preventing future mold growth. Here are some key tips and practices to ensure a healthier living space:
- Regular upkeep: Regular cleaning and maintenance can help prevent moisture buildup. Dusting, vacuuming, and wiping surfaces down with a damp cloth can remove potential food sources for mold.
- Moisture control: Keeping humidity levels below 60% can greatly reduce the risk of mold growth. Use a dehumidifier in humid areas like basements and bathrooms and promptly dry out any wet or damp areas.
- Ventilation: Proper ventilation is critical to preventing mold growth. Use exhaust fans in bathrooms and kitchens to remove hot, moist air and prevent condensation buildup. Ensure that your indoor air quality is good by installing air purifiers in your home.
- Regular inspections: Inspect your home regularly for any signs of moisture or mold growth. Address any issues immediately to prevent further damage and potential health risks.
By implementing these practices, you can significantly reduce the risk of mold growth on your drywall. Remember, prevention is key to maintaining a healthy home environment.
Seeking Professional Help for Extensive Mold Infestations
If you’re dealing with extensive mold growth on your drywall or if you’re unsure about how to handle the remediation process yourself, it’s best to seek professional help. This ensures a safe and effective removal process and minimizes the risk of further damage or health hazards.
Professional mold remediation services have the expertise and equipment necessary for fixing mold damage on drywall and removing mold from drywall surfaces. They can also assess the underlying causes of the mold growth and provide effective solutions to prevent future mold issues.
“Removing mold from drywall can be a complex process that requires specialized knowledge and skills. It’s important to seek help from certified professionals to ensure the job is done correctly and safely.”
Expert mold remediation companies follow strict safety protocols to protect everyone involved during the process. They also use advanced equipment and techniques to ensure thorough mold removal and cleaning of affected areas.
If you’re unsure whether you need professional assistance, consider the extent of mold damage on your drywall. If the damage covers a large area, involves hidden mold, or has resulted in significant structural damage, seeking professional help is highly recommended.
Remember, seeking professional help for fixing mold damage on drywall and removing mold from drywall is an investment in the safety and health of your household.
Preventing Future Mold Growth on Drywall
Now that you’ve successfully removed mold from your drywall, it’s important to take preventive measures to avoid future growth. Here are some effective strategies and tips:
Fix Any Moisture Issues
Mold thrives in a moist environment, so it’s crucial to fix any moisture issues in your home. Repair any leaks, ensure proper ventilation, and keep humidity levels low.
Keep Your Home Well-Ventilated
A well-ventilated home helps prevent moisture buildup and promotes air circulation, decreasing the likelihood of mold growth. Open windows and doors when weather permits, and use a dehumidifier if necessary.
Regularly Inspect Your Drywall
Check your drywall regularly for any signs of water damage, and address any issues promptly.
Apply a Mold-Resistant Paint or Sealant
Applying a mold-resistant paint or sealant gives additional protection to your drywall, making it less susceptible to mold. Be sure to follow manufacturer instructions when applying.
By following these tips, you can prevent future mold growth on your drywall, ensuring a healthy living environment.
Conclusion
By following these effective drywall mold remediation steps, you can safely and effectively fix mold on your drywall. Ensuring that you properly assess the mold damage, take necessary safety precautions, obtain the right tools, and thoroughly clean and disinfect the affected area will go a long way in preventing future mold growth on your drywall. Remember to keep your home environment healthy by controlling moisture levels and maintaining proper ventilation to avoid mold growth. But if the mold infestation is extensive or you’re unsure about handling the remediation process yourself, it’s always best to seek professional assistance to ensure the issue is taken care of properly.
FAQ
How can I fix mold on drywall?
To fix mold on drywall, follow these steps: assess the mold damage, gather the necessary tools and materials, take safety precautions, contain the area, remove the mold, clean and disinfect the affected area, dry the drywall, inspect for hidden mold, repair any damage, address underlying moisture issues, apply mold-resistant paint or sealant, and maintain a healthy home environment.
How do I assess mold damage on drywall?
Assessing mold damage on drywall involves visually inspecting the affected area, checking for signs of discoloration, odor, and water damage. You can also use a moisture meter or perform air quality testing to determine the extent of the mold growth.
What safety precautions should I take for mold removal on drywall?
Before removing mold from drywall, it’s important to wear protective gear such as gloves, goggles, and a respirator. Additionally, seal off the area to prevent mold spores from spreading, ensure proper ventilation, and dispose of contaminated materials properly.
What tools and materials do I need to remove mold from drywall?
For mold removal on drywall, you’ll need items such as plastic sheets, duct tape, mold removal products, scrub brushes, a HEPA vacuum, a bucket, towels, and personal protective equipment (PPE).
How do I contain mold during the removal process?
To contain mold during removal, you can use plastic sheets and duct tape to seal off the affected area. This prevents mold spores from spreading to other parts of the house.
What are the techniques for removing mold from drywall?
There are several techniques for removing mold from drywall, including scrubbing with a mold removal solution, using a HEPA vacuum, and in some cases, removing and replacing the affected drywall entirely.
How do I clean and disinfect the affected area after mold removal?
After removing mold from drywall, thoroughly clean the area with a mild detergent or a mixture of water and bleach. Ensure the area is completely dry and then apply a disinfectant to kill any remaining mold spores.
How can I prevent future mold growth on drywall?
To prevent mold growth on drywall, maintain proper ventilation, control moisture levels, fix any leaks promptly, use mold-resistant materials, and regularly inspect for any signs of water damage or mold growth.

