DIY Guide: How to Make a Silicone Mold at Home
Welcome to our comprehensive DIY guide on making a silicone mold at home. Whether you’re a craft enthusiast or a DIY enthusiast, creating your own silicone molds can open up endless possibilities for your creative endeavors. In this article, we will take you through the step-by-step process of making high-quality silicone molds right in the comfort of your own home.
Before we dive into the detailed instructions, let’s take a moment to understand why silicone molds are a popular choice and why making them at home can be a rewarding experience. Silicone molds are versatile, durable, and capable of capturing intricate details with precision. Whether you want to make custom jewelry, unique candles, or personalized resin art, silicone molds provide a convenient way to bring your ideas to life.
Making a silicone mold at home is not only cost-effective but also allows you to tailor the mold to fit your specific needs. By following our DIY guide, you can create molds of any shape or size, ensuring that they align perfectly with your creative vision.
Now, let’s explore the materials and preparation required before diving into the mold-making process. Gather the essential tools and supplies, create a suitable workspace, and get ready to embark on a creative journey.
Key Takeaways:
- Creating silicone molds at home is a cost-effective way to enhance your crafting abilities.
- Silicone molds offer versatility and durability for various crafts and projects.
- Follow our step-by-step guide to achieve professional-grade silicone molds.
- Gather the necessary tools and supplies to ensure a successful mold-making experience.
- Prepare your workspace to create an optimal environment for mold making.
Materials and Preparation for Making a Silicone Mold
Before embarking on the exciting process of making a silicone mold, it’s essential to gather all the necessary materials and prepare your workspace. With the right tools and a well-organized setup, you’ll set yourself up for a successful and satisfying mold-making experience.
Gathering Materials
To create a silicone mold, you’ll need the following materials:
- Silicone rubber: Choose a high-quality silicone rubber specifically designed for mold-making. It should be easy to mix, pour, and cure.
- Catalyst: The silicone rubber requires a catalyst to initiate the curing process. Ensure you have the correct type and ratio specified by the manufacturer.
- Mixing containers: Use disposable containers that are clean and free of contaminants. A few small cups or bowls should suffice.
- Mixing utensils: Silicone rubber requires thorough mixing, so have a set of mixing tools that are dedicated solely to mold-making. Avoid using materials that can introduce impurities.
- Release agent: Depending on the object you’re molding, you may need a release agent to facilitate easy removal. Research and select a suitable release agent for your specific project or object.
- Protective gear: Working with silicone and catalysts requires proper protective gear, including gloves, safety glasses, and a suitable face mask. Prioritize your safety throughout the entire process.
Preparing Your Workspace
Creating a dedicated and clean workspace is crucial for successful mold-making. Here are some tips to optimize your work area:
- Clean and level surface: Find a flat surface with ample space to accommodate your materials and tools. Ensure it is clean and free of debris to prevent any unwanted contaminants in your molds.
- Protective covering: Place a protective covering, such as a plastic sheet or disposable tablecloth, on your work surface. This will protect both your work area and any underlying surfaces.
- Good ventilation: Working with silicone and catalysts may generate fumes. Ensure you have good ventilation in your workspace to minimize exposure. Consider working near an open window or using a fume hood if available.
- Organized setup: Arrange your materials, tools, and containers in an organized manner for easy access. This will help streamline the mold-making process and reduce the risk of mistakes.
- Readiness for spills and accidents: Keep paper towels or clean rags within reach to quickly clean up any spills or accidents. This will prevent the spread of mess and maintain a tidy workspace.

By gathering the necessary materials and setting up your workspace effectively, you’re now ready to dive into the exciting process of making a silicone mold!
Step-by-Step Process of Making a Silicone Mold
Once you have all the necessary materials and have prepared your workspace, it’s time to dive into the exciting process of making a silicone mold. In this section, we will guide you through each step, from preparing the object to be molded to the final curing of the silicone.
Step 1: Prepare the Object
Start by selecting the object you want to create a mold of. Ensure that it is clean and free from any dirt, dust, or debris. If necessary, apply a release agent or lubricant to the object to facilitate the mold release process once the silicone has cured.
Step 2: Create a Mold Box
Construct a mold box or use a container that will accommodate the size of your object. The mold box should be slightly larger than the object to allow space for the silicone mold material to surround it.
Use a mold box frame or build one using foam board, acrylic sheets, or any other suitable material. Seal the corners of the mold box with hot glue or tape to prevent leakage during the silicone pouring process.
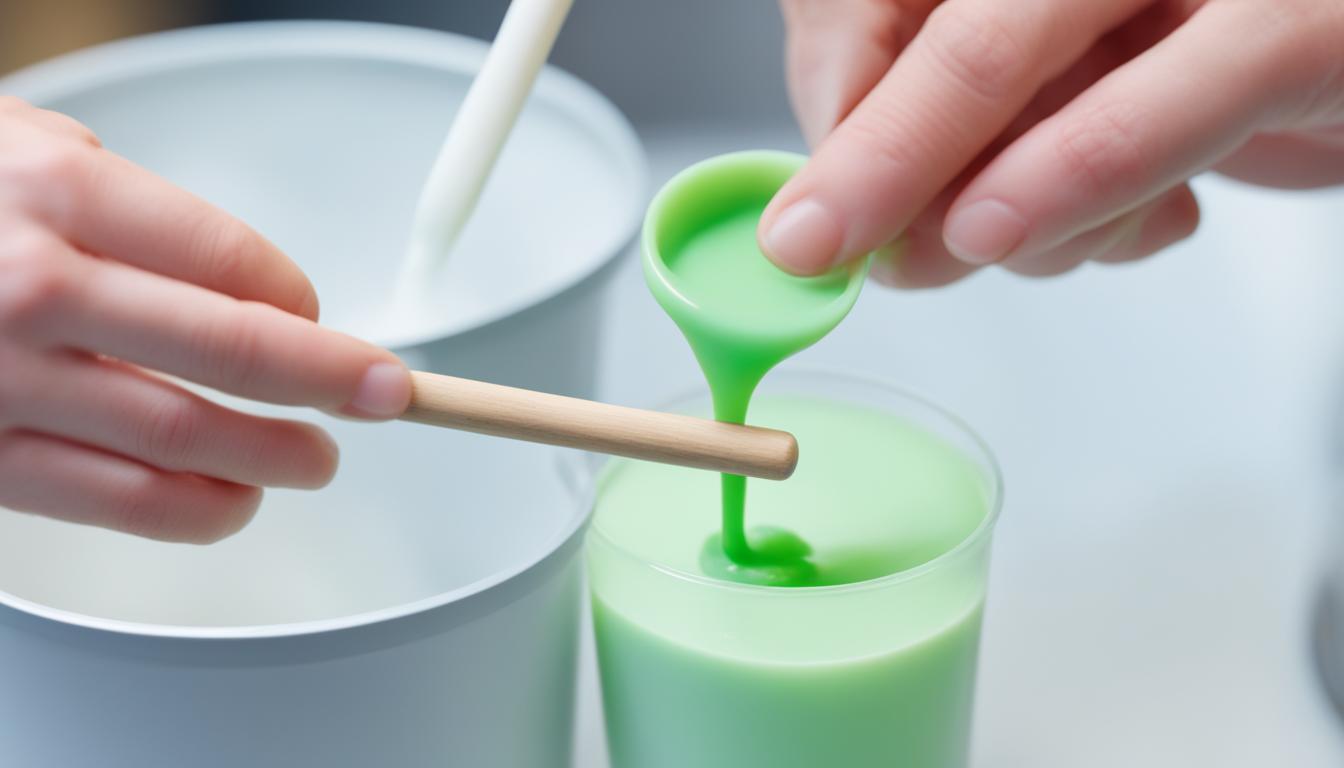
Step 3: Mix and Pour the Silicone
Follow the instructions provided with your silicone mold-making kit to mix the silicone material with its catalyst or hardener. Ensure thorough mixing to achieve proper curing.
Slowly pour the mixed silicone into the prepared mold box, covering the object completely. Take extra care to avoid introducing air bubbles into the silicone. You can gently tap the mold box on a flat surface or use a vacuum chamber to remove any trapped bubbles for a smoother mold.
Step 4: Curing and Demolding
Allow the silicone to cure according to the recommended time provided by the manufacturer. This can range from a few hours to several days, depending on the type of silicone used.
Once the silicone has fully cured, carefully remove the mold box frame or container. Gently flex and peel away the silicone mold to reveal your object encased within.
If needed, trim and refine the edges of the mold for a cleaner finish. Your silicone mold is now ready to be used for casting replicas of your object.

Materials and Tools Checklist
| Materials | Tools |
|---|---|
| Silicone mold-making material | Mixing container |
| Catalyst or hardener | Stirring stick or paddle |
| Release agent or lubricant | Mold box or container |
| Object to be molded | Hot glue gun or tape |
| Optional: Vacuum chamber | Scissors or utility knife |
Contact Fix Mold Miami for Mold Assessment
Mold can be a serious issue in homes and can have adverse effects on health. If you suspect mold growth or need professional assistance with mold assessment, prevention, or remediation, contact the experts at Fix Mold Miami. Call 305-465-6653 to schedule a mold assessment and ensure the safety of your home and your loved ones.
| Why Choose Fix Mold Miami? | Services Offered |
|---|---|
|
|
Fix Mold Miami is dedicated to providing professional and reliable mold assessment services to safeguard the health and well-being of their clients. Don’t compromise your safety when it comes to mold. Contact Fix Mold Miami today to schedule a mold assessment and take the necessary steps to keep your home mold-free.
Conclusion
Making a silicone mold at home is a rewarding and cost-effective way to enhance your crafting abilities. By following this DIY guide, you can create high-quality silicone molds that can be used for a variety of projects. Whether you’re a seasoned crafter or just starting out, the process of making a silicone mold offers endless possibilities for your creative endeavors.
It’s important to remember to take necessary precautions when working with silicone and other materials. Wear protective gloves, goggles, and work in a well-ventilated area to minimize any potential risks. Additionally, if you encounter mold-related issues in your home, it’s crucial to seek professional help. Addressing mold problems promptly can ensure the safety and well-being of your loved ones.
So why wait? Start your mold-making journey today and unlock a world of opportunities for customized crafts, DIY projects, and unique creations. With a little patience and practice, you can master the art of silicone mold making and bring your imaginative ideas to life. Get started now and let your creativity soar!