Discover the Secrets of how to Mold a mouthguard
Welcome to our comprehensive guide on molding a mouthguard for the perfect fit. Whether you’re an avid athlete or simply someone looking for extra dental protection during physical activities, mastering the art of molding a mouthguard is essential. A well-fitted mouthguard not only ensures comfort but also provides optimal safeguarding for your teeth and gums. In this section, we will explore the step-by-step process of creating a custom mouthguard that offers maximum protection and fits perfectly.
Key Takeaways:
- Molding a mouthguard is crucial for achieving a custom fit.
- A properly fitted mouthguard provides superior protection to your teeth, gums, and jaw during sports activities.
- Our step-by-step guide will help you achieve an optimal fit by addressing preparation, heating, molding, and trimming.
- Seek professional assistance, if needed, to ensure the best results.
- Investing in a well-fitted mouthguard will minimize the risk of dental injuries and enhance your sports performance.
Understanding the Importance of a Custom Mouthguard Fit
Before we dive into the molding process, it’s crucial to understand why a custom mouthguard fit is essential. A properly fitted mouthguard offers superior protection to your teeth, gums, and jaw during sports or athletic endeavors.
A custom mouthguard fit is vital for several reasons:
1. Enhanced Mouthguard Protection
When a mouthguard fits snugly and comfortably in your mouth, it provides optimal protection against dental injuries. A custom fit ensures that the mouthguard stays securely in place during physical activities, preventing it from shifting or falling out.
2. Maximum Comfort and Stability
A mouthguard that is custom-molded to your unique dental structure offers exceptional comfort and stability. It eliminates the discomfort caused by ill-fitting mouthguards and allows for natural breathing, speaking, and swallowing while wearing it.
3. Reduced Risk of Dental Injuries
By providing a precise fit, a custom mouthguard reduces the risk of dental injuries such as chipped or broken teeth, tooth displacement, and soft tissue damage. It acts as a cushion, absorbing and dispersing impact forces, thereby minimizing the likelihood of dental trauma.
Investing in a custom mouthguard fit is a proactive measure towards sports safety. It ensures that you can participate in athletic activities with confidence, knowing that your teeth and oral tissues are well-protected.

Step-by-Step Guide on Molding a Mouthguard
Now that you understand the significance of a custom mouthguard fit, let’s walk through the step-by-step process of molding a mouthguard. We will provide detailed instructions, along with useful tips and techniques to ensure you achieve an optimal fit. From preparing the mouthguard to heating, molding, and trimming, this comprehensive guide will help you create a mouthguard personalized to your unique dental structure.
- Start by thoroughly cleaning your mouthguard with soap and water. Ensure there are no debris or bacteria that may affect the molding process.
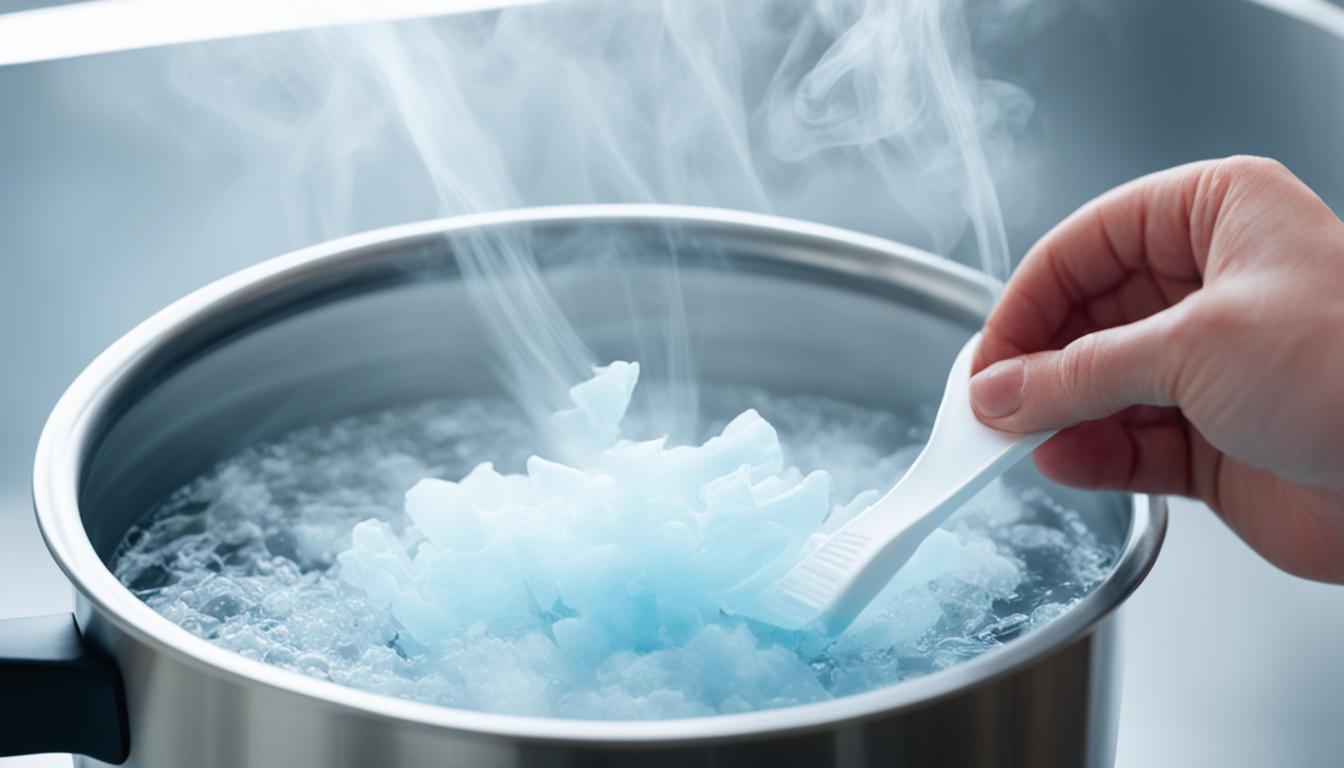
- Boil a pot of water and remove it from the heat source. Submerge the mouthguard in the hot water for the recommended time provided by the manufacturer. This step softens the mouthguard, making it pliable for molding.
- Carefully remove the mouthguard from the hot water using tongs or a spoon, ensuring you don’t burn yourself.
- Allow the mouthguard to cool down slightly until it is comfortable to touch but still warm and flexible.
- Place the mouthguard in your mouth, ensuring it covers both your upper and lower teeth. Bite down on the mouthguard firmly but gently to mold it to your dental structure. Use your fingers to press the mouthguard against the sides of your mouth for a more precise fit.
- With the mouthguard still in your mouth, use your tongue to press against its roof to ensure it adapts correctly to your palate’s shape.
- Remove the mouthguard from your mouth and rinse it with cold water to set the shape. This step helps the mouthguard to harden and retain its customized fit.
- Inspect the mouthguard for any uncomfortable or uneven areas. If necessary, use scissors or a knife to trim excess material for a better fit.
- Finally, test the mouthguard by placing it back in your mouth. Ensure it fits comfortably, doesn’t impede your breathing or speech, and stays securely in place.
By following this step-by-step guide, you can mold a mouthguard that provides optimal comfort and protection. Remember that the precise molding process may vary slightly depending on the specific mouthguard brand and model, so always refer to the manufacturer’s instructions for best results.
Useful Tips:
1. Read and carefully follow the instructions provided with your mouthguard to ensure the best outcome.
2. If you wear braces or have any other dental appliances, consult with your dentist or orthodontist for guidance on using a mouthguard for a proper fit.
3. Replace your mouthguard if it becomes worn out or damaged, as it may not provide adequate protection.
4. Store your mouthguard in a clean, ventilated container to prevent the growth of bacteria and prolong its lifespan.
Now that you have completed the molding process, you can move on to the next section to discover the importance of a custom mouthguard fit and how it enhances your sports safety.

Conclusion
Congratulations on gaining a comprehensive understanding of how to mold a mouthguard for a custom fit! A well-fitted mouthguard offers superior protection and comfort, significantly reducing the risk of dental injuries during athletic activities. By following our step-by-step guide, you can ensure that your mouthguard provides the perfect fit tailored to your unique dental structure.
Remember, achieving the best results may sometimes require professional assistance. Don’t hesitate to seek help if needed. It’s crucial to prioritize the safety of your smile while enjoying sports and physical activities.
Safeguard your teeth, gums, and jaw by using a mouthguard that provides optimal protection. By molding a custom mouthguard properly, you can confidently engage in your favorite sports, knowing that your teeth are shielded from potential harm.