Mastering the Art of how to remove Mold from shower caulking
Welcome to our guide on removing mold from shower caulking. Dealing with mold in your bathroom can be a frustrating and challenging task. However, with the right knowledge and techniques, you can effectively eliminate mold and restore cleanliness to your shower caulking. Whether you’re a homeowner or a renter, tackling mold is essential for maintaining a healthy bathroom environment.
Mold in shower caulking is a common problem that occurs due to the moist and humid conditions present in bathrooms. If left untreated, mold can grow and spread, not only affecting the appearance of your shower but also posing potential health risks. By investing some time and effort in properly removing mold, you can ensure a mold-free and hygienic shower space.
In this section, we will provide you with a step-by-step process to remove mold from shower caulking effectively. Our expert tips and techniques will help you achieve a cleaner and healthier bathroom environment. Say goodbye to unsightly mold and enjoy a refreshing shower experience once again!
Key Takeaways:
- Removing mold from shower caulking is crucial for maintaining a clean and healthy bathroom.
- Mold growth in shower caulking is caused by moisture buildup, poor ventilation, or faulty caulking.
- Follow our step-by-step guide to effectively remove mold from shower caulking.
- Regular cleaning and preventive measures can help prevent mold from reoccurring.
- Proper maintenance of shower caulking is essential for long-term mold prevention.
Understanding the Causes of Mold in Shower Caulking
Before we dive into the removal process, it’s important to understand why mold develops in shower caulking. By identifying the root causes, such as moisture buildup, poor ventilation, or faulty caulking, you can prevent future mold growth and ensure long-term mold-free shower caulking.
Moisture Buildup
One of the primary causes of mold in shower caulking is excess moisture. Bathrooms are naturally humid environments, and without proper ventilation, the moisture can accumulate on surfaces, including the caulking around your shower. Over time, this moisture provides the ideal conditions for mold growth.
Poor Ventilation
Adequate ventilation is crucial for maintaining a mold-free bathroom. Without proper airflow, moisture lingers in the air and settles on surfaces, including the shower caulking. Insufficient ventilation can be caused by a lack of windows, blocked vents, or ineffective exhaust fans. Addressing these ventilation issues can help prevent mold growth in your shower.
Faulty Caulking
Another common cause of mold in shower caulking is faulty caulking itself. Over time, caulk can deteriorate or crack, allowing water to seep behind it and create the perfect environment for mold to thrive. Regularly inspecting and maintaining the integrity of your shower caulking can help prevent mold growth.
“Identifying and addressing the root causes of mold in shower caulking is essential to maintain a mold-free bathroom environment.” – [Your Name]
To illustrate the causes of mold in shower caulking, consider the following table:
| Cause | Description |
|---|---|
| Moisture Buildup | Excess moisture accumulation due to the natural humidity in bathrooms. |
| Poor Ventilation | Lack of proper airflow, causing moisture to linger on surfaces. |
| Faulty Caulking | Deteriorated or cracked caulking that allows water to penetrate and create a conducive environment for mold growth. |

By addressing these causes, you can effectively prevent the recurrence of mold in your shower caulking, ensuring a cleaner and healthier bathroom environment for you and your family.
Step-by-Step Guide on Removing Mold from Shower Caulking
In this section, we will walk you through a comprehensive step-by-step guide on how to remove mold from your shower caulking. By following these instructions and using effective cleaning techniques, you can ensure a thorough and successful mold removal process.
Gather the Necessary Supplies
Before you begin the mold removal process, make sure you have the following supplies:
- Protective gloves
- Face mask
- Bleach or hydrogen peroxide
- Bucket of warm water
- An old toothbrush or scrub brush
- Clean cloth or sponge
Having these supplies ready will help you tackle the mold effectively and efficiently.
Prepare the Area
Start by preparing the area around the moldy caulking. Open a window or turn on the bathroom fan to ensure proper ventilation. Also, cover the shower floor and nearby surfaces with a plastic sheet or old towels to protect them from any cleaning solutions.
Apply the Cleaning Solution
Next, apply a mold-killing cleaning solution to the affected caulking. You can use a mixture of bleach and water or hydrogen peroxide. Make sure to follow the manufacturer’s instructions for the proper dilution ratio.
Tip: Bleach is effective in killing mold but can cause discoloration in some caulking materials. If you’re concerned about discoloration, opt for hydrogen peroxide instead.
Pour the cleaning solution into a spray bottle or dip your toothbrush or scrub brush into the solution. Apply it directly to the moldy caulking, ensuring thorough coverage.
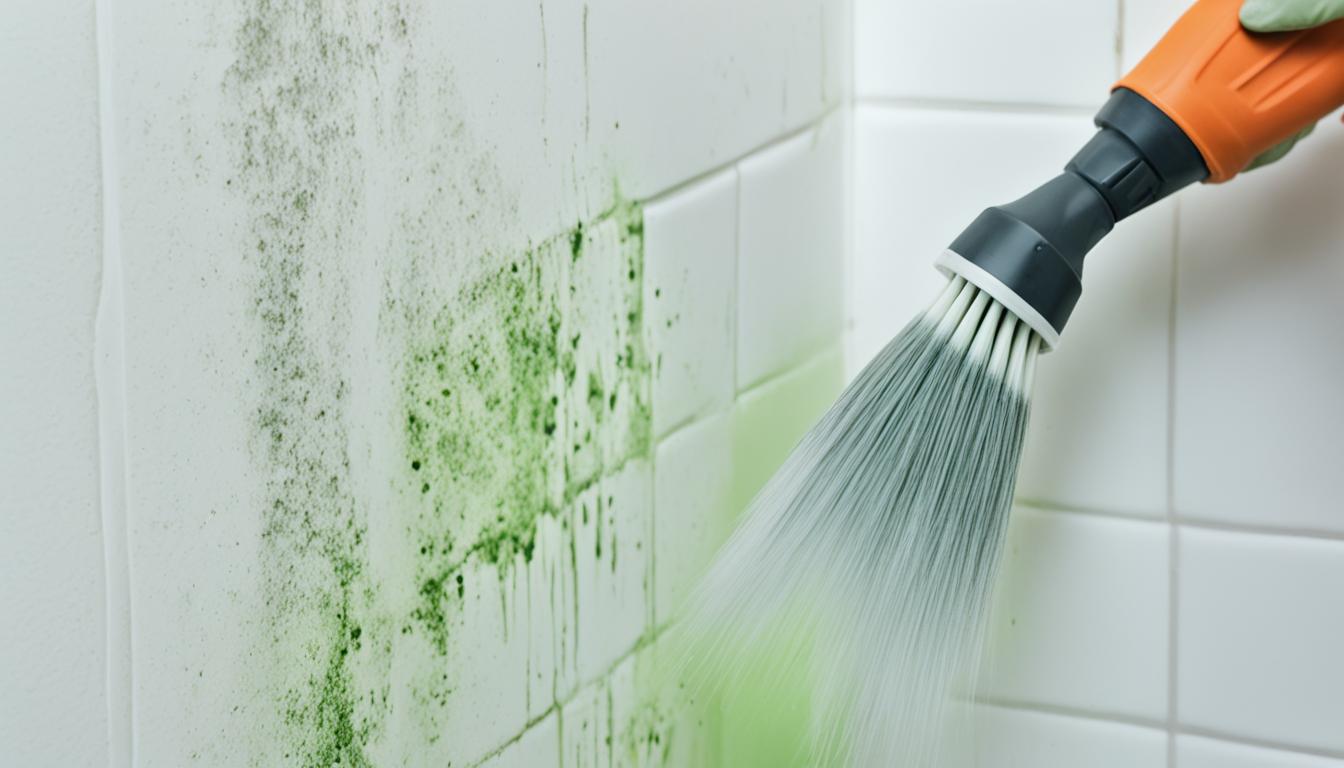
Scrub Away the Mold
Using a toothbrush or scrub brush, gently scrub the moldy caulking in a circular motion. Pay close attention to the moldy areas and continue scrubbing until the mold is visibly removed.
Rinse and Dry
Once you’ve successfully removed the mold, rinse the caulking thoroughly with clean water. Use a clean cloth or sponge to wipe away any remaining cleaning solution.
After rinsing, allow the caulking to dry completely. Ensure the bathroom is well-ventilated to aid in the drying process.
Inspect and Repeat if Necessary
Inspect the caulking to ensure all mold has been removed. If you spot any remaining mold, repeat the cleaning process until the caulking is completely mold-free.
Remember to dispose of any contaminated materials properly and wash your hands thoroughly after completing the mold removal process.

Conclusion
Mastering the art of how to remove mold from shower caulking is crucial for maintaining a clean and healthy bathroom environment. By understanding the causes of mold growth, following a step-by-step guide, and implementing preventive measures, you can effectively eliminate mold and prevent its recurrence. Regular cleaning and maintenance should be prioritized to ensure that your shower caulking remains mold-free.
Mold in the bathroom is not only unsightly but also poses potential health risks. By taking the necessary steps to remove mold from shower caulking, you can create a safer and more hygienic space. Remember, prevention is key, so addressing the root causes of mold growth, such as moisture buildup and poor ventilation, is essential for long-term mold prevention.
When removing mold from shower caulking, it’s important to use appropriate cleaning solutions and techniques to ensure thorough results. Following a step-by-step guide will help you navigate the process effectively and achieve the best outcome. By applying these strategies, you can maintain a mold-free shower caulking, promoting a cleaner and healthier bathroom for you and your family.