Same Day
Service

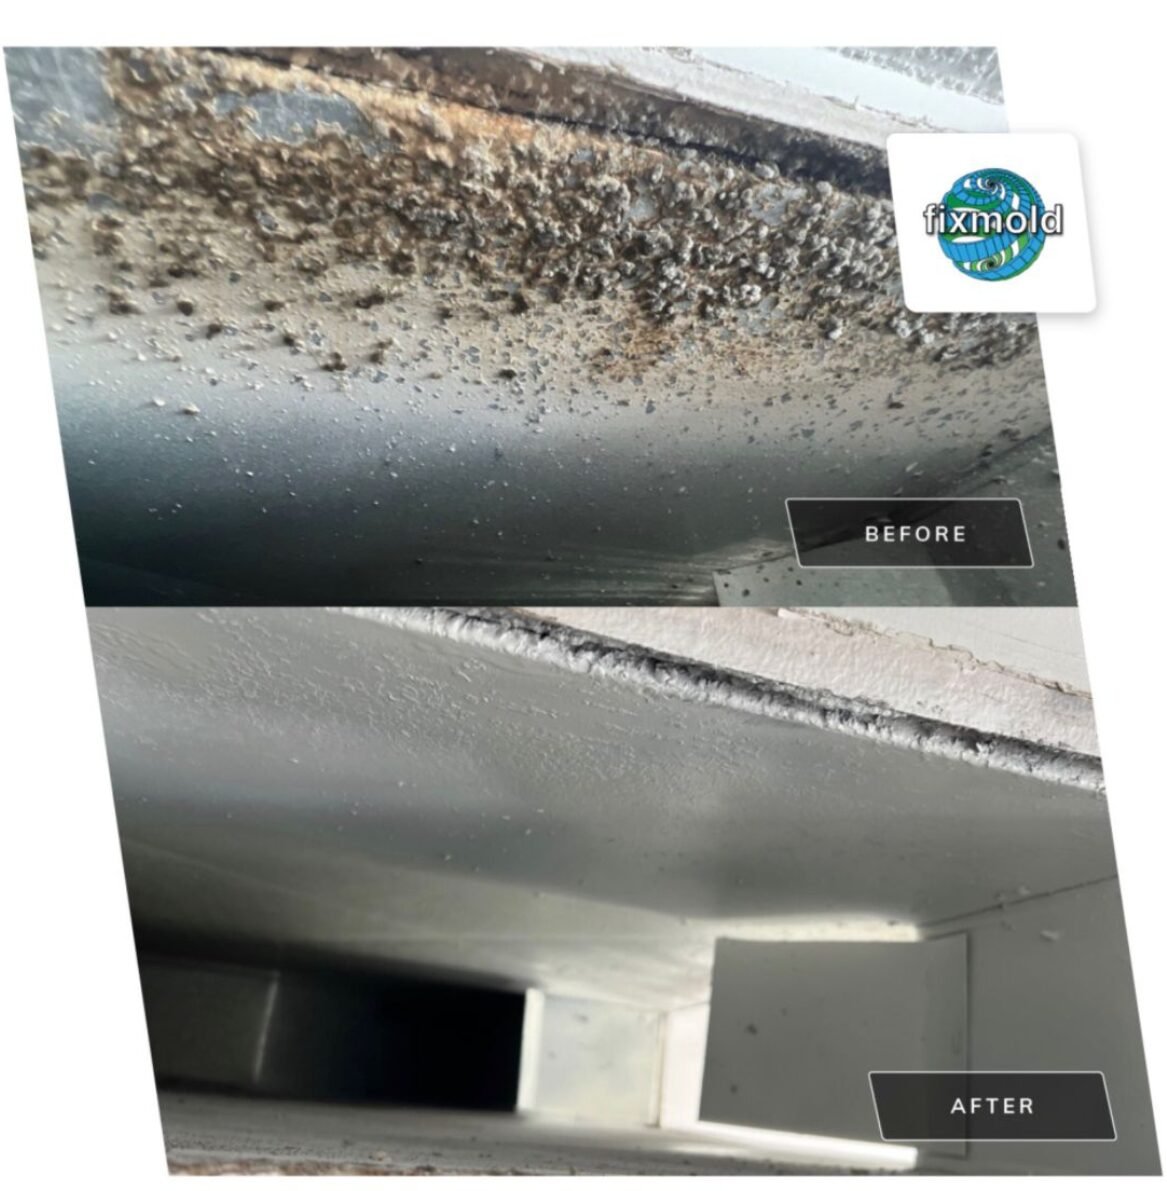
100% Satisfaction Guarantee
Lowest Price
Guarantee
1 Year
Warranty


White-Glove Restoration Company |
Average Restoration Company |
||
|---|---|---|---|
|
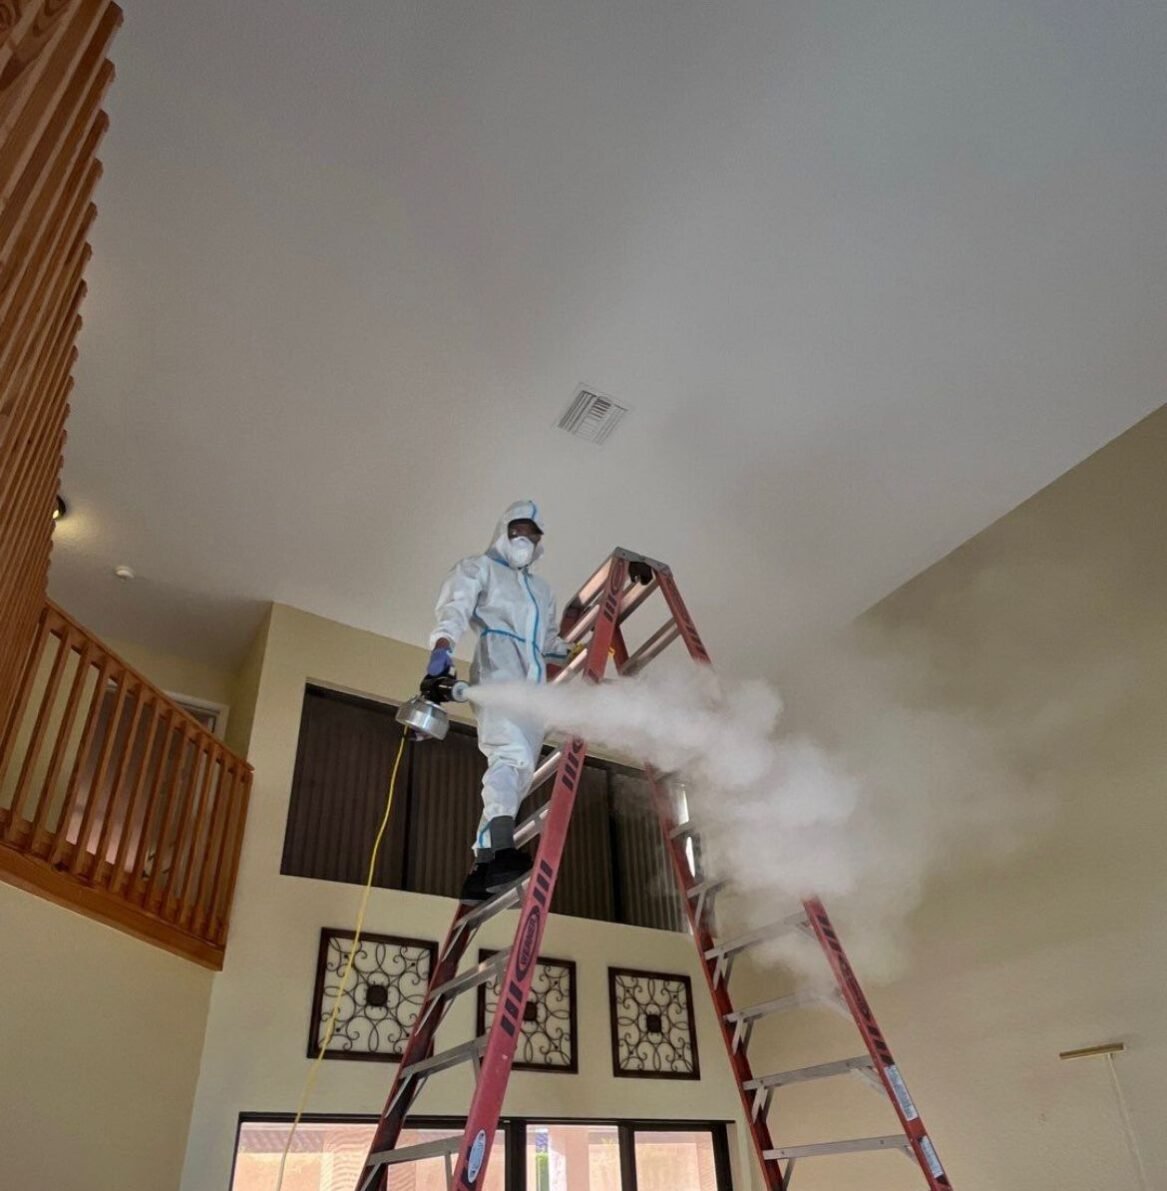
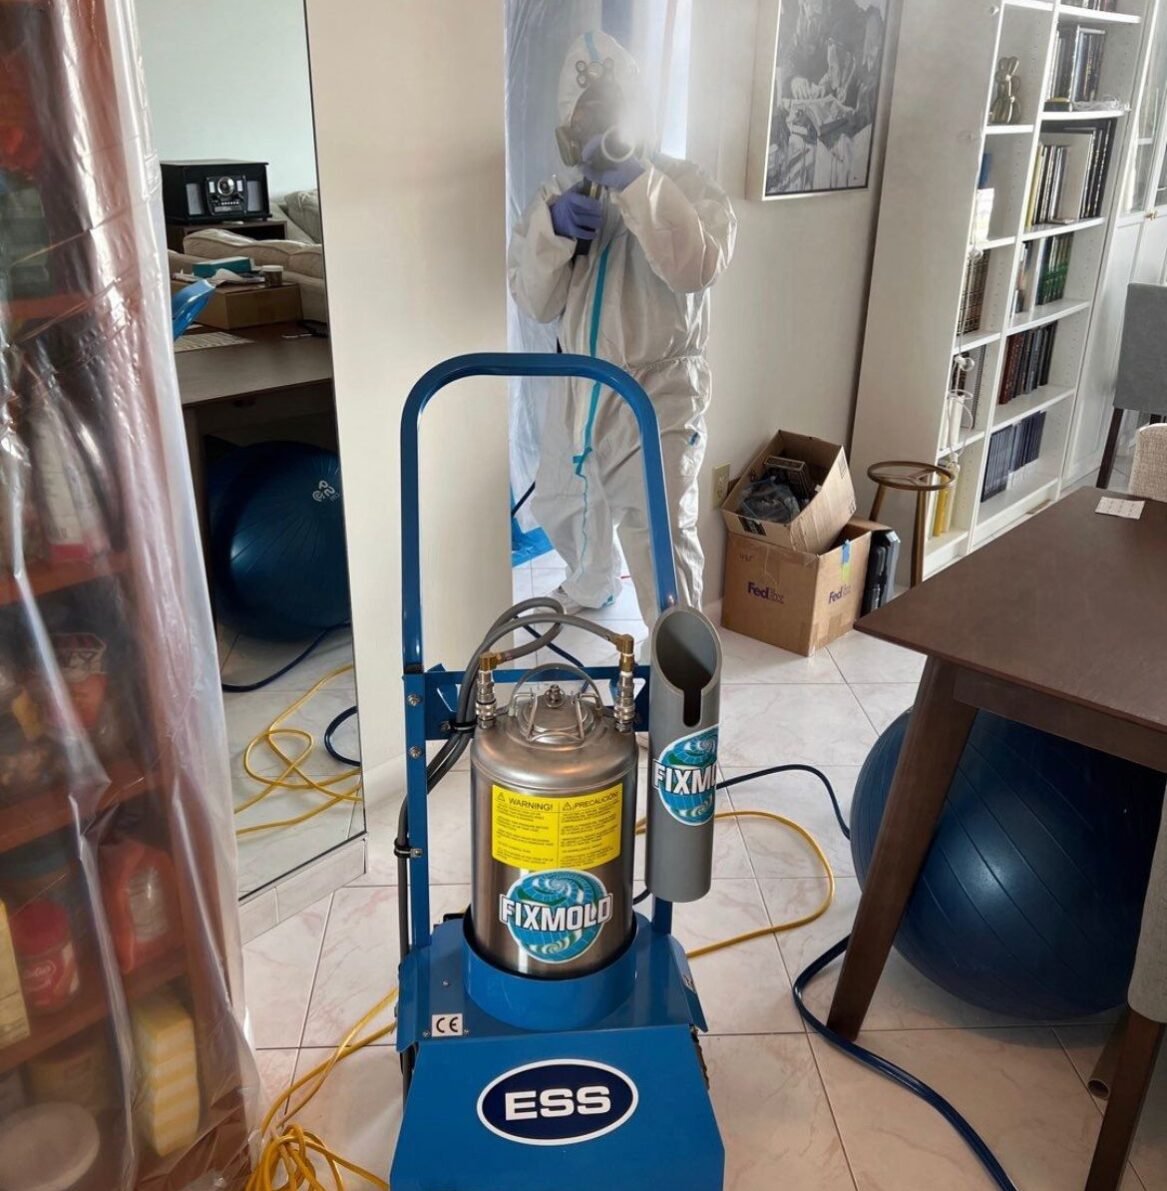
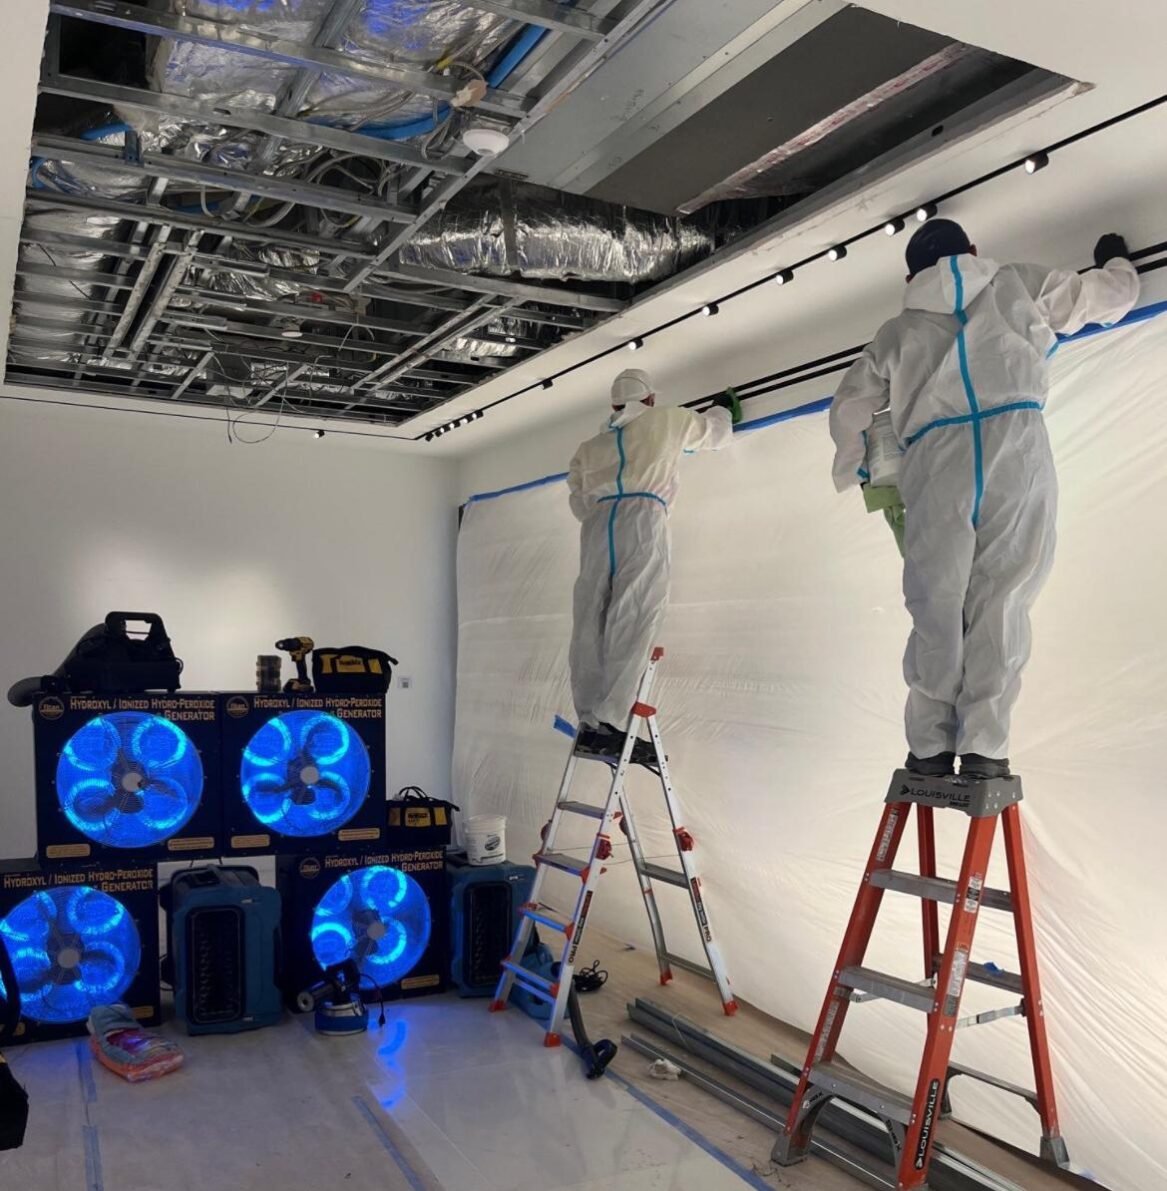
Highest Quality Equipment & Materials Advanced Technology, Certified Green, No-Biocides |
✓ |
✓ |
✗ |
|
One Stop Shop Licensed General Contractors, AC Technicians, Mold/Water, Dry-Wall Rebuild, Insurance |
✓ |
✗ |
✗ |
|
Highest Rated Company In South Florida 600+ 5 Star Reviews on Google, Angie's List, Yelp, Facebook, BBB |
✓ |
✗ |
✗ |
|
Affordability Lowest Price Guaranteed, Price Match, 0% APR Financing Available. |
✓ |
✗ |
O |
White-Glove Competitors |
||
|---|---|---|
|
Highest Quality Equipment & Materials |
✓ |
✓ |
|
One-Stop Shop |
✓ |
✗ |
|
Highest Rated Company In South Florida |
✓ |
✗ |
|
Affordability |
✓ |
✗ |


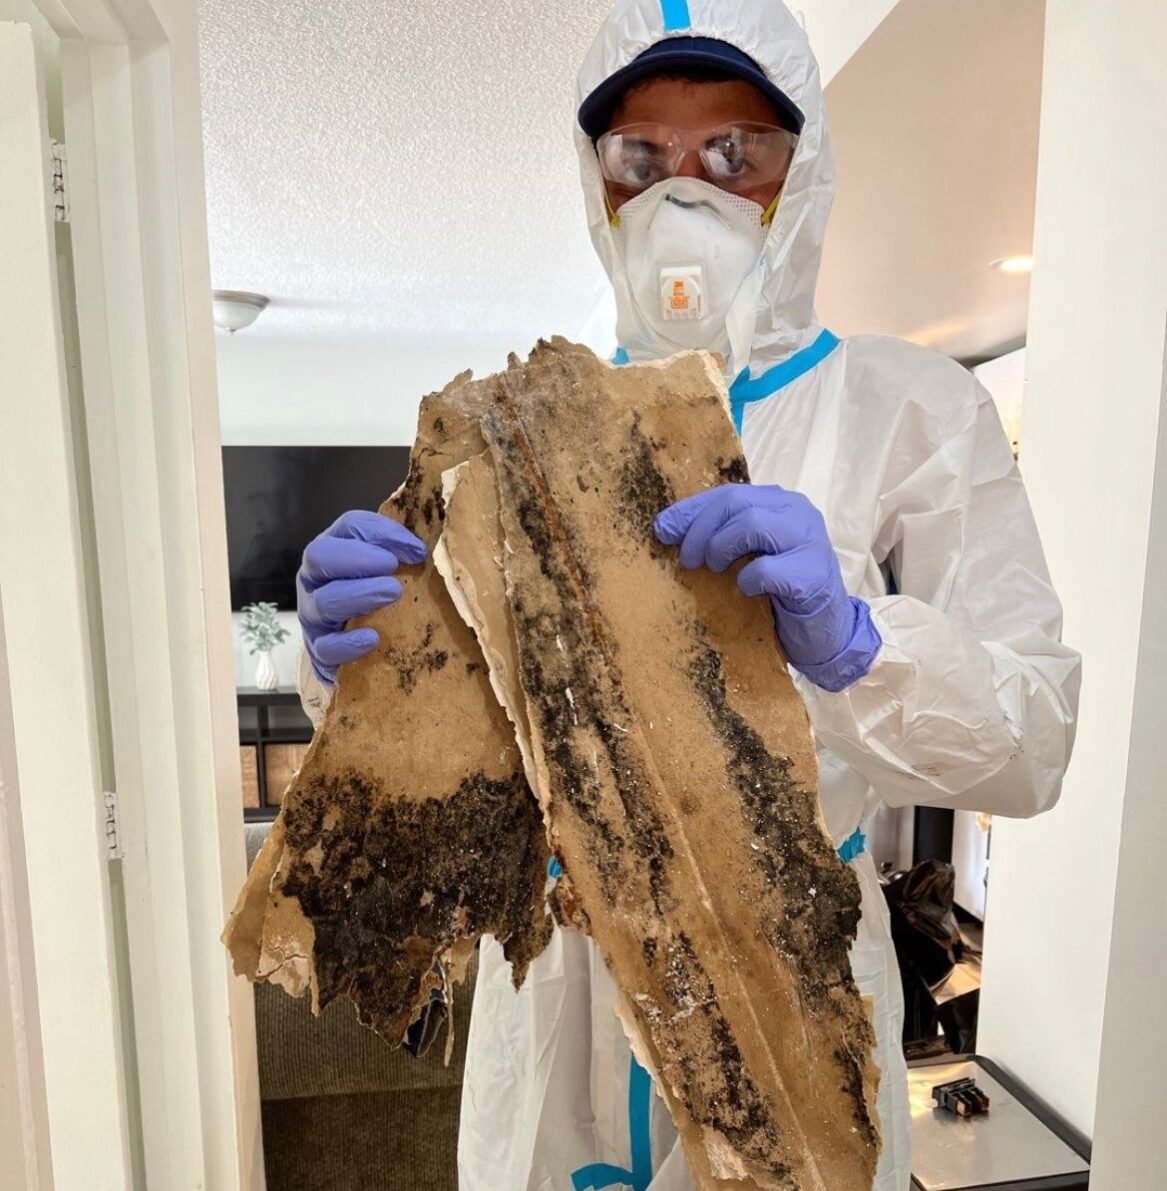


Respiratory Problems

Cognitive Impairment

Skin Rashes

Asthma & Allergies
Respiratory Problems
Cognitive Impairment
Skin Rashes
Asthma & Allergies
Respiratory Problems