Exploring the World of hot chocolate bombs Mold: A Beginner’s Guide
Welcome to the delightful world of hot chocolate bombs mold! If you have a passion for confectionery creations and want to indulge in a truly decadent treat, then you’ve come to the right place. In this beginner’s guide, we will take you on a journey to discover the art of crafting hot chocolate bombs using a mold. From selecting the perfect ingredients to creating visually stunning designs, this guide will equip you with all the knowledge you need to create impressive hot chocolate bombs that will leave your taste buds dancing.
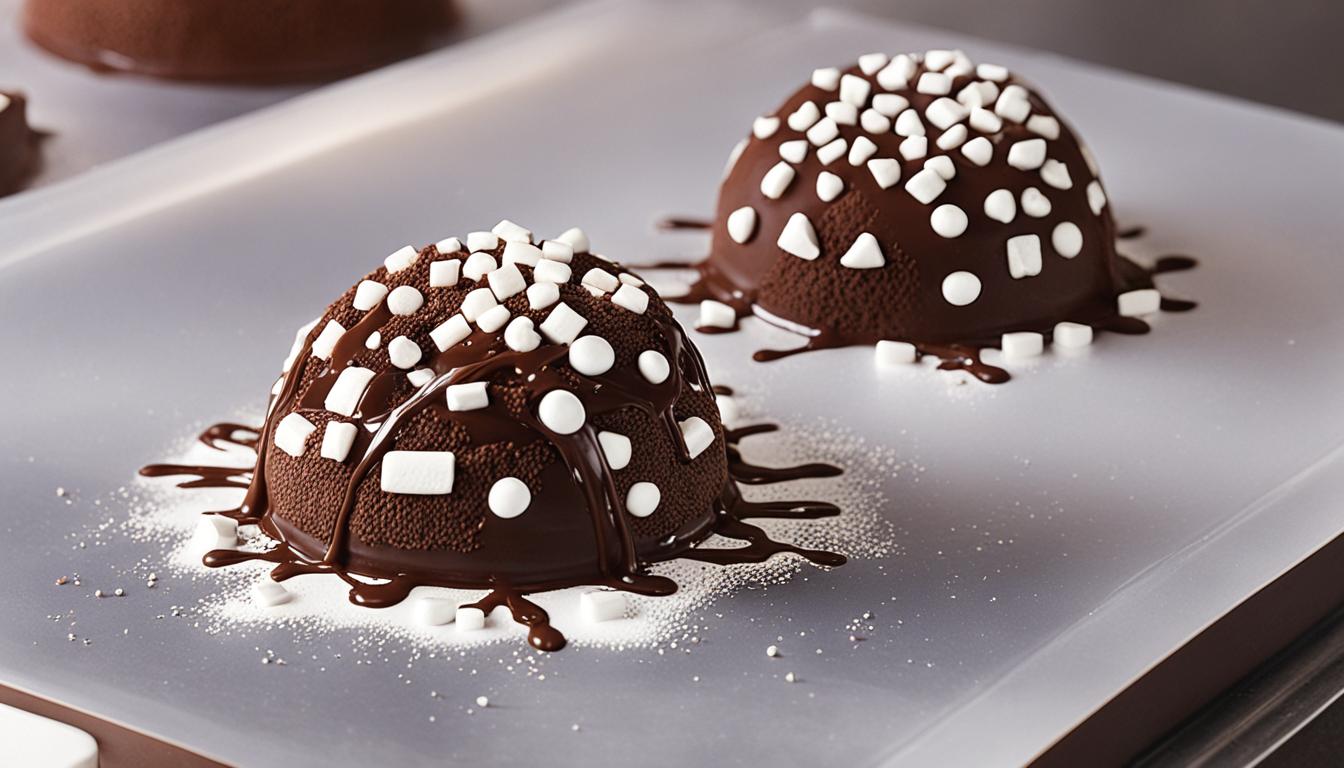
Whether you’re an aspiring chocolatier or a home cook looking to add an element of surprise to your desserts, hot chocolate bombs are the perfect choice. These delightful spheres of chocolate not only captivate visually but also provide an enchanting experience as they melt in a cup of warm milk, releasing a burst of flavors and filling your senses with joy.
In the following sections, we will guide you through the essential steps of using a hot chocolate bombs mold, from getting started to filling and using it with finesse. Get ready to become a confectionery maestro as we unlock the secrets behind creating show-stopping hot chocolate bombs that will impress both your loved ones and yourself.
Key Takeaways:
- Discover the art of crafting hot chocolate bombs using a mold
- Learn how to select the perfect ingredients for delicious creations
- Master the techniques for creating visually stunning designs
- Experience the joy of watching the chocolate bombs melt and release their flavors
- Impress your loved ones with homemade hot chocolate bombs as delightful gifts
Getting Started with Hot Chocolate Bombs Mold
Are you ready to embark on a delightful journey of creating mouthwatering hot chocolate bombs? In this section, we will guide you through the initial steps of getting started with a hot chocolate bombs mold. From essential tools and ingredients to expert tips and tricks, you’ll be well-prepared to craft your own delectable confectionery treats.
Essential Tools and Ingredients
Before you begin, gather the following tools and ingredients:
- Hot chocolate bombs mold: Choose a high-quality silicone mold that is specifically designed for hot chocolate bombs. This will ensure easy release and a perfect spherical shape.
- Chocolate: Opt for premium-quality chocolate bars or chocolate melts in various flavors to give your hot chocolate bombs a delicious taste.
- Fillings: Get creative with your fillings! Popular options include mini marshmallows, flavored powders, and cookie crumbs.
- Microwave or double boiler: Prepare your chocolate by melting it gently using either a microwave or a double boiler.
- Decorations: Have a selection of sprinkles, edible glitter, and other decorative elements to add a touch of whimsy to your hot chocolate bombs.
- Measuring tools: Ensure precise measurements with measuring cups and spoons.
- Brush: Use a food-safe brush to apply melted chocolate and create artistic designs.
- Storage containers: Have airtight containers ready to store your finished hot chocolate bombs.
Tips and Tricks for a Successful Start
To kickstart your hot chocolate bombs-making adventure, keep the following tips and tricks in mind:
“Properly melting and tempering chocolate is crucial for achieving a smooth and shiny finish on your hot chocolate bombs. Be patient and melt the chocolate slowly to avoid scorching or burning.”
“Prepping your hot chocolate bombs mold is essential. Ensure it is clean, dry, and free from any dust or residue that may affect the quality of your creations. Applying a thin layer of melted chocolate to each cavity before filling will help in achieving crisp edges.”
Now that you’ve gathered all the necessary supplies and armed yourself with valuable tips, you’re ready to jump into the sweet world of hot chocolate bombs! In the next section, we will explore the art of filling the hot chocolate bombs mold and using different ingredients to create delectable flavor combinations.
Tips for Filling and Using a Hot Chocolate Bombs Mold
Creating delicious hot chocolate bombs is not only about the flavors and ingredients but also understanding the art of filling and using a hot chocolate bombs mold. In this section, we will delve into the best techniques for achieving a seamless and visually appealing result. We will also guide you on how to properly release the formed chocolate bombs from the mold without damaging their exquisite shape.
1. Choose the Right Filling Ingredients
When it comes to filling a hot chocolate bombs mold, the possibilities are endless. From rich cocoa powder to decadent marshmallows and even surprising flavors like caramel or peppermint, you can experiment with different ingredients to create unique taste experiences. However, it’s crucial to ensure that your chosen fillings complement each other and blend well to provide a delightful explosion of flavors.
2. Prepare the Fillings Separately
Before filling the mold, it’s essential to prepare your chosen ingredients separately. For example, if you’re using marshmallows, make sure they are cut into the desired size and shape. For flavored powders, measure out the right amount to create a balanced and consistent taste. This careful preparation will help you achieve uniformity and prevent any clumps or uneven distribution of fillings.
3. Fill the Mold with Precision
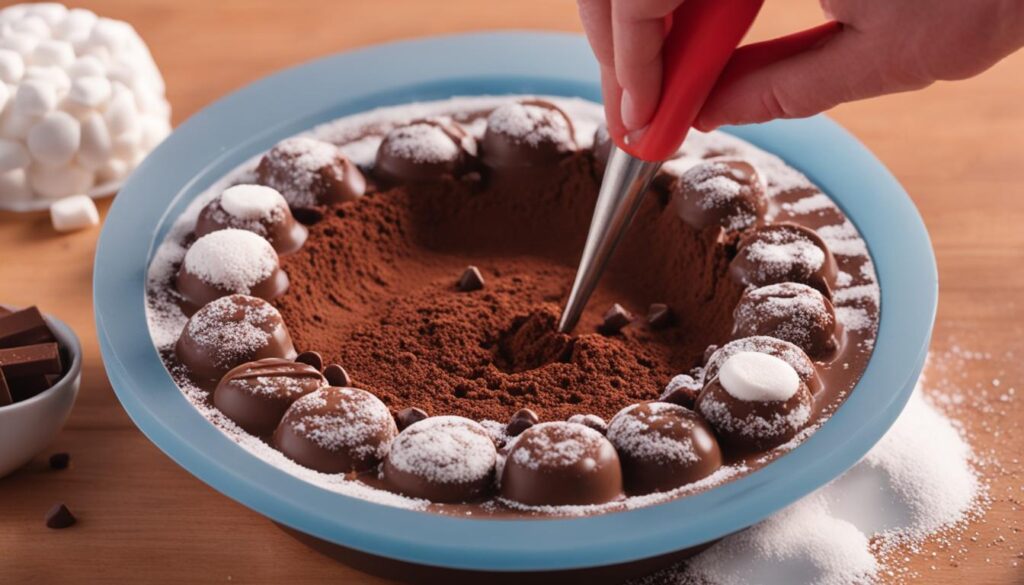
When it’s time to fill the hot chocolate bombs mold, use a spoon or piping bag to ensure precision and control. Start by adding a small amount of melted chocolate into each cavity of the mold, ensuring that it coats the sides evenly. Next, spoon your chosen fillings into the center, making sure not to overfill. This step requires patience and attention to detail, so take your time to create perfectly filled chocolate bombs.
4. Seal the Chocolate Bombs
Once the fillings are in place, it’s time to seal the chocolate bombs. Take extra melted chocolate and carefully spoon it over the filled cavities, creating a protective barrier. Use the back of the spoon to spread the chocolate evenly and seal any gaps. This sealing process is crucial to ensure that the chocolate bombs hold their shape and prevent the fillings from leaking out during the hot chocolate-making process.
5. Release the Chocolate Bombs with Care
After the chocolate bombs have solidified, it’s time to release them from the mold. Gently tap the bottom of the mold to loosen the chocolate bombs, then carefully invert the mold onto a clean surface. With a gentle twist or light tap, the chocolate bombs should release easily without any damage. If any stubborn bombs refuse to release, place the mold in the refrigerator for a few minutes to firm up the chocolate before trying again.
Mastering the art of filling and using a hot chocolate bombs mold takes practice and a keen eye for detail. By following these tips, you’ll be able to create stunning chocolate bombs that captivate both the eyes and taste buds.

Conclusion
As we conclude our beginner’s guide to hot chocolate bombs mold, we hope you’ve enjoyed the journey into the world of confectionery creations. By following the steps and tips provided in this guide, you’ll be well-equipped to experiment with different flavors and designs using your hot chocolate bombs mold.
There is something truly delightful about the process of crafting these decadent treats. Whether you’re making them for yourself or as thoughtful gifts for friends and family, hot chocolate bombs are sure to bring joy and excitement.
So, go ahead and embrace your creativity. Let the hot chocolate bombs mold unlock the possibilities of flavor combinations and artistic designs. Invite your loved ones to indulge in the magic of these delightful treats, and let the sweetness of chocolate create memorable moments.

