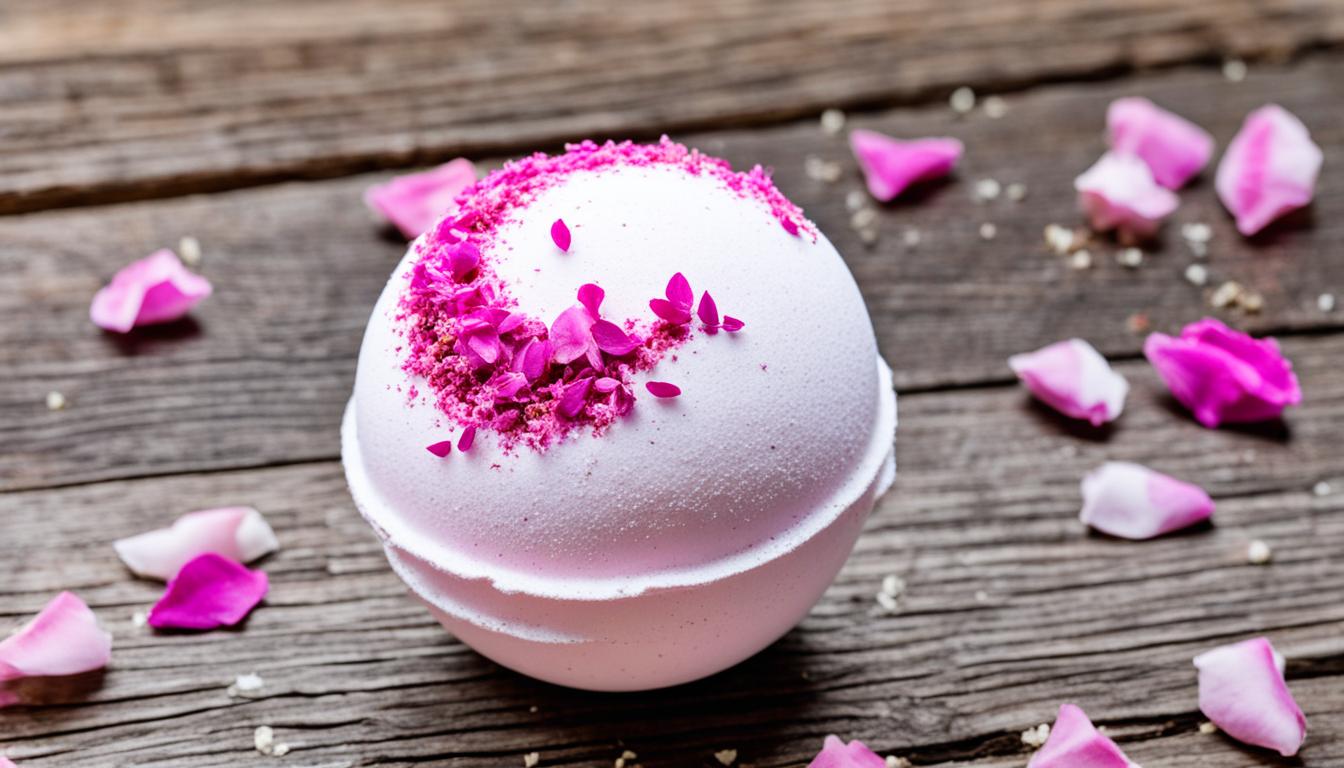
Essential Tips for Mold bath bomb
Are you a bath bomb enthusiast looking to take your DIY creations to the next level? Creating mold bath bombs can be a fun and rewarding experience, but it requires some essential tips and techniques to achieve the perfect fizzy and relaxing results. Whether you’re a beginner or an experienced bath bomb maker, this article will guide you through the process, ensuring your mold bath bombs turn out beautifully every time.
When it comes to mold bath bombs, there are specific considerations to keep in mind. From choosing the right mold and preparing it properly to demolding and drying your creations, every step plays a crucial role in the final outcome. By following these tips, you’ll be able to create stunning mold bath bombs that will transform your bathing experience.
Key Takeaways:
- Choose the right mold for your bath bombs, considering factors such as material, size, and design.
- Ensure your mold is clean and dry before filling it with your bath bomb mixture.
- Pack the mixture tightly in the mold to prevent cracks or loose parts in your bath bombs.
- Demold your bath bombs carefully to avoid any breakage or damage.
- Properly dry your bath bombs to ensure they are ready for a luxurious and relaxing soak.
Choosing the Right Mold for Your Bath Bombs
When it comes to creating the perfect mold bath bombs, choosing the right mold is key. The mold you select can significantly impact the shape, size, and overall aesthetic of your bath bombs. To help you make an informed decision, let’s explore the different types of bath bomb molds available in the market.
Silicone Molds
Silicone molds are a popular choice among DIY bath bomb makers. They are flexible, easy to use, and come in a wide variety of shapes and sizes. Silicone molds offer the advantage of easy demolding, as the flexible material allows the bath bombs to pop out effortlessly. Additionally, these molds are durable and can withstand high temperatures, making them suitable for both cold and hot process bath bomb recipes.
Plastic Molds
Plastic molds are another option to consider for your bath bomb creations. They are typically made from durable and food-safe plastic materials. Plastic molds offer a range of design options and are often available in fun shapes and sizes. However, it’s important to note that demolding can sometimes be a bit challenging with plastic molds, as they may require gentle tapping or slight bending to release the bath bombs.
Metal Molds
If you prefer a more traditional approach, metal molds might be your ideal choice. These molds are sturdy, long-lasting, and can withstand high temperatures. They often come in classic shapes, such as spheres or hemispheres. Metal molds provide a professional touch to your bath bomb creations but may require a bit more effort in the demolding process. However, with proper greasing or the use of a release agent, you can achieve smooth and beautiful bath bombs.
Now that you’re aware of the different types of bath bomb molds, it’s time to decide which option suits your preferences and needs. Consider factors such as design options, ease of use, durability, and demolding process. Remember, the right mold can elevate your mold bath bomb creations, making them visually appealing and enjoyable for your bath time experience.
Next, we’ll move on to Section 3, where we’ll guide you through the necessary steps to prepare and fill your chosen mold for creating stunning bath bombs.
Preparing and Filling the Mold
Creating bath bombs is an art that requires precision and attention to detail. In this section, we will guide you through the necessary steps to prepare and fill your mold for the perfect mold bath bomb. By following these instructions, you will achieve a consistent and smooth result that will enhance your bathing experience.
Preparing the Mold
Before you begin filling the mold, it’s crucial to clean and dry it properly. Any residue or moisture left in the mold can affect the overall quality of your bath bomb. Here’s how you can prepare your mold:
- Thoroughly wash the mold with warm soapy water to remove any dirt, debris, or manufacturing residues.
- Rinse the mold with clean water to ensure all soap is removed.
- Dry the mold thoroughly using a soft cloth or allow it to air dry naturally. Make sure there are no damp spots or moisture left in the mold.
By cleaning and drying your mold before each use, you ensure that your bath bombs are free from any impurities or unwanted substances.
Filling the Mold
Now that your mold is clean and dry, it’s time to fill it with your bath bomb mixture. The way you fill the mold plays a significant role in the final appearance and performance of your bath bomb. Follow these tips for a successful filling process:
- Prepare your bath bomb mixture according to your chosen recipe. Make sure it’s thoroughly mixed and free from clumps.
- Scoop a generous amount of the bath bomb mixture into one half of the mold. Fill it slightly above the rim.
- Press firmly and evenly to pack the mixture tightly into the mold. This step is crucial to prevent cracks or loose parts in your bath bomb.
- Repeat the process with the other half of the mold, ensuring both halves are filled and packed tightly.
- Press both halves of the mold together, aligning them properly to create a seamless bath bomb.
- Gently remove any excess mixture around the mold to ensure a clean finish.
By filling the mold properly and packing the bath bomb mixture tightly, you will achieve a professional-looking bath bomb with a smooth surface and consistent texture.

Once you have successfully prepared and filled your mold, it’s time to move on to the next step: demolding and drying your bath bombs. We’ll cover these topics in detail in the next section, ensuring your mold bath bombs are ready for a luxurious and relaxing soak.
Demolding and Drying Your Bath Bombs
Once your mold bath bombs have set, the next crucial step is to demold them effectively and ensure proper drying. This process is essential to maintain the shape and integrity of your bath bombs, providing you with a satisfying and relaxing bathing experience.
Demolding Bath Bombs:
To demold your bath bombs without causing any breakage or damage, follow these techniques:
- Gently tap the sides of the mold to loosen the bath bomb.
- Carefully invert the mold and gently press on the back to release the bath bomb.
- If necessary, use a small tool like a silicone spatula to help lift the bath bomb out of the mold.
- Handle the demolded bath bombs with care to avoid any further mishaps.
By following these demolding techniques, you can ensure that your mold bath bombs maintain their shape and structural integrity.
Drying Bath Bombs:
Once you have successfully demolded your bath bombs, it’s time to focus on the drying process. Adequate drying is crucial to prevent your bath bombs from crumbling or fizzing out too quickly when submerged in water. Here are some insights into the proper drying process:
- Place the demolded bath bombs on a clean, flat surface.
- Allow them to air dry in a cool, dry area away from direct sunlight.
- Ensure proper ventilation to avoid any moisture buildup.
- Depending on the size and ingredients of your bath bombs, the drying time may vary. It usually takes around 24-48 hours for bath bombs to fully dry.
- You can check the dryness by gently touching the surface of the bath bombs. If they feel firm and solid, they are ready to be stored or used.
Remember, patience is key during the drying process. Rushing it may lead to premature crumbling or fizzing of your bath bombs, affecting their overall performance.

“Proper demolding and drying techniques are essential to maintain the shape, integrity, and performance of your mold bath bombs. Take your time, follow these steps diligently, and enjoy the fruits of your creative and relaxing bath bomb endeavors!”
Conclusion
In conclusion, creating mold bath bombs can be a fun and rewarding DIY project. By following the essential tips we’ve discussed throughout this article, you can elevate your bath bomb-making skills and create beautiful, fizzy creations for a truly relaxing soak.
Remember, the key to success lies in selecting the right mold for your bath bombs. Whether you choose silicone, plastic, or metal molds, each type has its advantages and disadvantages. Consider your preferences, budget, and desired outcome when making your selection.
Properly preparing and filling the mold is essential for achieving consistent and smooth results. Clean and dry your mold thoroughly before filling it with your bath bomb mixture, ensuring that you pack the mixture tightly to prevent any cracks or loose parts in your bath bombs.
Once your bath bombs have set in the mold, take care when demolding them to avoid breakage. Follow the recommended drying times and conditions to ensure that your mold bath bombs are fully dried and ready for use.
For any mold-related concerns or issues, it’s always advisable to seek professional help. Contact Fix Mold Miami at 305-465-6653 for a comprehensive mold assessment and assistance.