Essential Tips for shoe Mold trim
When it comes to achieving a polished finish in any room, installing shoe mold trim is key. Whether you’re a DIY enthusiast or a seasoned professional, following the right techniques can make all the difference. In this section, we will explore essential tips and expert advice to help you elevate your interiors with shoe mold trim.
Installing shoe mold trim not only enhances the aesthetics of your space but also serves as a protective barrier for your walls. By following the correct installation methods, you can achieve a clean and finished look that adds value to any room.
To ensure a successful installation, it is important to gather the necessary tools beforehand. Some common tools you may need include a miter saw, coping saw, measuring tape, adhesive, and finishing nails. Having these tools handy will make the process smoother and more efficient.
Once you have your tools ready, follow these professional trimming tips:
1. Measure accurately: Take precise measurements of the wall and corners before cutting the shoe mold trim to ensure a perfect fit.
2. Use an appropriate saw: A miter saw is ideal for cutting the angles needed for shoe mold trim installation, while a coping saw is useful for intricate cuts around curved surfaces.
3. Test the fit: Before securing the shoe mold trim, test the fit against the wall to ensure it aligns correctly and has a seamless appearance.
4. Apply adhesive: Apply a thin layer of adhesive to the back of the shoe mold trim before attaching it to the wall. This will provide added stability and prevent any gaps between the trim and the wall.
5. Secure with finishing nails: Once the shoe mold trim is in place, secure it further by using finishing nails. Make sure to countersink the nails and fill the holes with putty for a seamless finish.
By following these tips and using the right techniques, you can achieve a professional-looking trim with ease. Elevate your interiors and transform any room into a space that exudes elegance and sophistication with shoe mold trim.
Key Takeaways:
- Accurate measurements are crucial for a seamless shoe mold trim installation.
- Using the right saws, such as a miter saw and coping saw, ensures precise cuts and a polished finish.
- Testing the fit before securing the shoe mold trim helps avoid any alignment issues.
- Applying adhesive and using finishing nails provide stability and a professional result.
- Fill any nail holes with putty for a seamless and flawless appearance.
Expert Advice on Installing Shoe Mold Trim
In this section, we will provide expert advice on how to install shoe mold trim effectively. By following these tips, you can ensure a polished finish and achieve professional-looking results for your trim installation.
Tools You’ll Need
Before you begin installing shoe mold trim, make sure you have the necessary tools:
- A miter saw or a coping saw for cutting precise angles and corners
- A measuring tape and pencil for accurate measurements
- A nail gun or a hammer and finishing nails for securing the trim
- Sandpaper or a sanding block for smoothing rough edges
- A level to ensure the trim is straight
- Paint or stain for finishing the trim, if desired
Step-by-Step Installation Instructions
- Measure and cut the shoe mold trim accurately to fit the length of each wall. Remember to cut the ends at a 45-degree angle for proper corner installation.
- Use sandpaper or a sanding block to smooth any rough edges.
- Apply a thin line of construction adhesive along the back of the trim to help with adhesion.
- Align the trim with the baseboard, leaving a small gap between the two to allow for expansion.
- Secure the trim with a nail gun or hammer and finishing nails. Make sure to nail it into the wall studs for a sturdy installation.
- Repeat the process for each wall, ensuring proper alignment and spacing between the trim pieces.
- Once all the trim is installed, fill any nail holes with wood filler and sand it smooth for a seamless look.

“Achieving a polished finish with shoe mold trim requires precision and attention to detail. Take your time during installation to ensure everything lines up perfectly.”
Tips for a Polished Finish
Here are some additional tips to help you achieve a polished finish:
- Paint or stain the trim before installation for easier touch-ups and a seamless look.
- Make sure your cuts are clean and accurate for precise corner and angle installations.
- Use a level to ensure the trim is straight and levelled.
- Consider using corner blocks or rosettes for a decorative touch and easy installation at corners.
- When nailing the trim, sink the nails slightly below the surface and fill the holes with wood filler for a smooth finish.
- Take your time and measure twice before making any cuts or installations.
Conclusion
In conclusion, installing shoe mold trim requires meticulous attention to detail and the application of the right techniques. By following our expert advice and using the correct tools, you can achieve a polished finish in any room of your home or office. Incorporating shoe mold trim is a simple yet effective way to elevate the aesthetics of your interiors, giving them a refined and professional look.
Remember, proper installation of shoe mold trim ensures a seamless transition between your baseboards and flooring, adding a finishing touch that enhances the overall appearance of the room. It is essential to take the time to measure and cut each piece precisely, ensuring a snug fit and minimizing any gaps or overlaps.
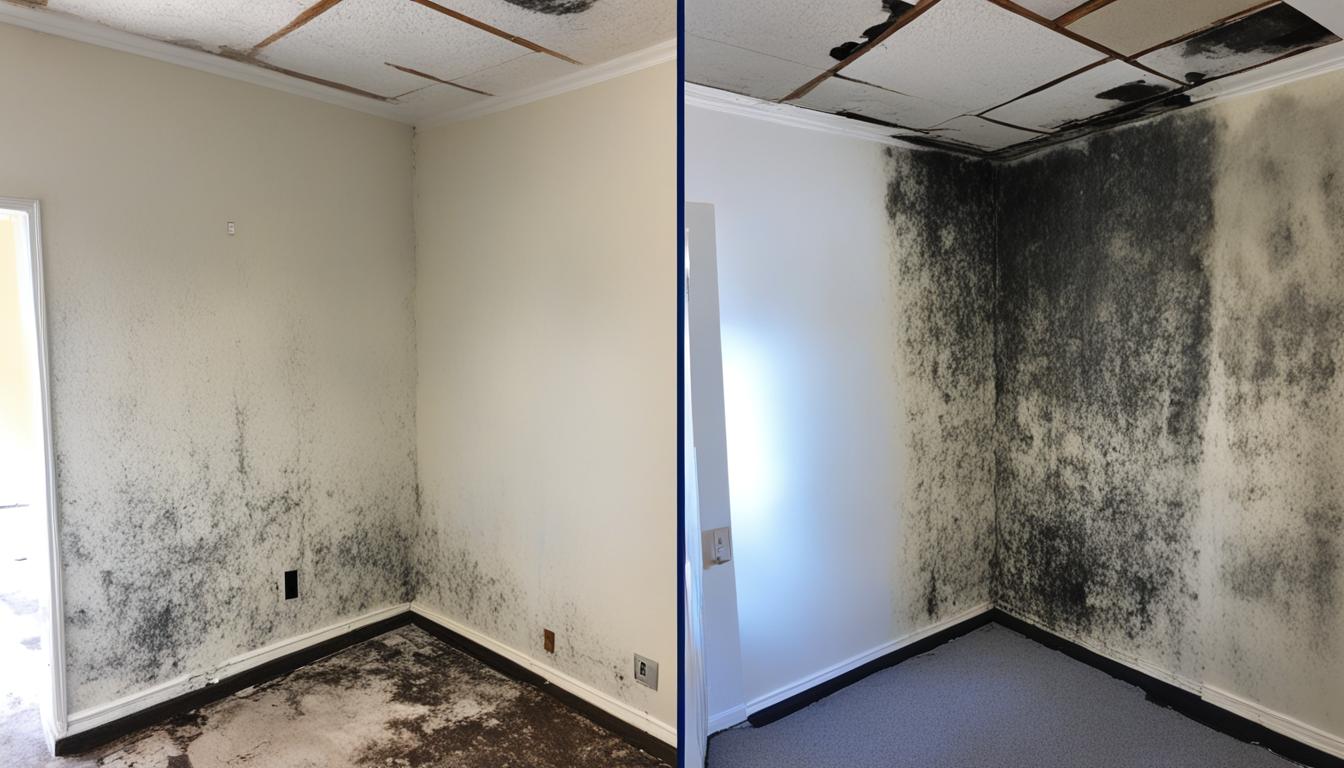
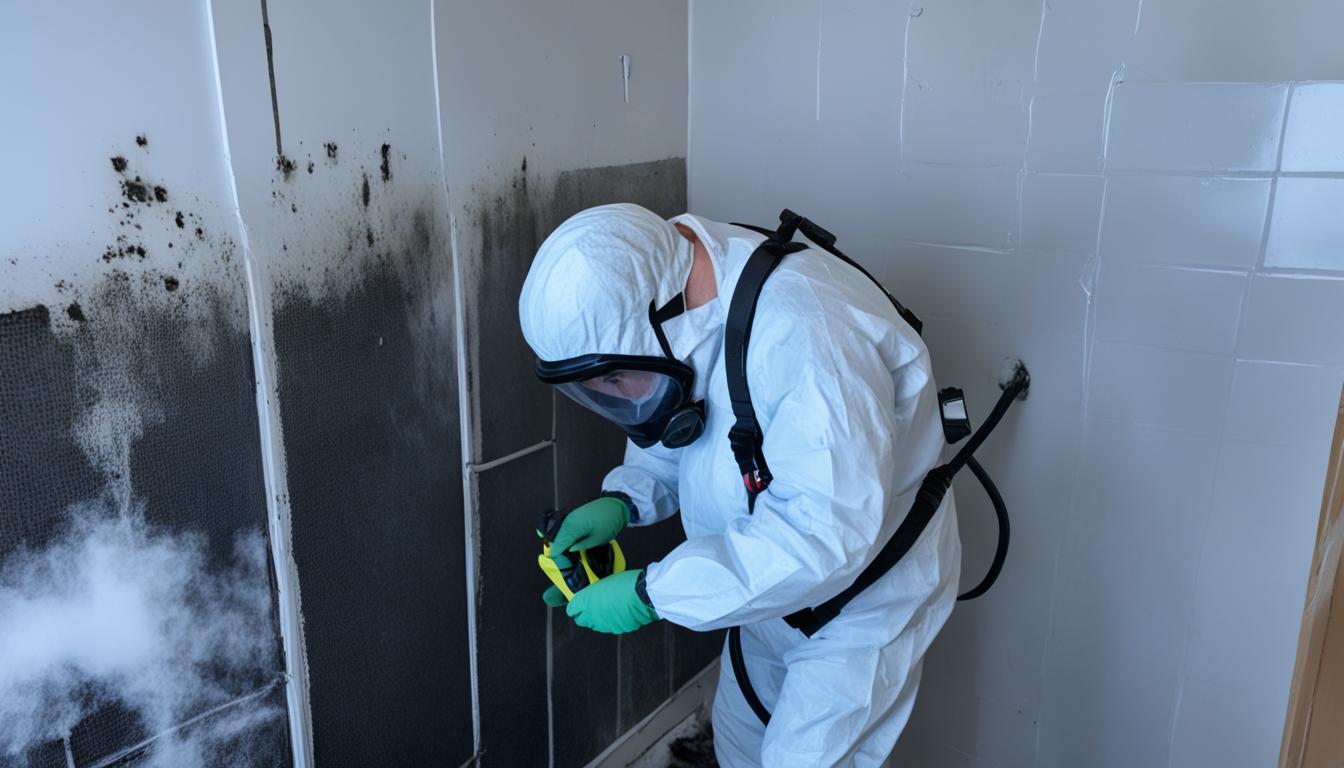
If you encounter any mold-related issues during your installation process or suspect the presence of mold in your space, don’t hesitate to seek professional help. Fix Mold Miami, a trusted mold assessment expert, is just a phone call away. Contact them at 305-465-6653 for a thorough assessment and effective solutions tailored to your needs.
So go ahead and embark on your shoe mold trim installation journey, armed with the knowledge and advice provided in this article. With a sharp eye for detail and the right techniques, you can achieve a polished and professional finish that will enhance the overall appeal of your space.