DIY Guide: Conducting a Thorough Mold Inspection
Welcome to our comprehensive DIY guide on conducting a thorough mold inspection on your own. Mold can be a common issue in homes, and it’s important to address it promptly to protect your health and property. By following the step-by-step instructions provided in this guide, you will be able to identify and address any mold issues in your home effectively.
Key Takeaways:
- Conducting a thorough mold inspection on your own is essential for maintaining a healthy indoor environment.
- By following the step-by-step guide in this article, you will be able to identify and address mold issues in your home.
- Understanding the mold inspection process and utilizing proper techniques will ensure accurate results.
- Mold testing techniques, such as air sampling and surface sampling, can help determine the presence and type of mold in your home.
- Addressing mold issues promptly is crucial, and this article will provide guidance on mold removal techniques and prevention strategies.
Understanding the Mold Inspection Process
Before you begin the mold inspection, it’s important to understand the process involved. By following these steps, you can conduct a thorough mold inspection and ensure the safety of your home. Let’s dive into the mold inspection process:
Gather the necessary tools and equipment
Before you start inspecting for mold, make sure you have the right tools and equipment. This may include:
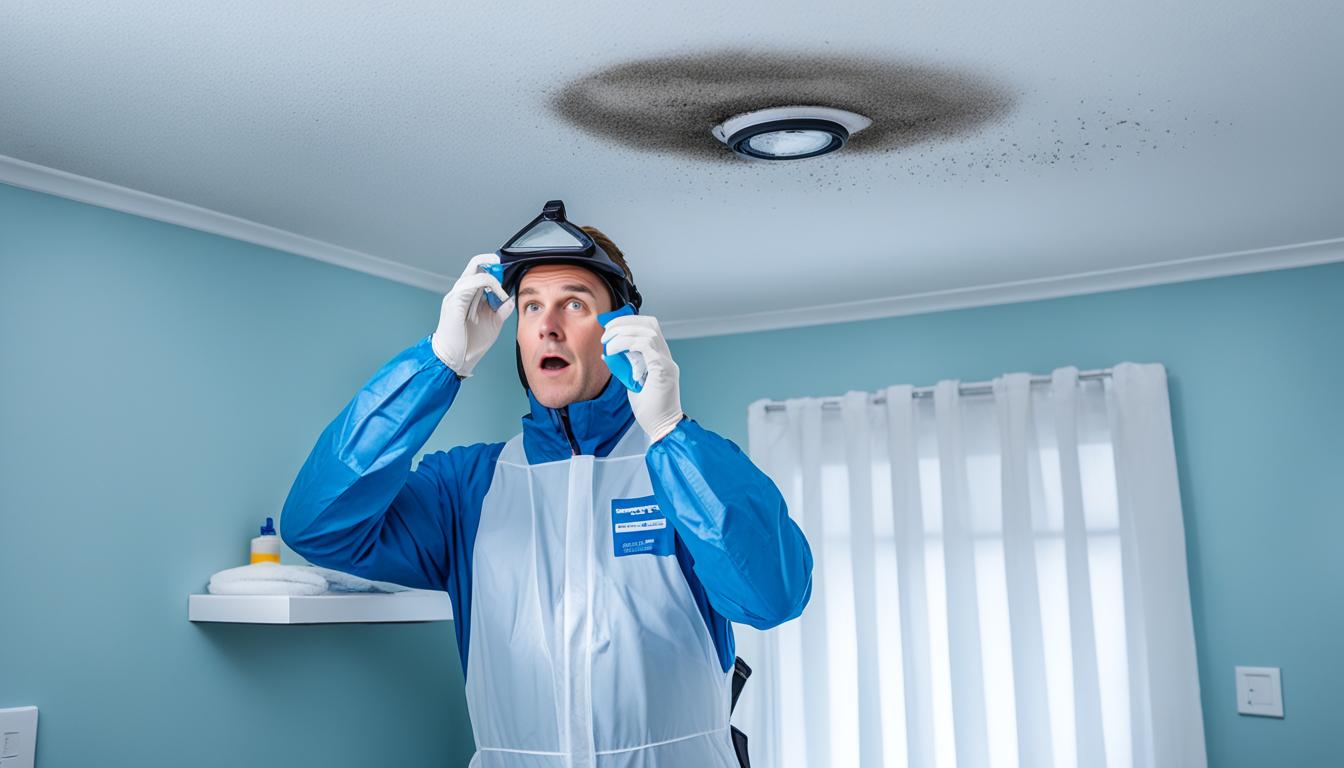
- Protective gear such as gloves, goggles, and a mask
- A flashlight for inspecting dark areas
- A moisture meter to detect areas of high humidity
- A borescope or camera to inspect hidden areas
Conduct a visual inspection
Begin by visually inspecting your home for any signs of mold. Look for areas with visible mold growth, such as black spots or discoloration on walls, ceilings, or floors. Pay attention to areas prone to moisture, such as bathrooms, kitchens, and basements.

Remember, mold can also grow hidden behind walls, under carpets, or inside ventilation systems, so be thorough in your inspection.
Check for musty odors
In addition to visual signs, mold often produces a distinct musty odor. Take note of any unusual smells in your home, especially in areas where moisture is present. These odors can indicate hidden mold growth that may not be immediately visible.
Monitor moisture levels
High humidity and moisture are key factors for mold growth. Use a moisture meter to measure the moisture levels in different areas of your home. Focus on areas prone to moisture, such as bathrooms, kitchens, and basements. Any reading above 60% humidity could indicate potential mold growth.
Document your findings
As you inspect your home, document your findings, including any signs of mold, moisture levels, and locations. Take photos or make notes to reference later. This documentation will help you in addressing the mold issues effectively.
Now that you have a better understanding of the mold inspection process, you’re ready to move on to the next section, where we will provide a comprehensive guide to inspecting your home for mold.
Home Mold Inspection Guide
When it comes to maintaining a healthy living environment, regularly inspecting your home for mold is critical. Mold growth can lead to various health issues and damage to your property if left unchecked. In this section, we will provide you with a comprehensive guide to conducting a thorough mold inspection in your home. By following these self mold inspection tips, you can identify potential mold infestations and take proactive measures to address them.
Areas Prone to Mold Growth
Before we dive into the inspection process, it’s important to understand the areas of your home that are commonly affected by mold growth. Mold thrives in moist and damp environments, so pay close attention to:
- Bathrooms: Check for mold in shower stalls, around sinks, and behind toilets.
- Kitchens: Examine under sinks, around dishwashers, and near refrigerators.
- Basements and Crawlspaces: Inspect walls, floors, and any areas with water seepage.
- Attics: Look for signs of mold on the underside of the roof and around ventilation systems.
- Laundry Rooms: Check for mold near washing machines and dryers.
Signs of Mold Infestations
Mold can be easily identified through various signs. During your inspection, keep an eye out for the following indications of mold infestations:
- Visible growth: Look for patches of mold on walls, ceilings, or other surfaces. Mold can appear green, black, or white.
- Musty odor: Mold often gives off a distinct, unpleasant smell. Trust your sense of smell to detect any unusual odors in your home.
- Water stains: If you notice discoloration or water stains on walls or ceilings, it could indicate a hidden mold problem.
- Peeling or bubbling paint: Mold growth behind walls can cause paint to peel, crack, or bubble.
Identifying Hidden Mold
While some mold infestations are visible, others may be hidden behind walls, under flooring, or in other concealed areas. To identify hidden mold, consider the following tips:
- Use a flashlight: Shine a flashlight into dark corners, under furniture, or in crawlspaces to spot any hidden mold growth.
- Inspect air vents and ducts: Mold can easily spread through the air, so check your HVAC system for any signs of mold in vents and ducts.
- Check for moisture: Moisture is a key factor in mold growth. Look for any signs of water damage, such as wet spots, leaks, or condensation.
Now that you have a better understanding of what areas to inspect and how to identify signs of mold infestations, you’re ready to conduct a thorough mold inspection in your home. In the next section, we will provide you with a step-by-step guide to ensure that you don’t miss any crucial details during your mold inspection.
Step-by-Step Mold Inspection
When it comes to mold inspection, a systematic approach is key. By following this step-by-step guide, you can ensure a thorough inspection of your home and identify any signs of mold growth. Remember to document your findings using a mold inspection checklist, which will help you keep track of the areas you have examined and any observations you have made.
Step 1: Start with Visual Inspection
The first step in the mold inspection process is to visually inspect your home. Take a close look at each room, paying attention to areas where moisture is likely to accumulate or where there may be poor ventilation. Look for visible signs of mold, such as discoloration, staining, or fuzzy growth.
If you spot any suspicious areas, use a flashlight to examine them more closely. Mold can thrive in hidden spaces, so be sure to check behind furniture, inside closets, and under sinks.
Step 2: Investigate Moisture Sources
Mold needs moisture to grow, so identifying and addressing moisture sources is crucial. Look for signs of water damage, such as leaks, condensation, or dampness. Check for areas with high humidity, such as bathrooms, laundry rooms, and basements.
Use a moisture meter to measure the moisture levels in different areas of your home. High moisture levels indicate a potential mold problem.
Step 3: Sample the Air
In some cases, it may be necessary to sample the air to assess mold spore levels. Air sampling can help determine if there is mold present in areas that are not visible or accessible. This can be done using an air pump and a collection device, such as a petri dish or a spore trap.
Collect samples from both indoor and outdoor locations for comparison. Proper sampling techniques are crucial to obtain accurate results, so it’s recommended to consult with a professional if you are unsure how to proceed.
Step 4: Conduct Surface Sampling
If you have identified areas with visible mold growth, it’s important to conduct surface sampling to determine the type of mold present. This can be done using tape or swabs to collect samples from the affected surfaces. Label each sample appropriately to ensure accurate identification.
Step 5: Analyze and Document Findings
Once you have completed the mold inspection and collected any necessary samples, it’s time to analyze and document your findings. Use your mold inspection checklist to record the areas where mold was found, the type of mold identified (if applicable), and any other observations or concerns.
Having a detailed record of your findings will be useful if you decide to seek professional help or if you need to refer back to your inspection in the future.
| Step | Description |
|---|---|
| Step 1 | Start with Visual Inspection |
| Step 2 | Investigate Moisture Sources |
| Step 3 | Sample the Air |
| Step 4 | Conduct Surface Sampling |
| Step 5 | Analyze and Document Findings |
By following this step-by-step mold inspection process, you can effectively assess your home for mold growth and take appropriate actions to address any issues. Remember, if you encounter extensive mold growth or if you are unsure about how to proceed, it’s always best to consult with a professional mold remediation specialist.

Mold Testing Techniques
In order to effectively address a mold problem in your home, it is imperative to accurately determine the presence and type of mold. In this section, we will explore various mold testing techniques that can help you achieve this goal. By utilizing these methods, you can gain valuable insights into the extent of the mold issue and make informed decisions regarding remediation.
Air Sampling
One commonly used mold testing technique is air sampling. This method involves collecting air samples from different areas of your home to determine the concentration of mold spores in the indoor environment. Air sampling can be done using two main approaches:
- Spore Trap Sampling: This method involves using a spore trap cassette to capture mold spores. The cassette is typically placed in an area suspected of mold contamination for a specified period of time. Once the sampling is complete, the cassette is sent to a laboratory for analysis.
- Impaction Sampling: Impaction samplers forcefully draw air through a small hole, causing mold spores to collide with a sticky surface and become trapped. The collected particles are then analyzed in a laboratory to identify the types and concentrations of mold present.
Surface Sampling
Surface sampling is another valuable mold testing technique that can be used to identify mold growth on different surfaces within your home. This method involves collecting samples from suspect areas such as walls, floors, or furniture. The collected samples are then analyzed in a laboratory to determine the type and concentration of mold present.
Surface sampling can be conducted using various methods:
- Swab Sampling: A swab is used to collect a sample by rubbing it on the surface suspected of mold contamination. The swab is then sent to a laboratory for analysis.
- Tape Sampling: Transparent tape is applied to the surface to collect mold spores. The tape is then placed on a slide and examined under a microscope for analysis.
- Bulk Sampling: In cases where visible mold growth is present, a sample of the material is collected and sent to a laboratory for analysis. This method provides information on both the mold type and the concentration present.
It’s important to note that mold testing techniques should be conducted by trained professionals, as proper sampling protocols and analysis are crucial for accurate results. Additionally, it’s essential to interpret the results in conjunction with a comprehensive mold inspection to determine the appropriate course of action.
Next, we’ll provide guidance on addressing mold issues once they have been identified.
Addressing Mold Issues
Once you have identified mold in your home, it’s crucial to take immediate action to prevent further damage and potential health risks. In this section, we will provide you with guidance on how to address mold issues effectively. Whether you choose to handle the mold removal on your own or decide to seek professional assistance, it’s essential to take the necessary steps to eliminate the mold and prevent it from recurring.
Mold Removal Techniques
When it comes to mold removal, several techniques can be employed depending on the severity and extent of the mold growth. Here are some popular methods:
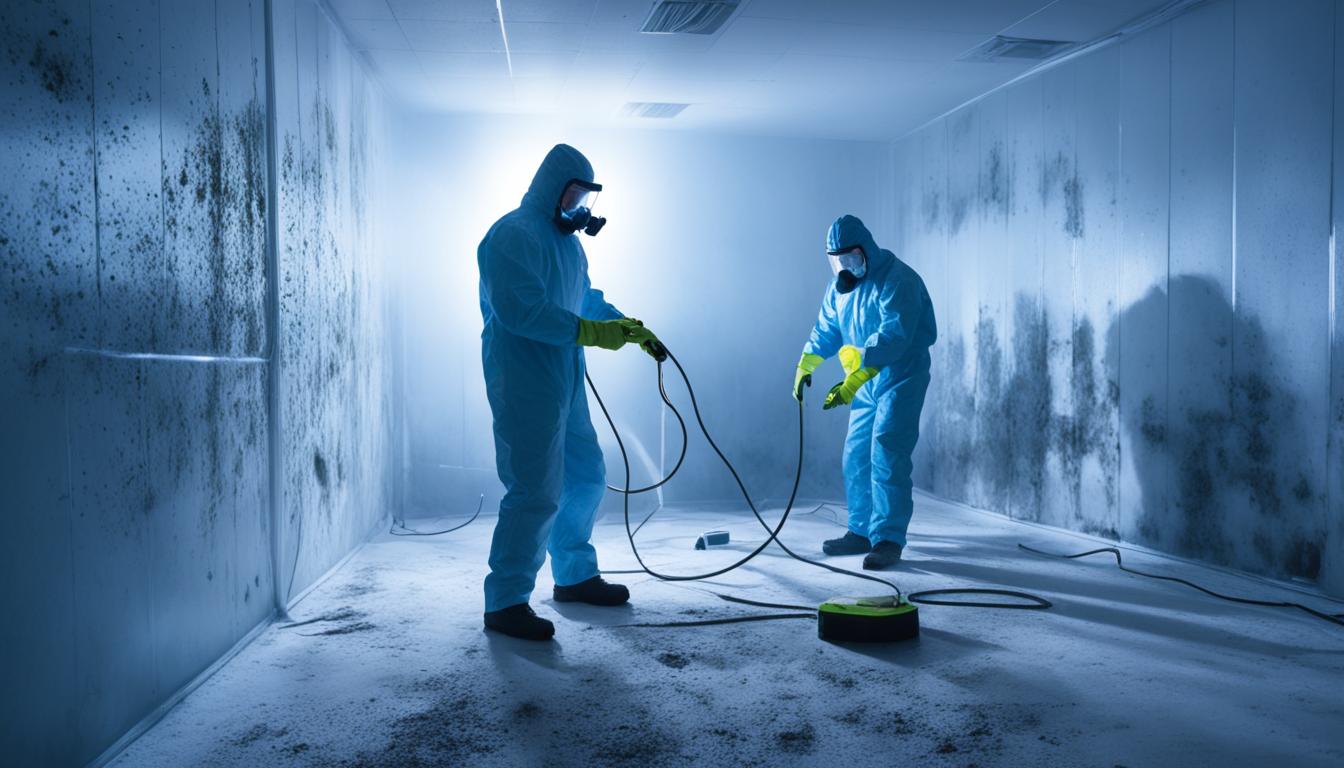
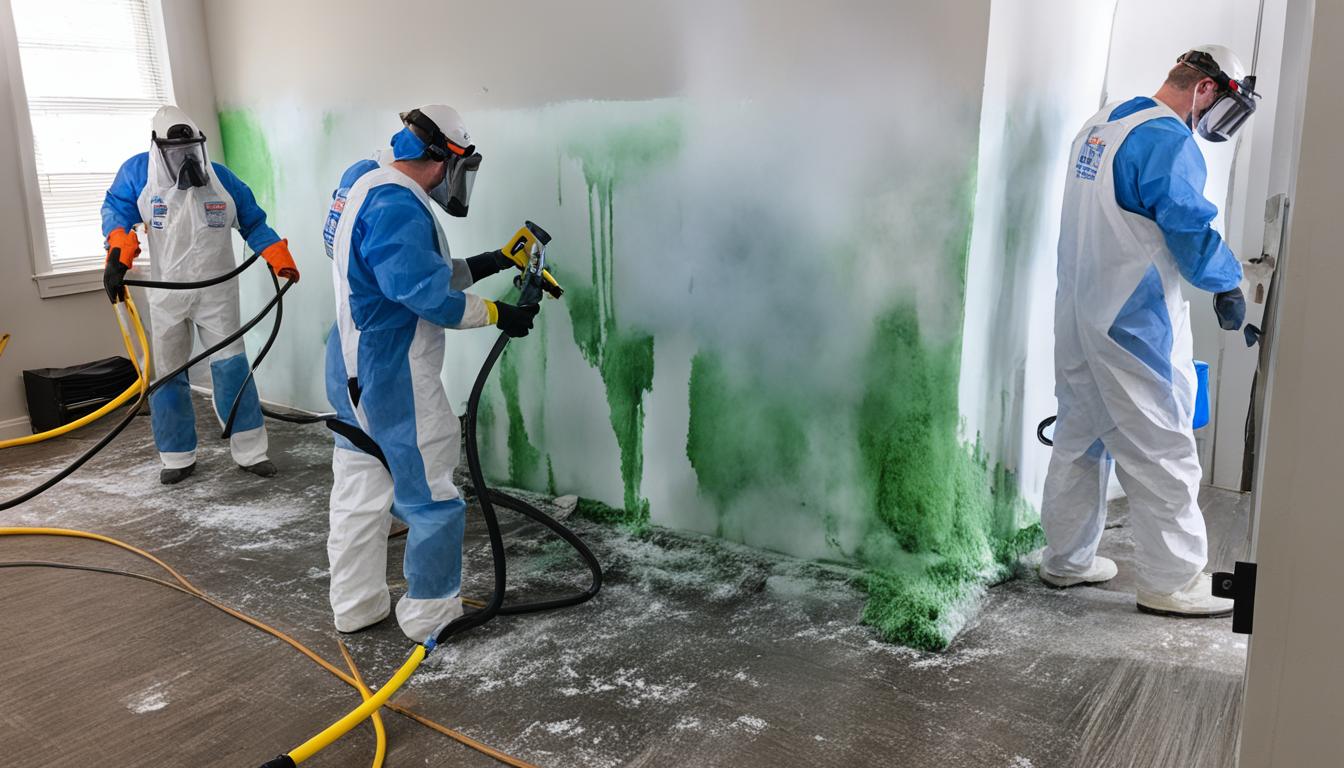
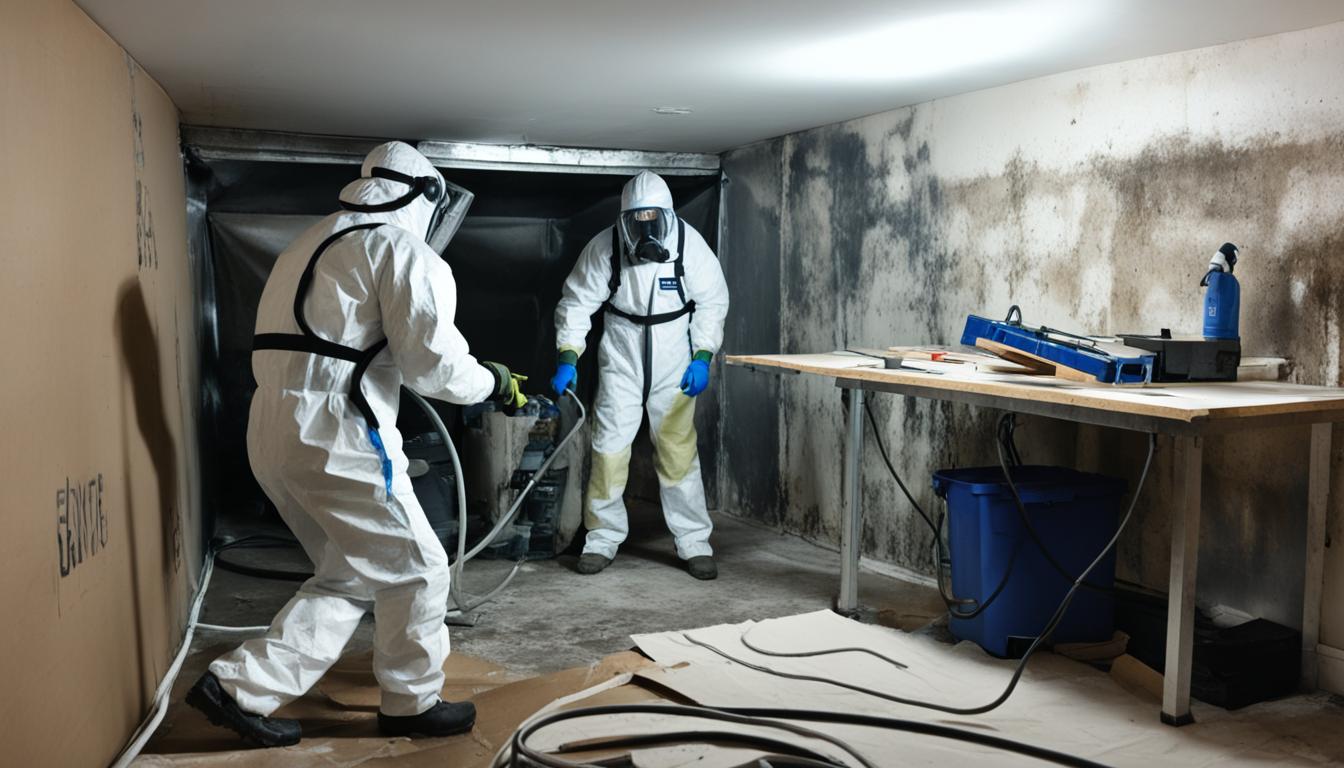
- DIY Mold Removal: If the affected area is small (less than 10 square feet) and the mold growth is not extensive, you can opt for a DIY approach. Ensure you wear protective gear, including gloves, goggles, and a mask, to avoid exposure to mold spores. Use appropriate cleaning products and follow the instructions carefully. Thoroughly clean the affected area, removing all visible mold. After cleaning, dry the area completely to prevent further mold growth. Dispose of any contaminated materials properly.
- Professional Mold Remediation: For larger or more severe mold infestations, it’s advisable to seek professional help. Experienced mold remediation experts have the necessary knowledge, equipment, and expertise to conduct a thorough mold removal process. They will identify the source of the mold, contain the affected area, remove the mold safely, and implement preventive measures to prevent future mold growth.
Regardless of the approach you choose, it’s crucial to address the underlying cause of the mold growth to prevent recurrence. Identify and fix any moisture issues, such as leaks or humidity problems, to create an environment that is inhospitable to mold growth.
Prevention Strategies
Preventing mold growth is essential to maintain a healthy indoor environment. Here are some preventive strategies you can implement:
- Create proper ventilation to reduce humidity levels, particularly in areas prone to moisture, such as bathrooms, kitchens, and basements.
- Use dehumidifiers in areas with high humidity to keep moisture levels under control.
- Regularly inspect and address any leaks or water damage promptly.
- Ensure proper drainage around your home’s foundation to prevent water seepage.
- Regularly clean and maintain your HVAC system, including air filters, to minimize the circulation of mold spores.
By implementing these preventive strategies, you can significantly reduce the risk of mold growth in your home.
When to Seek Professional Help
While DIY mold removal can be effective for small, isolated areas of mold growth, there are instances when professional intervention is necessary. Consider seeking professional help in the following situations:
- The mold has spread extensively and covers a large area of your home.
- The mold growth is inside walls, ceilings, or other inaccessible areas.
- The mold is caused by sewage or contaminated water.
- You or your family members have underlying health conditions that could be aggravated by mold exposure.
- You lack the necessary knowledge, experience, or equipment to safely remove the mold.
When in doubt, it’s always best to consult with a mold remediation professional who can assess the situation and provide expert advice.
In the next section, we will provide a comprehensive conclusion to our DIY mold inspection guide, summarizing the key points and emphasizing the importance of maintaining a mold-free environment in your home.
Conclusion
Conducting a thorough mold inspection on your own is a crucial step in ensuring a healthy indoor environment for you and your family. By following the steps outlined in this guide, you can empower yourself to identify and address any potential mold issues in your home.
A DIY mold inspection allows you to take proactive measures to prevent further mold growth and reduce the health risks associated with mold exposure. By regularly inspecting your home, you can catch mold problems early on and take appropriate action to mitigate the damage.
Remember, prevention is key when it comes to mold. By conducting regular mold inspections and implementing effective mold removal techniques, you can safeguard your home against the detrimental effects of mold growth. However, if you are unsure about handling a mold issue on your own, it’s always best to seek professional assistance to ensure a comprehensive and safe solution.
If you require professional mold assessment or remediation services, contact Fix Mold Miami at 305-465-6653. Our experienced team is equipped to address all your mold concerns and provide tailored solutions to protect your home and your loved ones.