DIY Mold Remediation: Step-by-Step Guide
In this comprehensive guide, we will walk you through the process of DIY mold remediation. By following our step-by-step instructions, you can effectively remove mold from your home and safeguard your loved ones from potential health hazards.
Key Takeaways:
- Mold can pose serious health risks, making mold remediation essential for the well-being of your family.
- Understanding the causes of mold growth is crucial in preventing future infestations.
- Identifying mold infestations and determining the extent of the problem is the first step in remediation.
- Gathering the right tools and protective gear is necessary to ensure a safe and successful mold removal process.
- Proper preparation, including creating a containment area, is vital to prevent the spread of mold spores during remediation.
Stay tuned for our upcoming sections, where we will cover mold removal techniques, treating mold-infested materials, preventing future mold growth, and other essential tips for a successful DIY mold remediation.
Understanding Mold: Causes and Risks
Before diving into the remediation process, it’s important to understand the causes and risks associated with mold. Mold is a type of fungus that thrives in damp, humid environments. It can grow on various surfaces, including walls, ceilings, furniture, and even clothing. Mold spores are present in the air we breathe, but they only become a problem when they find suitable conditions to multiply and form colonies.
Mold growth often occurs due to excess moisture caused by factors such as:
- Water leaks from pipes, roofs, or plumbing systems
- Flooding
- High humidity levels
- Poor ventilation
- Condensation on windows and surfaces
When mold begins to grow, it releases microscopic spores into the air. These spores can pose various risks to your health, especially if you are exposed to them for extended periods. Mold exposure can lead to respiratory issues, allergic reactions, and even serious infections in individuals with weakened immune systems.
“Mold is not something to be taken lightly. It can cause a range of health problems, and if left untreated, it can lead to structural damage to your home.”
Understanding the causes of mold growth and its associated risks is crucial for effective remediation and prevention. By addressing the underlying causes of moisture and taking proactive measures, you can minimize the risk of mold infestations and create a healthier living environment.
Common Causes of Mold Growth
| Cause | Description |
|---|---|
| Water Leaks | Leaking pipes, roofs, or plumbing systems can create damp conditions conducive to mold growth. |
| Flooding | Excessive moisture from floods can lead to rapid mold growth. |
| High Humidity | Elevated humidity levels provide the moisture necessary for mold spores to thrive. |
| Poor Ventilation | Inadequate airflow can trap moisture and promote mold growth. |
| Condensation | Buildup of moisture on windows and surfaces can create an environment suitable for mold. |
Now that you understand the causes and risks associated with mold growth, let’s move on to the next section to learn how to identify mold infestations in your home.
Identifying Mold Infestations
If you suspect mold growth in your home, it’s crucial to identify and address the issue promptly to prevent further damage and potential health risks. This section will provide you with practical tips on how to identify mold infestations and assess the extent of the problem.
Visual Inspection
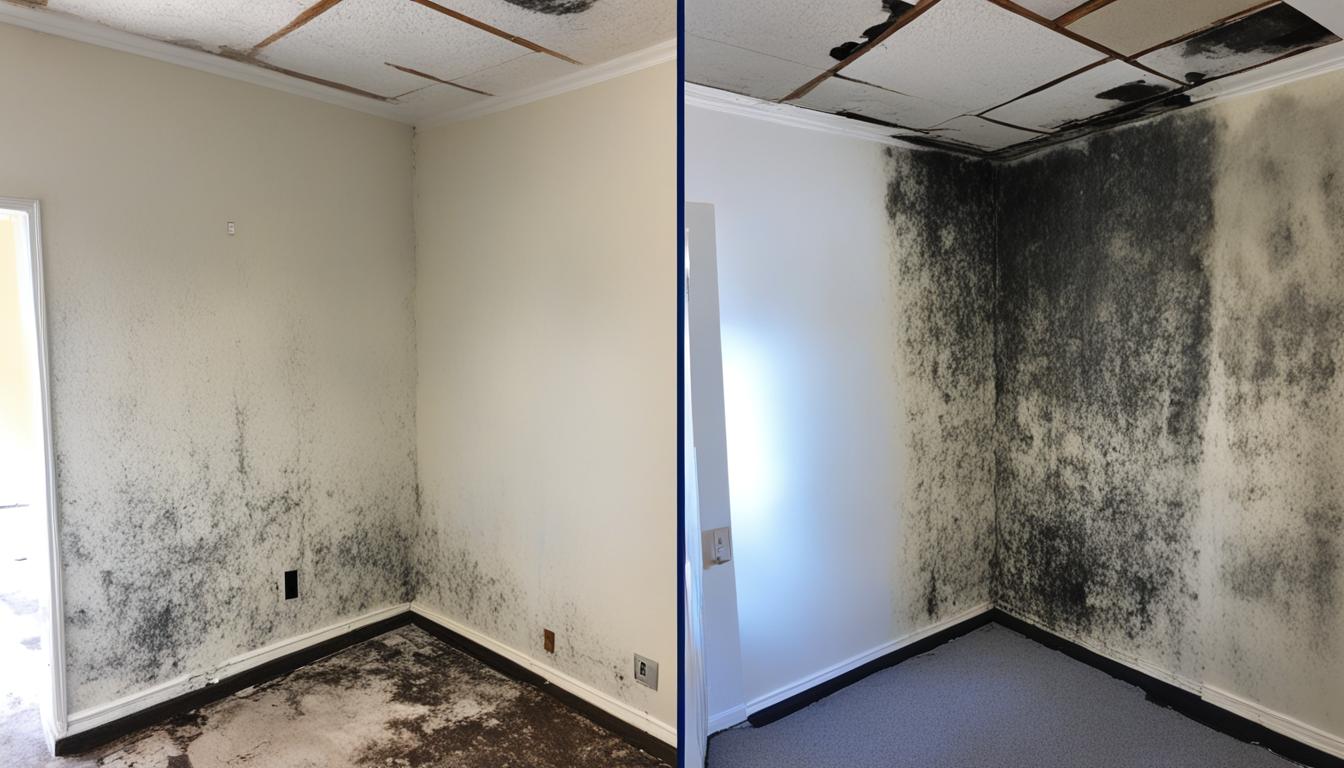
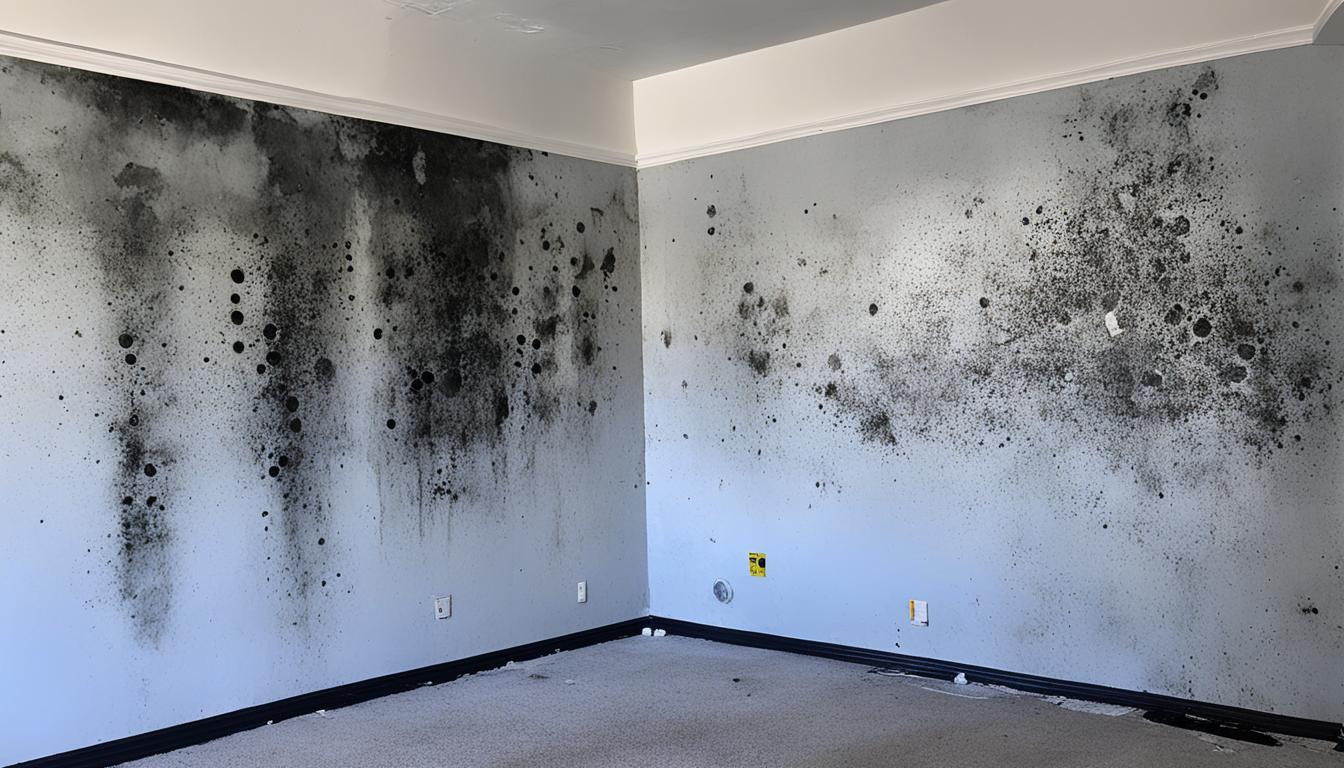
One of the most common ways to identify mold is through a visual inspection. Look for any signs of discoloration, staining, or fuzzy growth on walls, ceilings, floors, and other surfaces. Mold often appears as black, green, or brown patches.
Remember, mold can also grow in hidden areas, such as behind walls or under carpets. Make sure to thoroughly inspect all areas of your home, including dark and damp spaces like basements and crawlspaces.
Musty Odor
Mold is often accompanied by a distinct musty odor. If you notice an unpleasant, earthy smell in certain areas of your home, it could indicate the presence of mold. Follow your nose to pinpoint the exact location of the mold infestation.
Water Leaks and Moisture
Mold thrives in damp environments, so it’s important to check for any water leaks or excess moisture in your home. Look for signs of water damage, such as water stains on walls or ceilings, peeling wallpaper, or bubbling paint. Pay close attention to areas near plumbing fixtures, windows, and roofs.
Remember to inspect hidden areas that are prone to moisture, such as under sinks, behind appliances, and inside air conditioning units. Additionally, check for condensation on windows and high humidity levels in your home.
Professional Mold Testing
If you’re unsure about the presence of mold or want a more accurate assessment, consider hiring a professional mold testing service. These experts can take samples of suspected mold growth and analyze them in a laboratory to identify the type and extent of the infestation.
| Signs of Mold Infestations | Non-Mold Related Issues |
|---|---|
|
|
By being proactive and vigilant in identifying mold infestations, you can take immediate action to address the problem and protect your home. Remember to address the root cause of the mold growth, such as fixing any leaks or improving ventilation, to prevent future mold issues.
Gathering the Right Tools and Protective Gear
Before you begin the mold remediation process, it is essential to have the correct tools and protective gear on hand. This ensures your safety and the effectiveness of your efforts. Here is a comprehensive list of the essential items you will need:
Mold Remediation Tools
- Disposable gloves
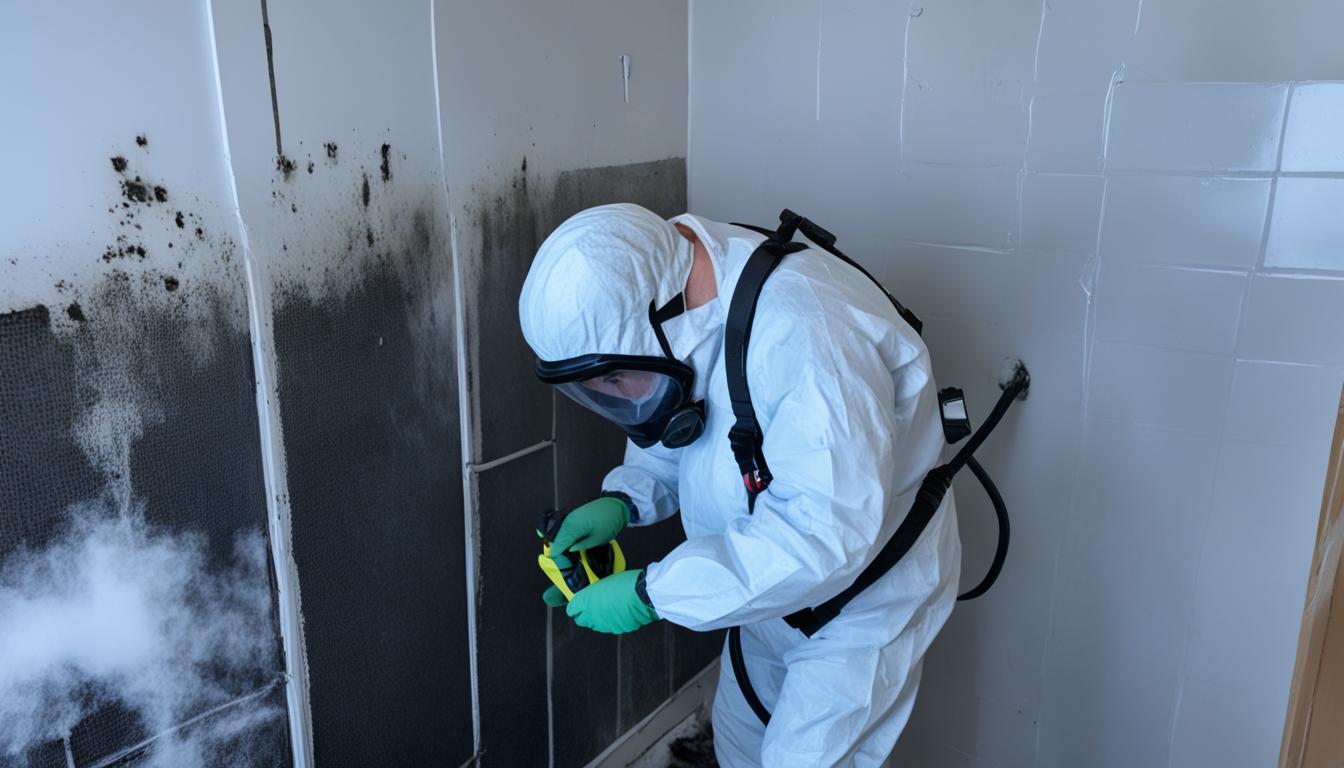
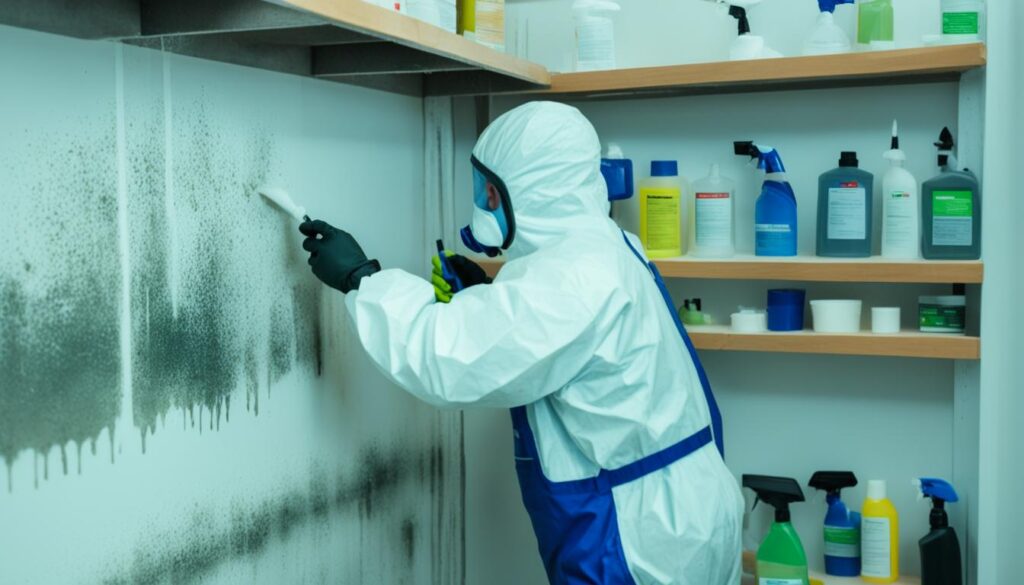
- N95 or P100 respirator mask
- Protective eyewear or goggles
- Disposable coveralls or clothing that covers your entire body
- Scraper or brush for removing mold from surfaces
- Plastic bags for moldy materials disposal
- HEPA vacuum cleaner
- Dehumidifier or fans to aid in drying the area
Protective Gear
- Disposable gloves: These protect your hands from direct contact with mold and cleaning solutions.
- N95 or P100 respirator mask: Mold spores can be harmful when inhaled, so it is crucial to wear a mask that filters out these particles.
- Protective eyewear or goggles: These shield your eyes from mold spores and any cleaning agents that may be used.
- Disposable coveralls or clothing that covers your entire body: These prevent mold spores from getting on your clothes and skin during the remediation process.
Make sure to wear these items throughout the entire mold removal process. Now that you have gathered the necessary tools and protective gear, you are ready to proceed with the remediation process.
Preparing the Affected Area
Proper preparation is crucial when it comes to mold remediation. Taking the necessary steps to contain the affected area will prevent mold spores from spreading and causing further contamination. Follow these guidelines to create a containment area and prepare the mold-affected space for efficient and safe mold removal.
Step 1: Assess the Mold Infestation
Meticulously inspect the affected area to determine the extent of the mold infestation. Pay close attention to any visible signs of mold growth, such as discoloration, musty odors, or water damage. This assessment will guide you in deciding the appropriate level of containment required.
Step 2: Gather the Necessary Equipment
Before starting the preparation process, ensure you have the following equipment:
- Heavy-duty plastic sheeting
- Duct tape
- Disposable gloves
- Protective goggles
- N95 respirator mask
- Disposable coveralls
- Trash bags
- Misting spray bottle
Step 3: Create a Containment Area
Begin by sealing off the affected area to prevent mold spores from spreading to other parts of your home. Follow these steps:
- Close all windows and doors leading to other rooms.
- Use plastic sheeting and duct tape to cover the openings of vents, doorways, and any other potential air pathways.
- Seal off the entire perimeter of the containment area with plastic sheeting and duct tape. Ensure that the sheeting is secure and tightly sealed to prevent any air leaks.
- If the mold infestation is extensive, consider using negative air pressure machines or HEPA air scrubbers to further contain the area.
Step 4: Prepare the Work Area
Now that the containment area is established, it’s time to prepare the work area for mold removal:
- Put on your disposable coveralls, gloves, protective goggles, and N95 respirator mask to shield yourself from mold spores.
- If the affected area has any furniture or belongings that cannot be removed, cover them with plastic sheeting to safeguard against contamination.
- Place a tarp or plastic sheeting on the floor to catch any debris or mold particles that may fall during the remediation process.
- Fill a misting spray bottle with water and a mild detergent solution. This will be used to wet the mold-infested surfaces before cleaning.
By properly preparing the affected area, you will minimize the risk of mold spores spreading to other parts of your home. This containment process is essential in ensuring a successful and efficient mold remediation process.
Mold Removal Techniques
When it comes to tackling mold in your home, it’s essential to employ effective mold removal techniques to ensure a thorough cleanup. In this section, we will discuss various methods that you can use to eliminate mold and restore a healthy living environment. From surface cleaning to scrubbing and HEPA vacuuming, these techniques will help you combat mold growth and prevent it from recurring.
Surface Cleaning
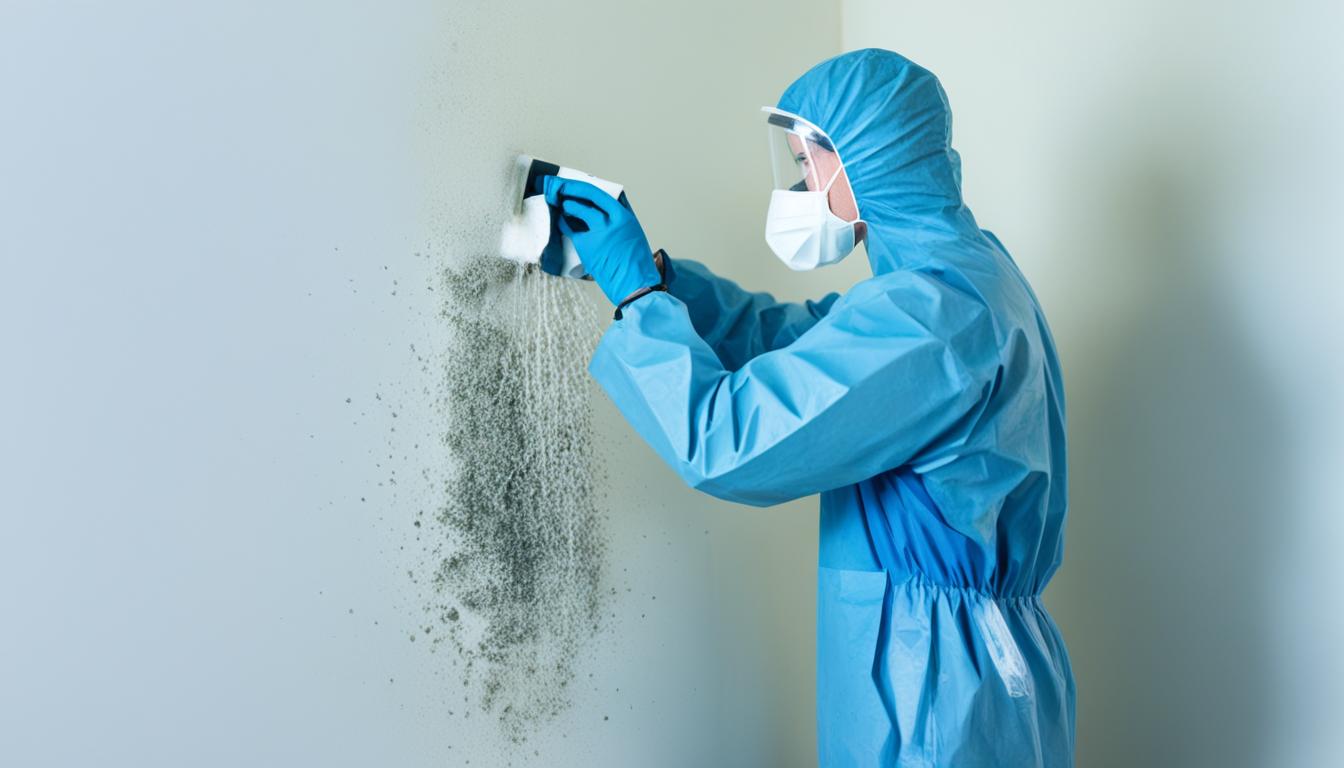
Surface cleaning is an important step in mold remediation, especially for non-porous materials like tiles, countertops, and glass. Start by wearing protective gear, including gloves and a mask, to prevent exposure to mold spores. Mix a solution of water and mild detergent and use a scrub brush or sponge to clean the affected areas thoroughly. Rinse the surfaces with clean water and dry them completely to discourage mold regrowth.
Scrubbing
In cases where mold has penetrated porous materials such as drywall or wood, scrubbing is necessary to remove the mold spores effectively. Begin by removing any loose mold using a damp cloth or sponge. Next, create a cleaning solution by combining water and a mold-fighting agent like white vinegar or hydrogen peroxide. Scrub the affected areas using a brush with firm bristles, ensuring you reach deep into the material. After scrubbing, wipe away the solution and dry the area thoroughly.
HEPA Vacuuming
HEPA (High-Efficiency Particulate Air) vacuums are powerful tools that can help remove mold spores from surfaces and the surrounding air. These vacuums have filters capable of trapping tiny particles, including mold spores, preventing them from being released back into the air. When using a HEPA vacuum for mold removal, make sure to vacuum all surfaces and crevices where mold may be present. Pay extra attention to areas such as carpets, upholstery, and curtains, which can trap mold spores. Remember to empty the vacuum bag or canister outdoors to prevent mold spores from spreading inside your home.
“Thoroughly cleaning and eliminating mold requires a combination of techniques. Surface cleaning, scrubbing, and HEPA vacuuming are all important steps in the mold remediation process.”
Implementing these mold removal techniques will go a long way in ensuring the successful elimination of mold from your home. It’s important to note that while these methods are effective for small areas of mold growth, larger or more severe infestations may require professional mold remediation services.
Next, we will discuss the proper treatment of mold-infested materials, providing you with the knowledge to salvage certain items and avoid unnecessary replacements.
Treating Mold-Infested Materials
Mold can sometimes infiltrate and damage porous materials like carpets, drywall, and furniture. However, with proper treatment and salvage techniques, you can avoid the need for costly replacements. Follow the steps below to effectively treat mold-infested items and restore their condition.
1. Safety First
Before handling any mold-infested materials, it’s crucial to prioritize your safety. Put on protective gear such as gloves, goggles, and a respirator to prevent direct contact with mold spores.
2. Isolate the Infested Items
If possible, move the mold-infested items to a well-ventilated area or outdoors to minimize the spread of spores. This step is important to protect other areas of your home from potential contamination.
3. Evaluate the Severity of the Infestation
Assess the extent of mold growth on the affected materials. If the mold is present on the surface and hasn’t penetrated deeply, there’s a higher chance of successful treatment.
4. Clean Non-porous Materials
Non-porous materials can be effectively cleaned to remove mold. Use a mixture of detergent and water to scrub the surface thoroughly. Ensure that the material is completely dry before returning it to its original location.
5. Treat Porous Materials
Porous materials are more challenging to treat due to the potential for deep-seated mold growth. It’s important to weigh the cost and effectiveness of treatment versus replacement. If the item is valuable or sentimental, proceed with the following steps:
- Use a HEPA Vacuum: Start by vacuuming the affected item with a HEPA vacuum cleaner to remove loose mold spores.
- Apply a Mold Cleaner: Utilize a specialized mold cleaner formulated for the specific material to kill and remove the mold.
- Consider Professional Treatment: In severe cases or for valuable items, it may be best to seek the assistance of a professional mold remediation service.
6. Monitor for Regrowth
Even after treating the mold-infested materials, it’s crucial to monitor them for signs of regrowth. Keep an eye out for any recurrence of mold and promptly address it to prevent further damage.
| Material | Treatment Method |
|---|---|
| Carpets | – HEPA vacuuming – Steam cleaning – Professional cleaning services |
| Drywall | – Scrubbing with detergent and water – Removing and replacing heavily affected sections |
| Furniture | – HEPA vacuuming – Cleaning with mold-specific products – Upholstery cleaning services |
Preventing Future Mold Growth
Once you have successfully remediated the mold, it is essential to take preventive measures to avoid future growth. Mold can be persistent and may reappear if proper precautions are not taken. Implement the following mold prevention tips to keep your home mold-free:
- Control humidity levels: Mold thrives in moist environments, so it’s crucial to keep humidity levels below 50%. Use dehumidifiers in areas prone to excessive moisture, such as basements and bathrooms.
- Proper ventilation: Adequate airflow is essential in preventing mold growth. Use exhaust fans in kitchens, bathrooms, and laundry rooms to reduce humidity and moisture in the air. Open windows when weather permits to improve ventilation throughout your home.
- Fix leaks promptly: Any water leaks, whether from pipes, roofs, or windows, should be repaired immediately. Moisture from leaks creates an ideal environment for mold to thrive.
- Regularly inspect and clean: Conduct routine inspections of your home to identify any signs of moisture or mold growth. Clean and dry any damp or wet areas promptly.
- Use mold-resistant products: Consider using mold-resistant materials and paints in high-moisture areas like bathrooms and kitchens. These products are designed to inhibit mold growth.
- Ensure proper drainage: Ensure that gutters and downspouts are clear of debris and functioning properly to direct water away from your home’s foundation.
- Remove indoor plants: While plants can add beauty to your home, they can also increase moisture levels. If you notice excessive condensation or moisture near indoor plants, it may be best to relocate them.
“Prevention is the key to maintaining a mold-free environment. By implementing these mold prevention tips, you can protect your home and your family from the potential health risks associated with mold.”
By following these simple preventive measures, you can significantly reduce the chances of future mold growth in your home.
Mold Prevention Strategies
| Prevention Strategy | Description |
|---|---|
| Control humidity levels | Keep humidity below 50% using dehumidifiers and proper ventilation. |
| Proper ventilation | Use exhaust fans and open windows to improve airflow and reduce moisture. |
| Fix leaks promptly | Repair any water leaks in your home immediately to prevent moisture buildup. |
| Regularly inspect and clean | Conduct routine inspections and promptly clean and dry any damp areas. |
| Use mold-resistant products | Consider using materials and paints specifically designed to resist mold growth. |
| Ensure proper drainage | Maintain clean gutters and downspouts to direct water away from your home. |
| Remove indoor plants | Relocate indoor plants that contribute to excessive moisture levels. |
When to Seek Professional Help
While DIY mold remediation can be effective for small-scale infestations, there are certain situations where professional help is necessary. Mold can be a persistent and potentially hazardous problem, requiring the expertise of trained professionals to ensure complete removal and prevention of future growth.
Here are some signs that indicate it’s time to seek the assistance of a professional mold remediation service:
- Extensive Mold Growth: If you have a large area affected by mold or if the mold has spread to multiple rooms, professional help is recommended. Trained technicians have the necessary tools and knowledge to handle complex mold infestations.
- Hidden Mold: Mold can often grow in hidden areas, such as behind walls, under flooring, or within HVAC systems. Professional mold remediation services have the expertise to locate and address hidden mold, preventing further damage to your property.
- Health Concerns: If you or your family members experience persistent allergic reactions, respiratory issues, or other health problems that worsen when you are in your home, it may be a sign of significant mold contamination. Seeking professional help can help eliminate the mold and improve indoor air quality.
- Severe Water Damage: Mold often thrives in damp environments, especially after water damage incidents like flooding or leaks. If your home has experienced substantial water damage, professional mold remediation services can address both the water damage and the resulting mold growth.
- Preventing Future Mold Issues: Professional mold remediation services not only remove existing mold but also provide valuable advice and strategies to prevent future mold growth. They can help identify the root causes of mold and offer recommendations on mold prevention measures.
Remember, seeking professional help ensures the proper assessment, containment, and remediation of mold, minimizing the risk of further contamination and protecting your home and health.
| DIY Mold Remediation | Professional Mold Remediation |
|---|---|
| Suitable for small-scale infestations | Effective for both small and large-scale infestations |
| Requires extensive research and understanding of mold removal techniques | Technicians have specialized training and experience in mold remediation |
| May not address hidden mold or underlying moisture issues | Can locate and address hidden mold and address the root cause of the problem |
| May not provide long-term prevention strategies | Offers advice and recommendations for preventing future mold growth |
| May not have access to specialized equipment and cleaning products | Equipped with professional-grade tools and products |
Rebuilding and Restoring
Once the mold is removed, it’s time to rebuild and restore your home. While the mold remediation process effectively eliminates the mold growth and prevents further damage, it may cause some damages that need to be addressed.
Start by assessing the areas that were affected by the mold remediation process. Inspect walls, ceilings, floors, and any other surfaces that may have been damaged during the removal. Look for signs of water damage, such as discoloration, warping, or moldy odors.
Consulting with a professional contractor or a mold restoration specialist is highly recommended during this phase. They can provide expert insight and guidance on how to proceed with the restoration process.
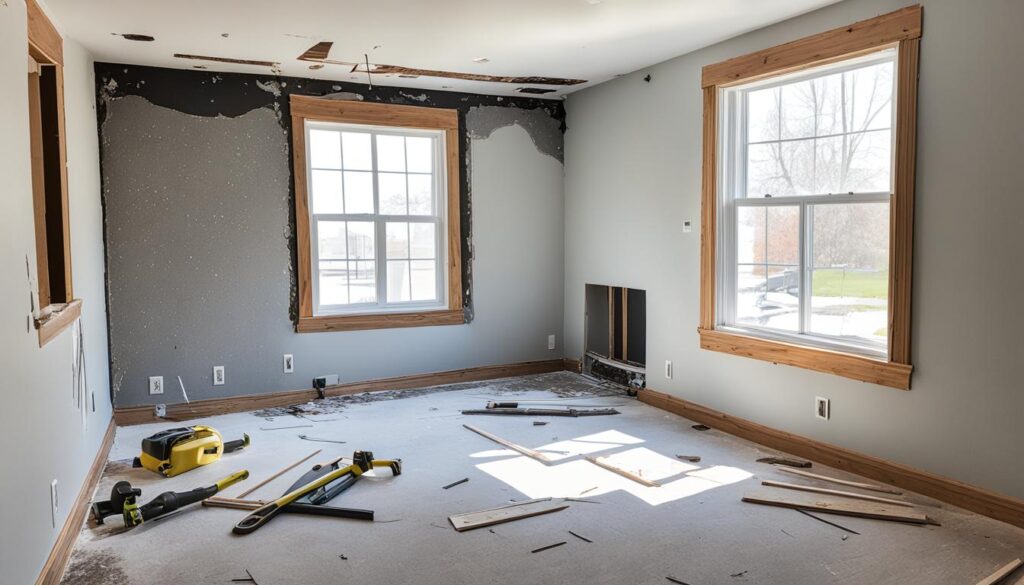
The remediation process may involve removing materials, such as drywall or carpet, that were extensively damaged by mold. It’s crucial to thoroughly dry the affected areas before reconstructing them to prevent the return of mold.
Once the affected areas have been properly evaluated and dried, you can begin the rebuilding process. Replace damaged drywall, flooring, and other materials as needed. Ensure that the new materials are mold-resistant to minimize the risk of future mold growth.
Image:
Additionally, consider improving the ventilation in your home to promote better air circulation and prevent moisture buildup. Install exhaust fans in high-moisture areas like bathrooms and kitchens, and regularly check and clean your HVAC system to ensure it’s functioning properly.
Here are some key tips for a successful rebuilding and restoring process:
- Work with a professional contractor or mold restoration specialist.
- Thoroughly dry the affected areas before reconstructing.
- Replace damaged materials with mold-resistant alternatives.
- Improve ventilation in your home to prevent moisture buildup.
By following these tips and taking the necessary steps to rebuild and restore your home after mold remediation, you can ensure a safe and healthy living environment for you and your family.
Conclusion
In this comprehensive DIY mold remediation guide, we have provided you with the essential steps and techniques to effectively remove mold from your home. By following these instructions and taking preventive measures, you can ensure a healthier and mold-free living space for you and your family.
Remember, identifying the causes of mold growth and understanding the risks associated with it is crucial. Once you have gathered the right tools and protective gear, prepare the affected area by creating a containment zone to prevent the spread of mold spores.
Utilize the various mold removal techniques outlined in this guide, including surface cleaning, scrubbing, and HEPA vacuuming. Additionally, learn how to treat and salvage mold-infested materials, preventing unnecessary replacements.
Finally, take preventive measures to avoid future mold growth and know when it’s time to seek professional help for more extensive mold infestations. For professional mold assessment and remediation services, contact Fix Mold Miami at 305-465-6653.

