DIY Guide: How to Make a Mold to Fix Furniture
DIY furniture repair and restoration can save you a lot of time and money, especially when it comes to fixing furniture. However, it can be challenging to make accurate repairs without the right tools and techniques. That’s where creating a mold comes in handy.
A mold is a tool used to create an exact replica of a damaged part of furniture. It allows you to replicate the damaged area and then use it to make accurate, seamless repairs. In this tutorial, we will guide you on how to make a mold to fix furniture, providing detailed step-by-step instructions and highlighting key benefits and materials.
Key Takeaways:
- Making a mold to fix furniture can ensure accurate and seamless repairs.
- Creating a mold can save costs and allow for easy replication of damaged parts.
- You will need specific materials and tools to create a mold for furniture repair.
- Proper preparation of the furniture is necessary before starting the mold making process.
- Selecting the right mold making material is essential for successful furniture repair.
Understanding the Benefits of Making a Mold
Making a mold is an essential step in DIY furniture repair and restoration. The process involves taking a cast of the damaged furniture piece to recreate a new and improved version. The benefits of this procedure are numerous, including:
- Accurate and Seamless Repairs: By taking a mold of the damaged area, you can recreate it to match the original piece perfectly. This ensures that the repaired area looks natural and unnoticeable.
- Saves Costs: The cost of repairing furniture can add up quickly. Having a mold of the damaged part can save you money in the long run by allowing you to fix it yourself, without the need for expensive replacements or professional services.
- Easy Replication of Damaged Parts: With a mold, you can easily replicate damaged parts, making it easy to fix other pieces in the future. This is particularly useful if you have antique furniture that may need repairs in the future.
If you’re on a budget, or just enjoy doing things yourself, creating a mold is a great option for repairing damaged furniture. In the following sections, we’ll explore the steps needed to create a mold and fix furniture, including the materials and tools needed, preparation of the furniture, and tips for finishing and refinishing the repaired piece.
Gathering Materials and Tools
Before embarking on furniture mold creation, it’s critical to have all the necessary materials and tools to ensure a smooth process. Below is a comprehensive list of items required to create a mold for furniture repair:
| Materials | Silicone rubber compound | Release agent | Powdered clay | ||
|---|---|---|---|---|---|
| Tools | Mixing container | Stir sticks | Utility knife | Hot glue gun | Scissors |
It’s essential to purchase high-quality materials and tools from reputable sources to ensure the desired results. Moreover, it’s crucial to take proper precautions such as wearing gloves and safety goggles when handling the substances to avoid accidents.
Check out the mold making tutorial for step-by-step guidance on furniture mold creation.
Preparing the Furniture for Mold Making
Before starting the mold making process, it is crucial to prepare the furniture adequately. Below are the necessary steps to ensure seamless mold creation and efficient furniture repair.
- Clean the surface: Any dirt, debris, or previous finishes such as paint or varnish can impact the effectiveness of the mold. Use a gentle cleaner and a soft cloth to ensure the furniture is clean and dry before proceeding.
- Identify and address structural issues: Inspect the furniture for any structural damage, such as cracks, holes, or warping. Address these issues before moving forward with the mold creation process.
- Ensure the area is safe and secure: Mold making can be messy, so it’s essential to cover the surrounding area with drop cloths or plastic. Additionally, the workspace should be well-ventilated to avoid inhaling any fumes from the materials used.
By following these steps, you can ensure that the mold creation process goes smoothly, leading to efficient furniture repair and restoration.
Choosing the Right Mold Making Material
When it comes to mold making for furniture repairs, selecting the right material is crucial for achieving successful results. There are various types of mold making materials available, each with its own advantages and disadvantages.
- Silicone Rubber: This material is a popular choice due to its flexibility and longevity, making it ideal for intricate furniture pieces. It is also easy to work with and can capture fine details. However, it can be expensive and requires careful mixing.
- Latex Rubber: A more affordable alternative to silicone, latex rubber is also flexible and durable. It is excellent for creating molds of larger furniture pieces and can capture moderate levels of detail. However, it can be sticky and requires careful handling and storage.
- Polyurethane Rubber: This material is perfect for creating molds of furniture with hard edges or curves. It dries quickly and is easy to use. One of its main advantages is its ability to resist tearing, ensuring longevity. However, it is more costly than other options and can be challenging to work with for beginners.
When choosing a mold making material, it is essential to consider the type of furniture you are repairing, the level of detail needed, and your budget. Always follow the manufacturer’s instructions carefully to ensure accurate and successful results.

Creating the Mold
Creating a mold for furniture repair is a crucial step in achieving accurate and seamless results. Follow these steps carefully to ensure a successful mold-making process:
- Mix the mold-making material: Select the appropriate mold making material and mix according to the manufacturer’s instructions. Be sure to wear protective gloves and a mask to avoid any potential health hazards.
- Prepare the furniture: Clean the surface of the furniture thoroughly and address any structural issues. Ensure the area is safe and secure before starting the mold-making process.
- Pour the mold-making material: Carefully pour the mold-making material onto the furniture, ensuring complete coverage of the damaged area. Use a brush or spatula to spread the material, if needed.
- Curing: Allow the mold to cure for the recommended time suggested by the manufacturer. Once fully cured, the mold should be firm and easy to handle.
Creating a mold for furniture repair can save significant costs, ensure accurate repairs, and allow for easy replication of damaged parts. The process involves selecting the appropriate mold-making material, preparing the furniture, pouring the material, and allowing for proper curing time. It is essential to follow the manufacturer’s instructions and wear protective gear to ensure a safe process.
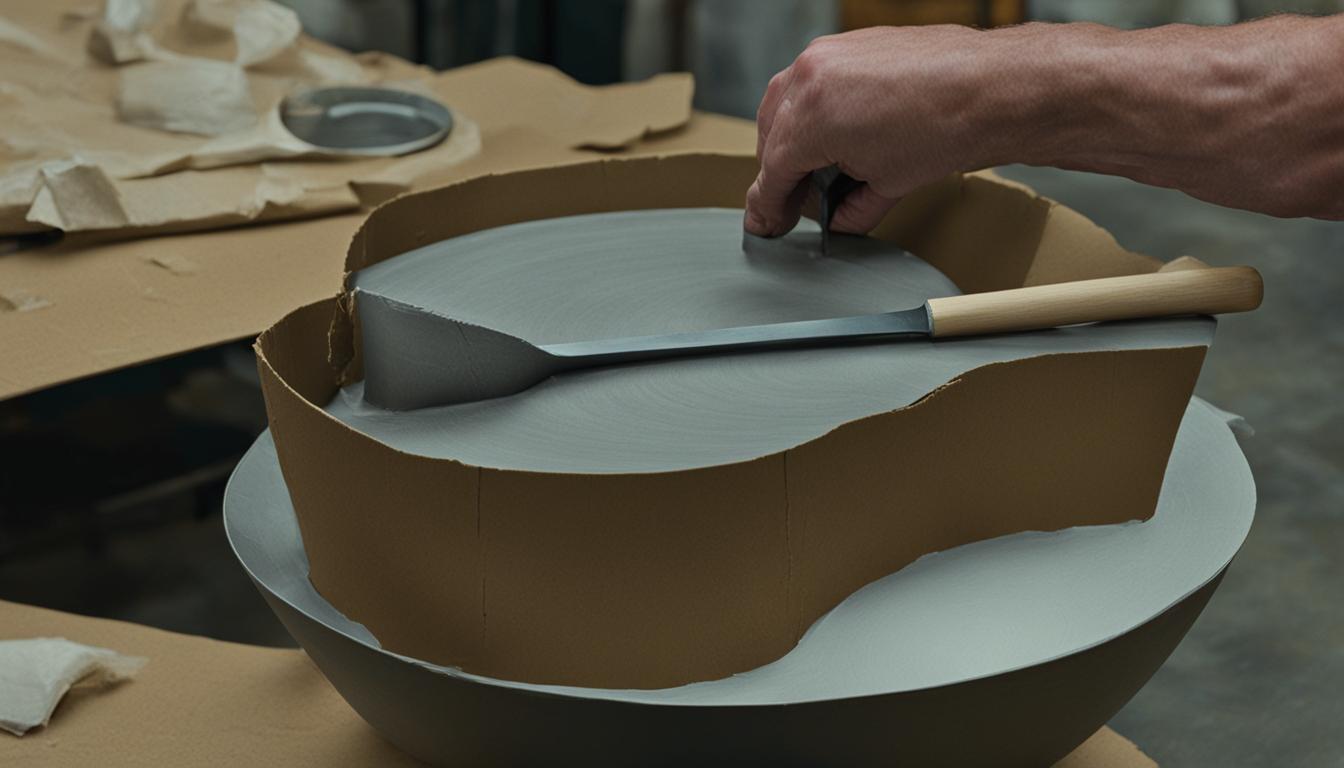
Removing the Mold
Once your furniture’s mold has fully cured, it’s time to remove it. The process of removing the mold from the furniture should be done carefully, and proper techniques must be followed to avoid damaging the mold or the furniture.
Tip: Before removing the mold, ensure that it is completely dry to ensure that your mold has taken shape properly and won’t be damaged during the removal process.
Start by gently tapping around the edges of the mold to loosen it from the furniture surface. Once the edges are loose, you can start peeling off the mold. Grab the mold from the sides, and slowly start peeling back while using a gentle pulling motion to ease it off the furniture surface.
If you find that the mold isn’t coming off easily, use a clean, sharp knife to cut the mold away from the furniture’s surface. Be careful not to cut the furniture itself. Repeat this process for any remaining sections that are stuck to the furniture.
With an eye for detail, you can ensure that the mold removal process goes smoothly and your furniture is ready for repairs.
Repairing the Furniture Using the Mold
After creating a mold for furniture repairs, the next step is to use it for repairing the damaged area. The following techniques are commonly used:
- Casting new parts: The mold can be used to cast new parts that match the original shape and size. This is particularly useful for intricate parts that cannot be easily repaired.
- Filling gaps or cracks: For areas with gaps or cracks, the mold can be used to create a cast that fits perfectly and prevents further damage.
Regardless of the repair technique, it is essential to ensure a seamless integration of the repaired areas with the existing furniture to achieve a professional finish. Sanding, staining, and varnishing can be used to blend the repaired area with the rest of the furniture.
“Using a mold to repair furniture is a cost-effective and efficient way to fix damaged areas and extend the life of your furniture.”
Whether you’re repairing antique furniture or fixing a modern piece, mold making for furniture repairs is a valuable technique to have in your DIY tool belt. By following the mold making tutorial and furniture repair techniques we’ve covered, you can rejuvenate your furniture and enjoy it for years to come.
Finishing and Refinishing the Repaired Furniture
Once the repaired furniture is structurally sound, it’s time to focus on finishing and refinishing. This process will give your furniture a seamless look and professional finish.
The first step is to sand the repaired area using high-grit sandpaper, typically between 220 and 320 grit. Sanding will smooth out the repaired area, removing any inconsistencies or bumps. Once the area is smooth, wipe it with a damp cloth to remove any dust or debris.
Next, it’s important to choose the right stain to match the existing furniture. Test the stain on a small, hidden area to ensure it matches and adjust as necessary. Apply the stain with a cloth, working in the same direction as the grain, and wipe off the excess with a clean cloth. Allow the stain to dry according to its instructions.
The final step is to apply a protective coat of varnish. There are several options available, including oil-based and water-based finishes. An oil-based varnish will provide a hard, durable finish, while a water-based varnish will be faster drying and less toxic. Apply the varnish using a brush or spray gun, working in thin, even coats. Allow each coat to dry according to instructions before applying the next.
Expert tip: If you’re working with antique or valuable furniture, consider consulting with a professional before applying any finishes.

Tips and Safety Precautions
When undertaking mold making for furniture repairs, it’s important to take certain precautions to ensure a safe and successful process. Some of these tips include:
- Wear protective gear: Always wear gloves, goggles, and a mask when handling mold-making materials to protect your skin, eyes, and respiratory system from harmful chemicals.
- Work in a well-ventilated area: Make sure your workspace has adequate ventilation to prevent the buildup of potentially toxic fumes.
- Follow instructions: Carefully read and follow all instructions provided with your mold-making materials to ensure proper mixing, pouring, and curing.
- Avoid moisture: Keep your workspace dry and avoid exposure of the mold-making materials to moisture, which can affect the quality of the mold.
- Store materials properly: Store mold-making materials in a dry, cool place away from direct sunlight and heat sources.
By following these tips and safety precautions, you can ensure a safe and successful mold-making process and achieve professional-quality furniture repairs.
Maintenance and Longevity of Molded Furniture
Once you have repaired your furniture using molds, maintaining it is essential to prolong its life. Here are some tips to follow:
- Proper Cleaning: Regularly cleaning the furniture with a soft cloth and mild soap will prevent dirt and debris buildup which can lead to long-term damage. Avoid harsh chemicals or abrasive cleaners that can scratch or corrode the surface.
- Protection from Environmental Factors: Sunlight, humidity, and temperature changes can cause furniture to fade, warp, or crack. Keep your molded furniture away from direct sunlight and use protective covers during extreme weather conditions or seasonal changes.
- Addressing Future Repairs: Even with proper maintenance, furniture may need additional repairs later on. Keep the mold you created for the repair, and use it again when necessary. You may need to create a new mold if the original is damaged or no longer fits the repaired area.
By following these tips, you can ensure your molded furniture remains in good condition, and avoid expensive repairs or replacements in the future.
For more information on furniture repair techniques and mold creation for furniture fixes, check out our other sections.
Alternative Solutions for Furniture Repair
While creating a mold can be an effective method for fixing furniture, there are alternative solutions available that may be more suitable in certain situations. Let’s explore some of these options:
Epoxy Resin
Epoxy resin can be used to repair small cracks or holes in furniture, creating a smooth, durable finish. It can also be used as a bonding agent when joining two pieces of furniture together.
Wood Fillers
Wood fillers are suitable for repairing minor scratches or small areas of damage on wooden furniture. They can be easily sanded and stained to match the original color of the furniture.
Professional Restoration Services
For more extensive damage or valuable antique furniture, it may be best to seek the services of a professional restoration company. These experts have the skills and tools necessary to restore furniture to its original condition.
Remember, the best solution for furniture repair depends on the type and extent of damage. It’s important to assess the situation carefully before deciding on the best course of action.
Conclusion
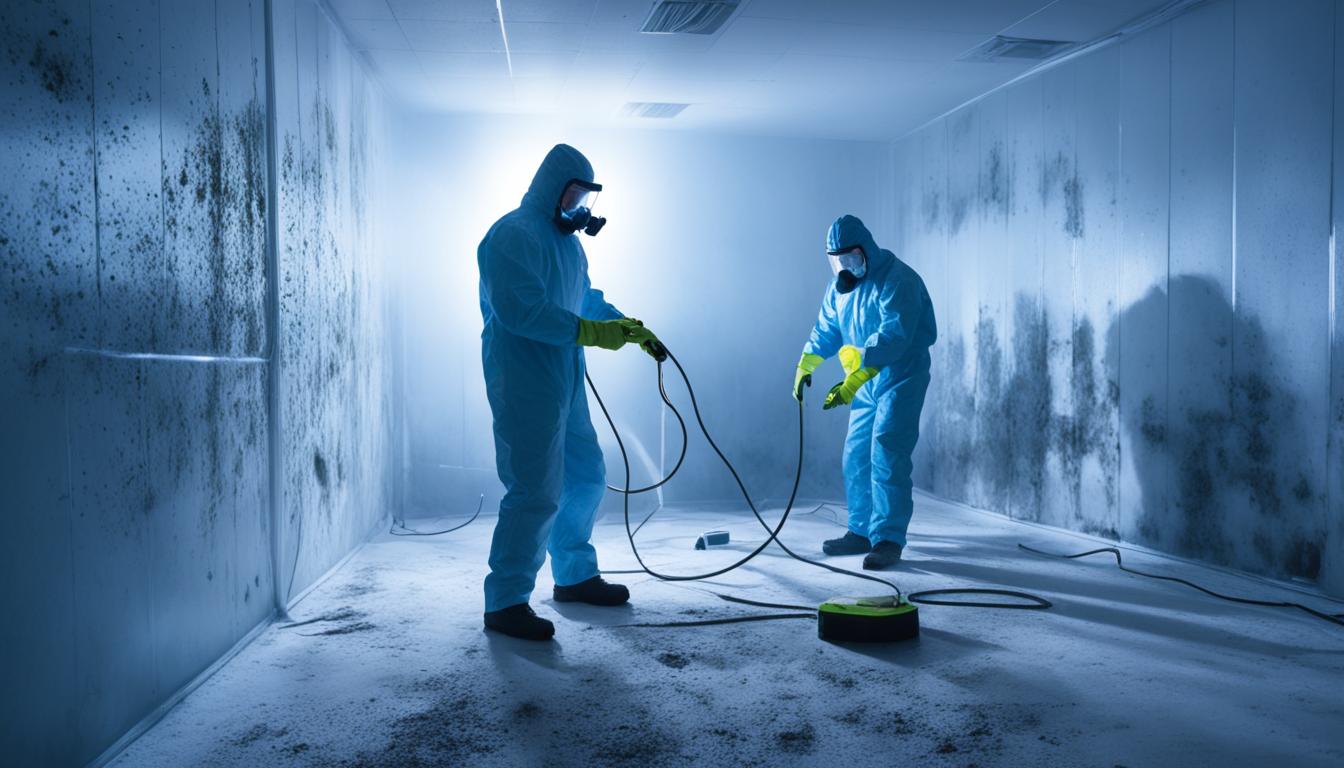
In conclusion, making a mold to fix furniture is a cost-effective way to restore damaged pieces and ensure their longevity. By following the steps outlined in this guide, DIY enthusiasts can create molds to repair furniture and achieve professional-looking results. The benefits of creating a mold include saving costs, ensuring accurate repairs, and easy replication of damaged parts. However, it is crucial to gather the necessary materials, prepare the furniture surface properly, and take safety precautions. For those who prefer alternative solutions, epoxy resins, wood fillers, and professional restoration services are viable options. We encourage readers to take on DIY furniture repair projects and remind them that professional mold remediation services are available if needed.
FAQ
Can I use any mold making material for furniture repair?
No, it is important to choose a mold making material suitable for furniture repair. Silicone and polyurethane rubber are commonly used materials due to their flexibility and durability.
How long does it take for the mold making material to cure?
The curing time can vary depending on the type of material used. It is best to refer to the manufacturer’s instructions for specific curing times.
What safety precautions should I take when making a mold?
It is important to work in a well-ventilated area and wear appropriate protective gear, such as gloves and a respirator, when handling mold making materials. Follow the manufacturer’s instructions and dispose of any waste materials properly.
Can I reuse the mold for multiple repairs?
Yes, one of the benefits of creating a mold is that it allows for easy replication of damaged parts. With proper care and maintenance, a mold can be used for multiple repairs.
Are there alternative methods for furniture repair?
Yes, if creating a mold seems daunting, there are alternative solutions such as epoxy resin and wood fillers that can be used to repair furniture. In some cases, professional restoration services may be necessary for more extensive repairs.
How do I remove the mold from the furniture?
To remove the cured mold from the furniture, gently pry it away using a tool such as a putty knife. Take caution not to damage the surface of the furniture.
How do I ensure a seamless integration of the repaired areas with the existing furniture?
When using the mold to repair furniture, take care to match the color and texture of the repaired areas with the existing furniture. Sanding, staining, and varnishing can help achieve a seamless integration.
How long can the repaired furniture last?
With proper maintenance, furniture repaired using molds can last for many years. Regular cleaning and protection from environmental factors can help prolong its longevity.
What are the benefits of making a mold to fix furniture?
Making a mold ensures accurate and seamless repairs, saves costs compared to purchasing new furniture, and allows for easy replication of damaged parts.
Where can I find the materials and tools needed for mold making?
Materials and tools for mold making can be found at craft stores, hardware stores, or online retailers specializing in DIY supplies.